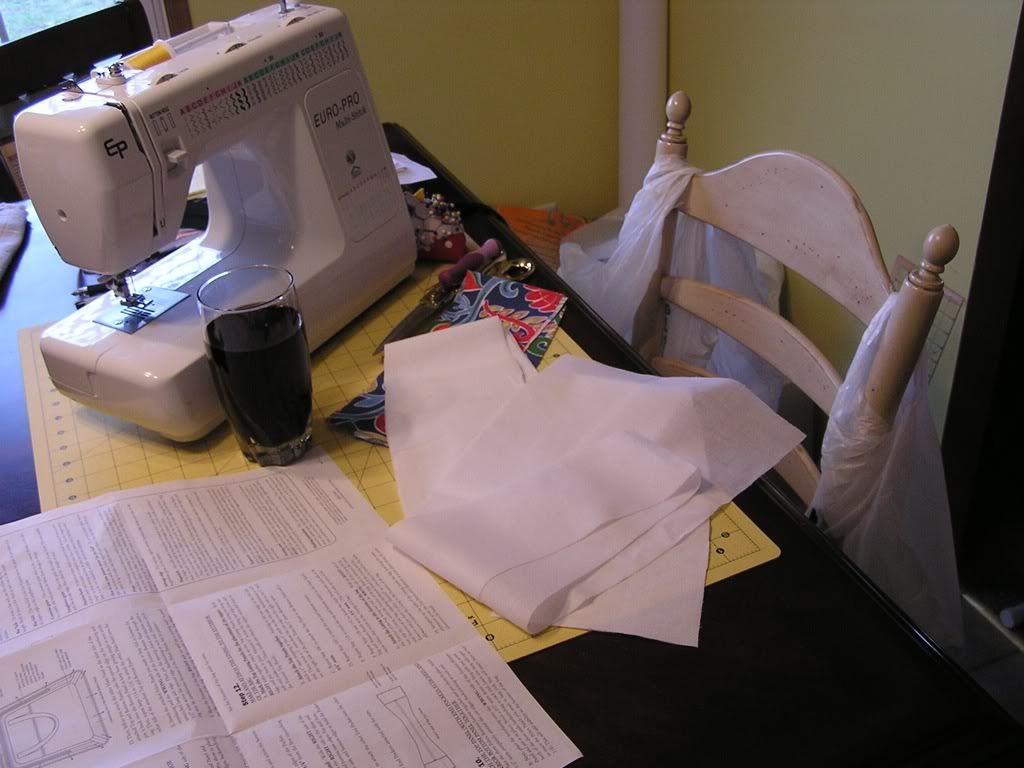
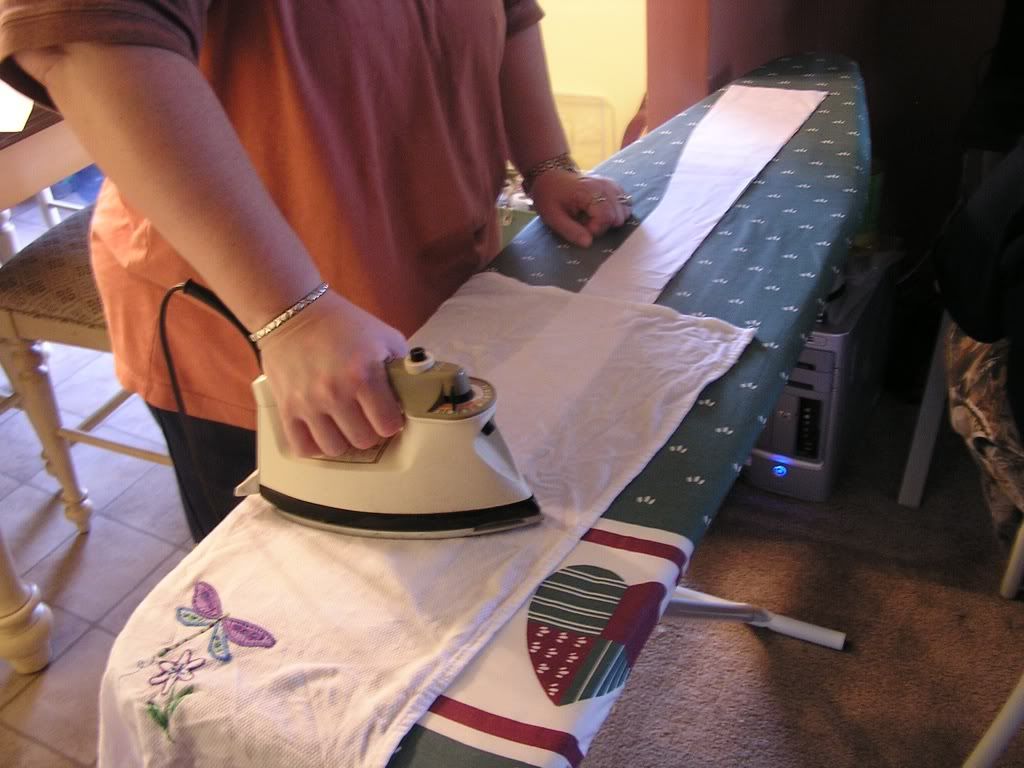
This day I started by pressing 3 layers of interface to each of the long top pieces.
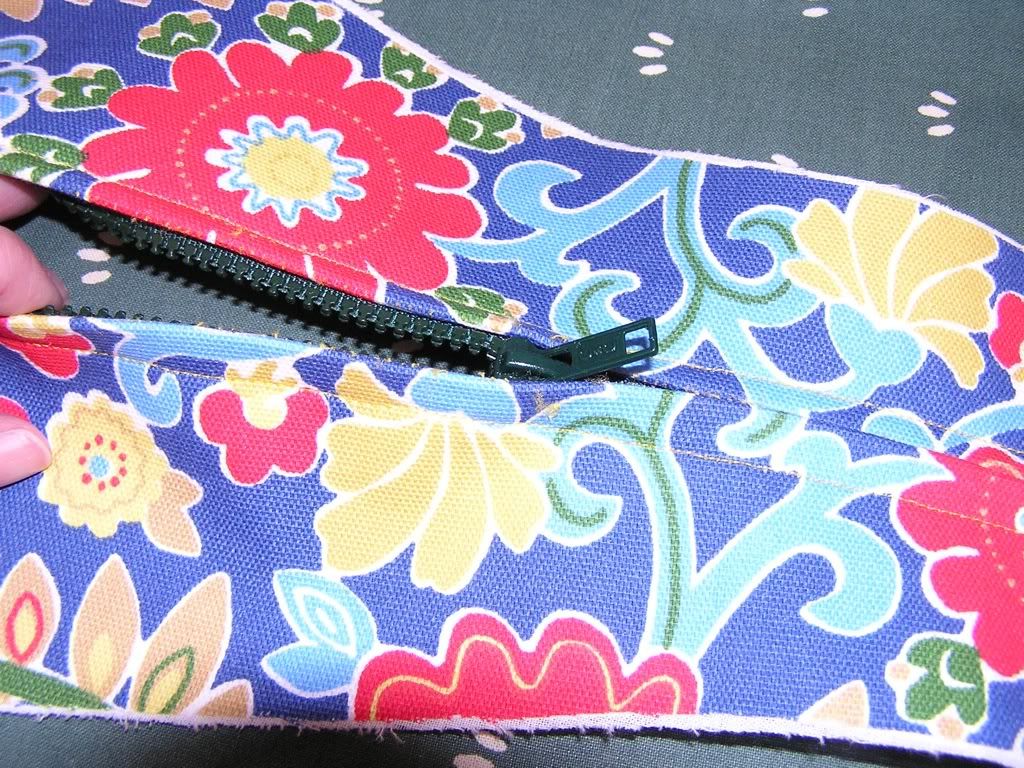
Installing the zipper. Seemed the hard way to me but I have seen this way demonstrated before to create a hidden zipper. It worked just fine. You just have to go slow and pin in place flip it over and re-pin from the top. Remove the bottom side pins and sew it in place. I have read where lots of folks get confused on this step. Read and re-read it until you understand what you are to do. Pin the long straight sides right sides facing. Mark each side in 6". The space in the middle between the marks is where the zipper will go. I bought a 30" zipper but the space seemed a bit too big so I adjusted the marks in some. Now sew a regular stitch 1" seam to the first 6" mark. Then sew another 1" seam regular stitch to the other side's 6" mark on the other end. Now baste stitch with a 1" seam in between the two other sew lines. It will kinda look like this: ----- - - - - - - - - - - ------ Press the seams open Lay the zipper face down on the seam. Pin in place flip over to the right side - repin and remove the under side pins. Sew the zipper in place and using your seam ripper rip out the baste stitches you did in the middle to expose the zipper.
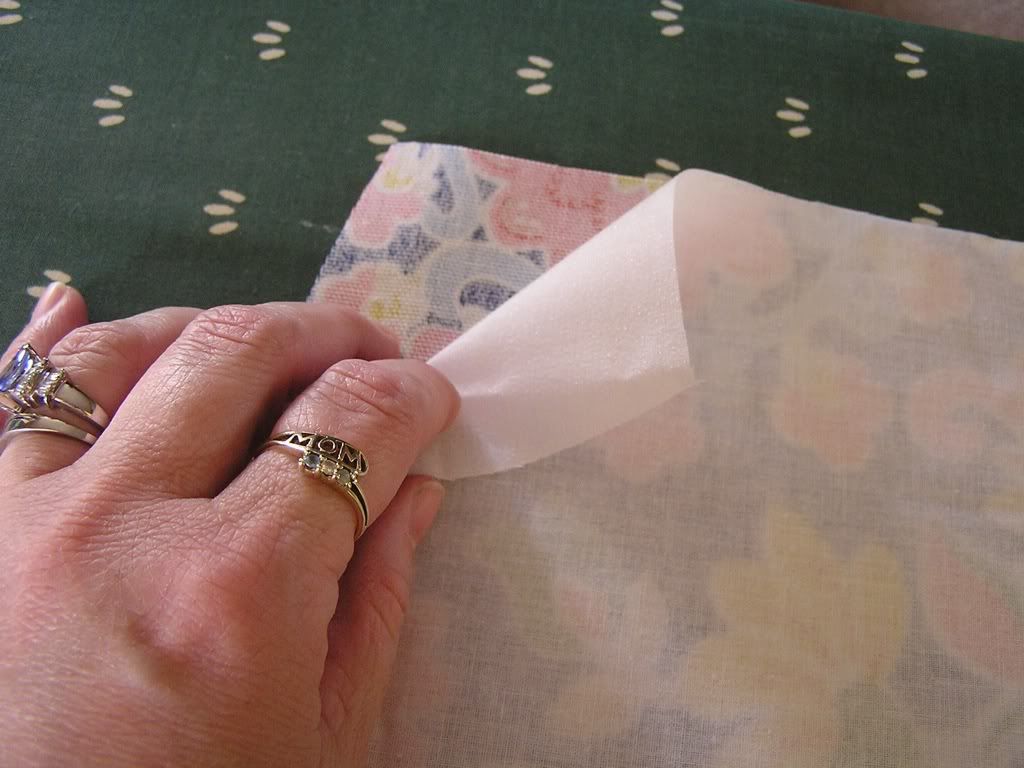
Then I went on to press more interface to the outside pockets.
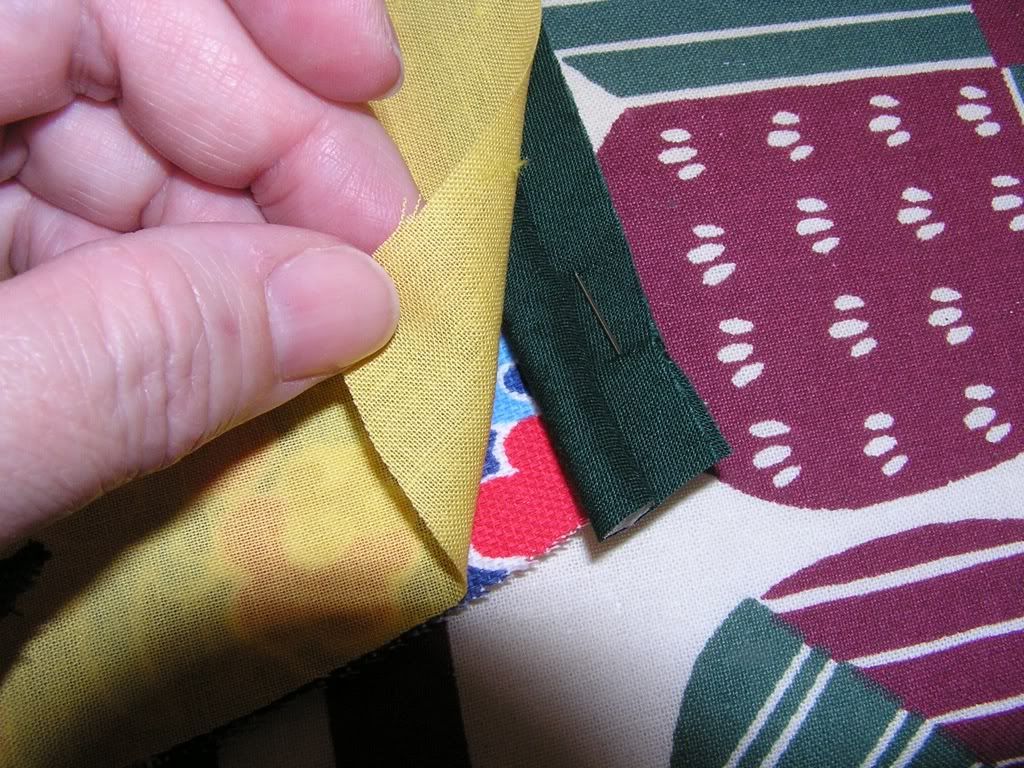
Here I deviated some from the instructions and added some left over piping to the side pockets. I had just enough to do both pockets. I found that if I used my zipper foot on my machine and also adjusted the needle to the left a notch or two (stitch width dial) I could successfully crowd the piping to get a nice snug seam.
Next I basted the outside pockets to the top long piece.

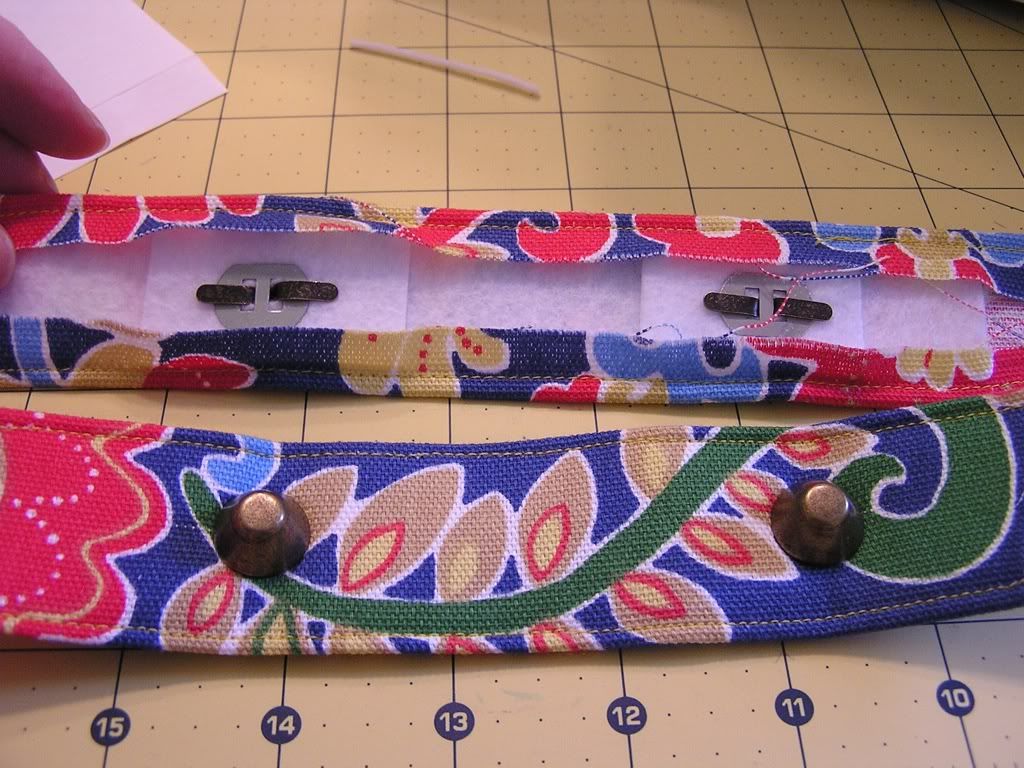
I deviated once again to add feet to the bottom of the bag. I cut two 2 1/2"x 8 1/2" strips from the leftover exterior fabric. I pressed in 1/2" on each long side and cut a piece of Peltex to fit inside for each strip. I measured and poked a hole using my seam ripper and installed the feet adding one more small scrap piece of Peltex for each foot as protection.
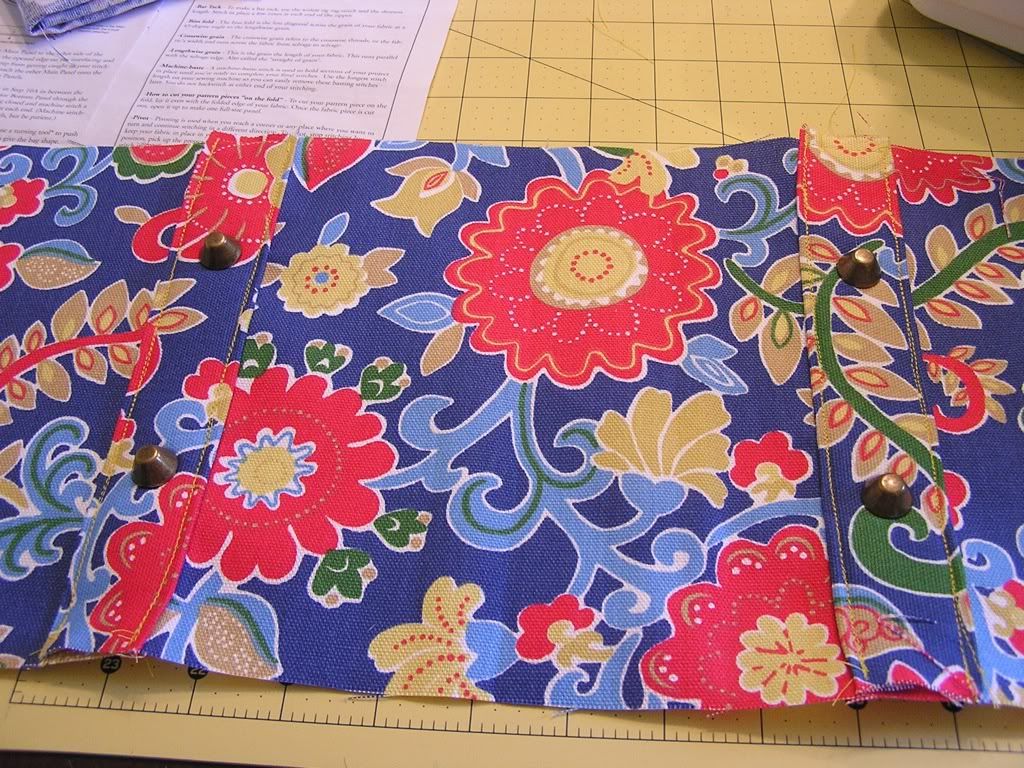
I then sewed these strips to the bottom piece.
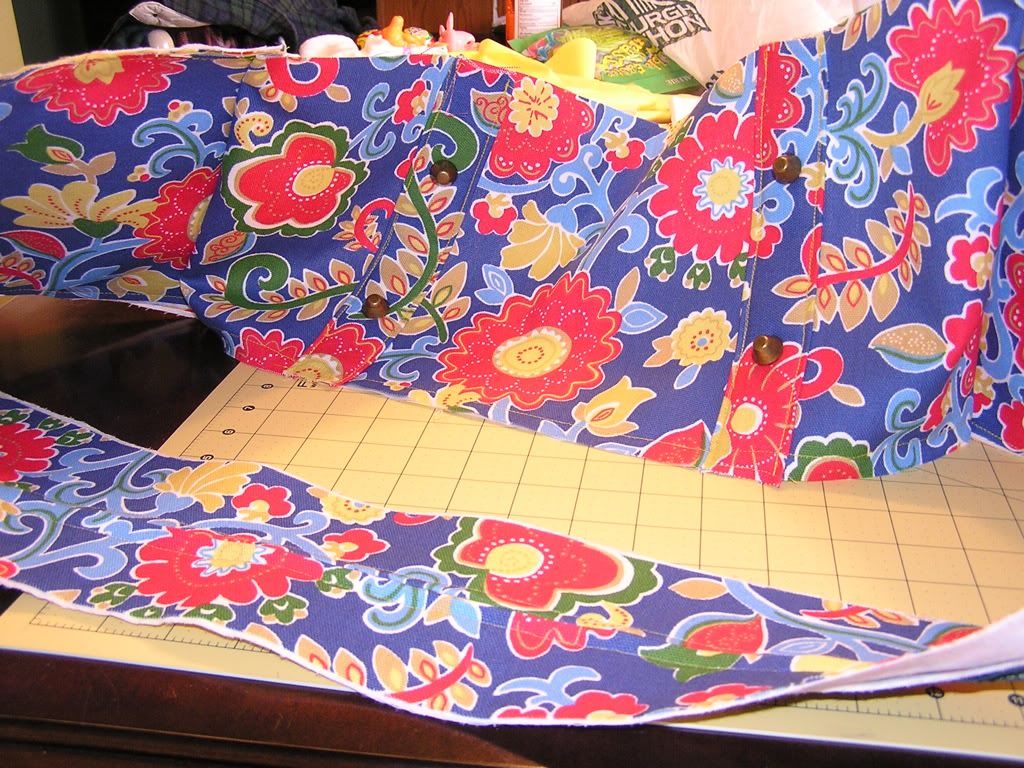
Following the directions I added the interface to the bottom piece and sewed the bottom piece to each end of the long top.
This is where I stopped for the day. Hopefully I can pick back up and maybe get this finished tomorrow.
No comments:
Post a Comment