
Next I had to sew the piping in place and then attach the lining to the large outside pockets. I did not sew the piping then the lining. I did it all in one step. This is the first time I have ever done piping and it could have been tighter but it is ok.
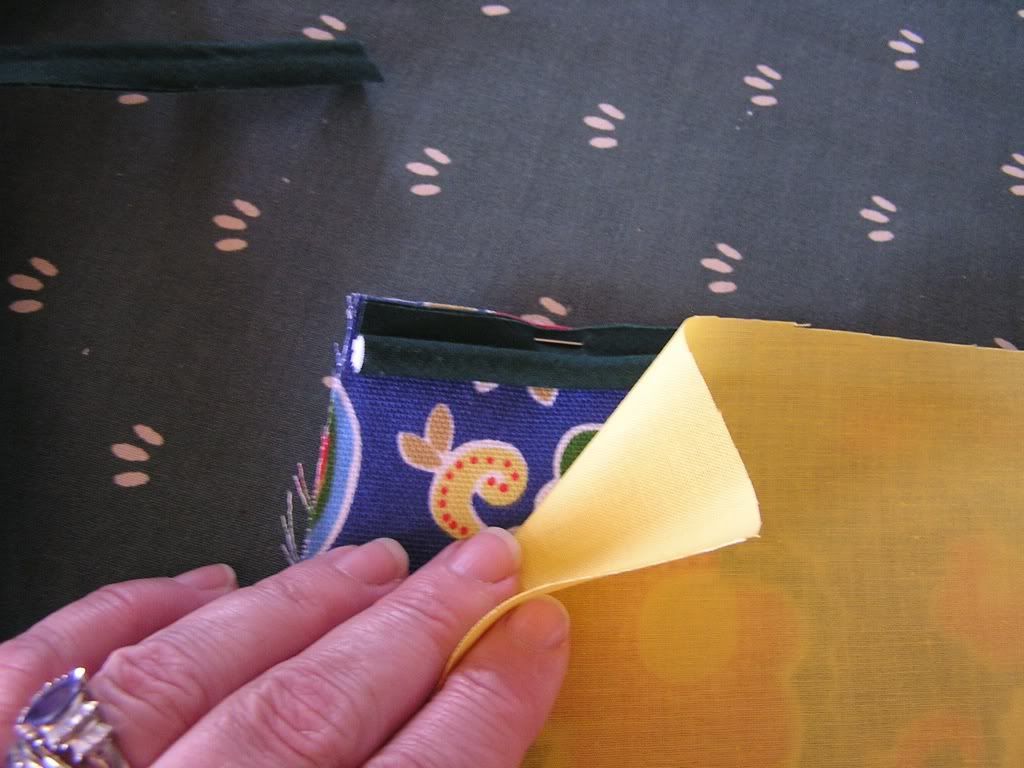
Top stitch the top edge of the large pockets, baste all the way around to hold the lining in place, and set aside for now.

On to the carry handles. Here I did a slight modification. The directions state to cut the handles out of the lining fabric. I am using just quilting cotton fabric for my lining and was afraid that the fabric would not be sturdy enough. I decided to make my handles two toned and use both the outer fabric and the lining. I cut 2 inch strips of each fabric and sewed them together down the long edge (scant 1/2" seam allowance), giving me a strip 3" wide as is called for in the directions. Pressed the seam open, and picked back up with the regular directions. Pressed under 1/2" on each long side, slip in the 7/8" Peltex
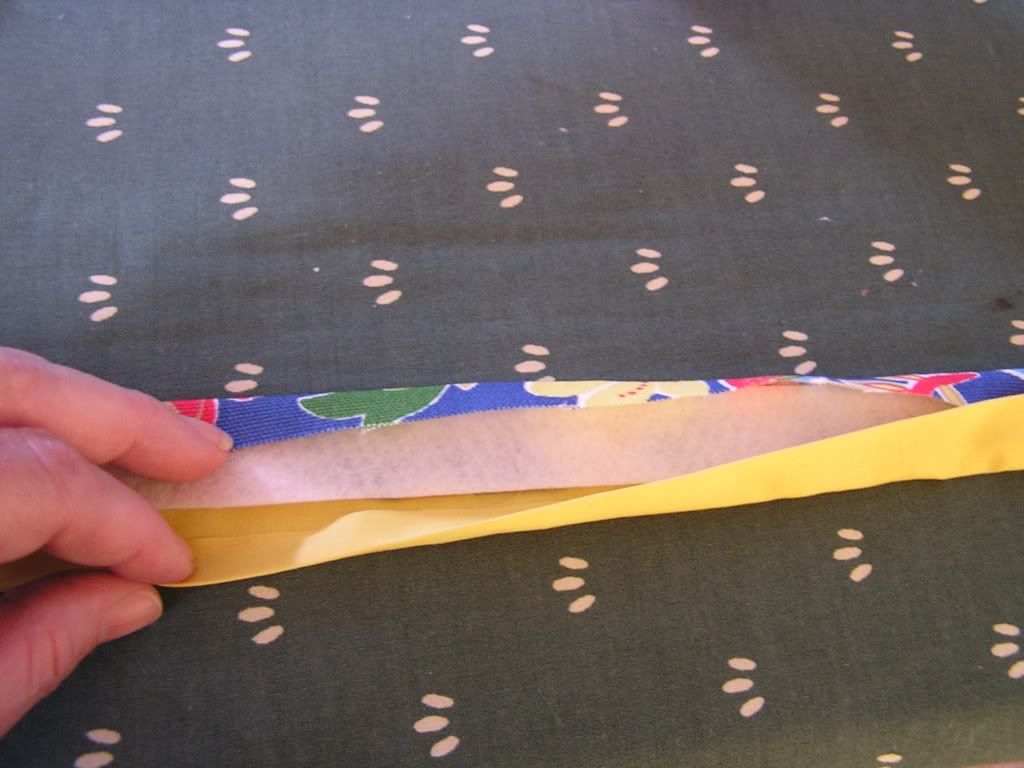
Fold in half and top stitch down each long edge. Set aside.

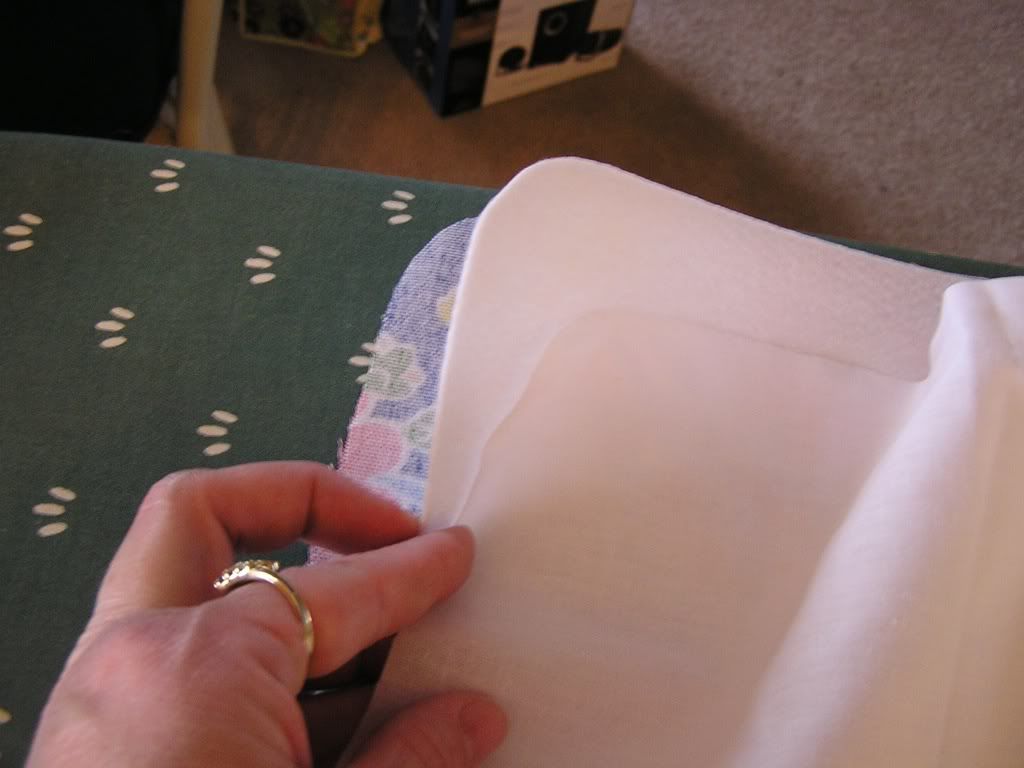
Now for the main sides. Sandwich the Peltex between the Exterior fabric and the fusible interface.
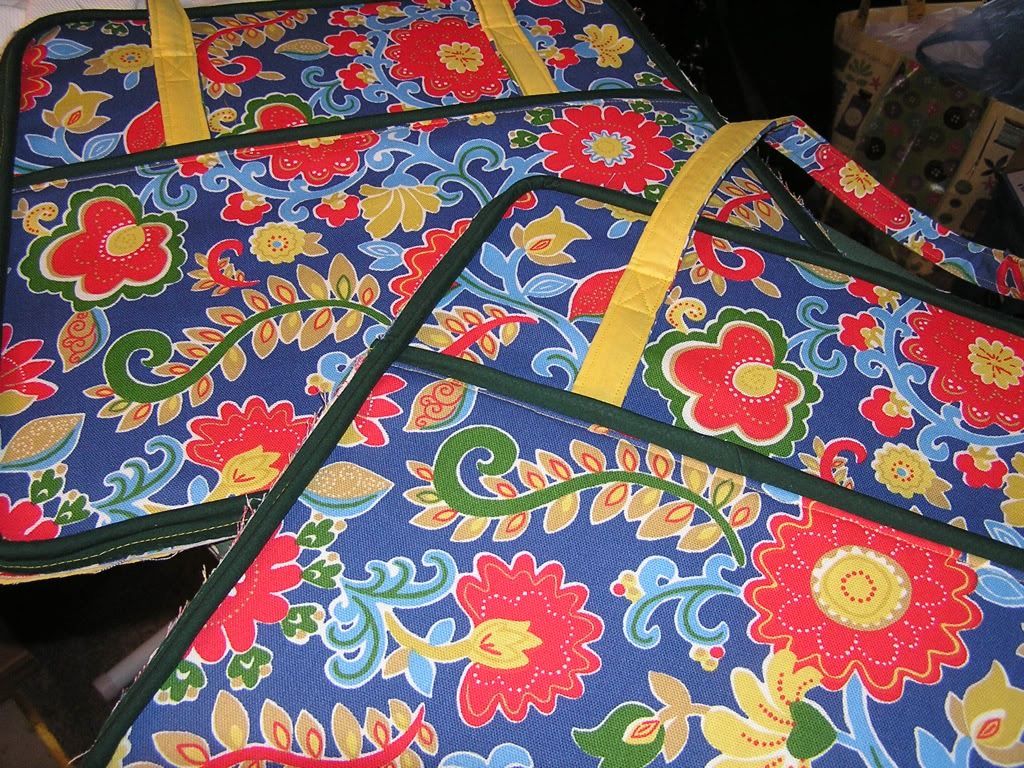
Attach the handles. Here I also did a little modification. I added more stitching to the handles - the box with the X in it for more stability.
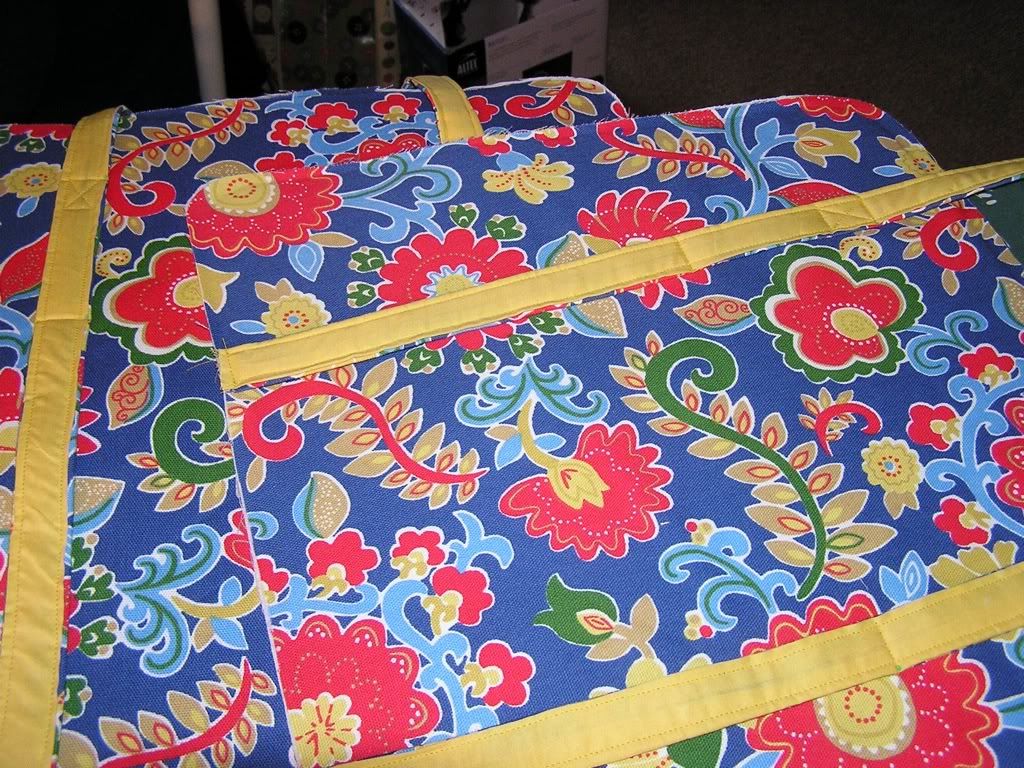
Attach the large outer pockets to each main side, and attach the piping all the way around each side.
At this point I was pretty sore and tired. I did not want to continue and make sloppy mistakes. This is a good stoping point as well. Just a few more steps to do and it is finished! However these steps are long and detailed. So far everything has worked very nicely. The directions are wordy and helpful - good for a beginner. My sewing machine boasted that it is a workhorse of sewing machines and can sew through 11 layers of denim with easy (It does - I have put it to the test!), so I have complete confidence that as I get to the end here and have to be sewing through lots and lots of layers, I will not have a problem.
No comments:
Post a Comment