Trash to Treasure

Party Favor


Craft Swap
----------------------------------------------------
Crocheted Hats

-----------------------------------------------------------------------------------------------
Crocheted Bunny and Cupcakes

I made this for my cousin's wedding present: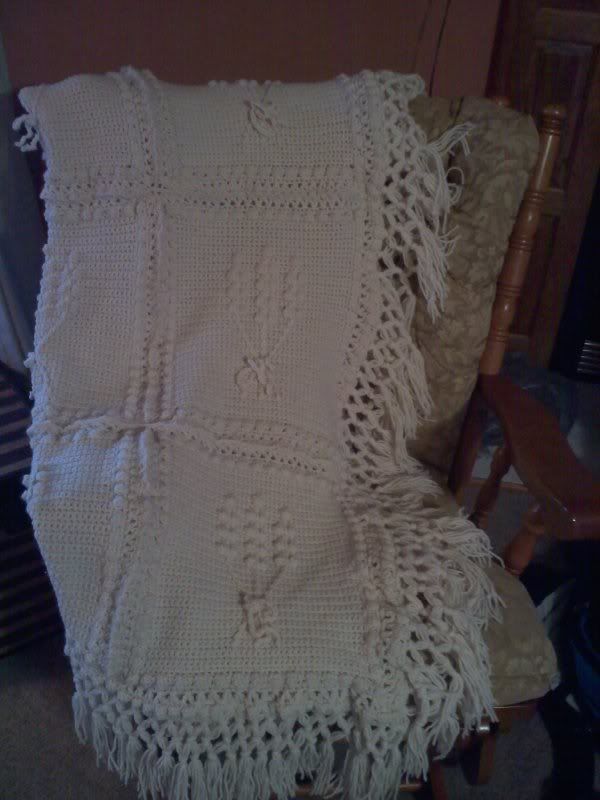
---------------------------------------------------------------------------------------
Sewing Box Made from a Cigar Box


----------------------------------------------------------------
Diaper Cake

Valentine's Box
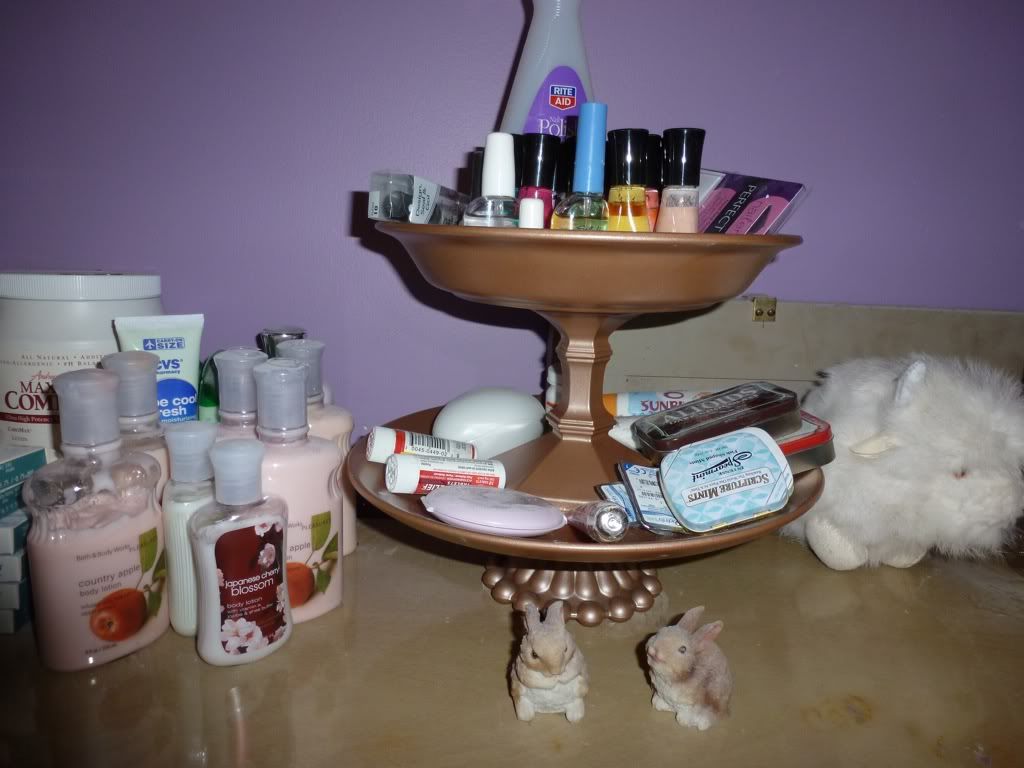
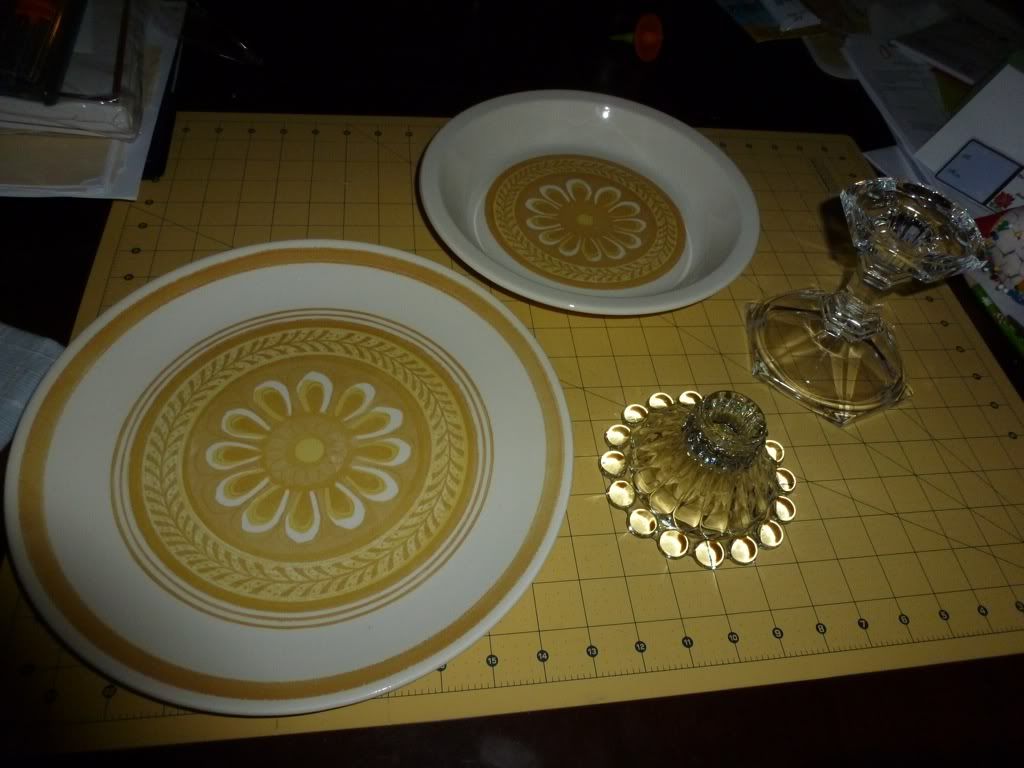
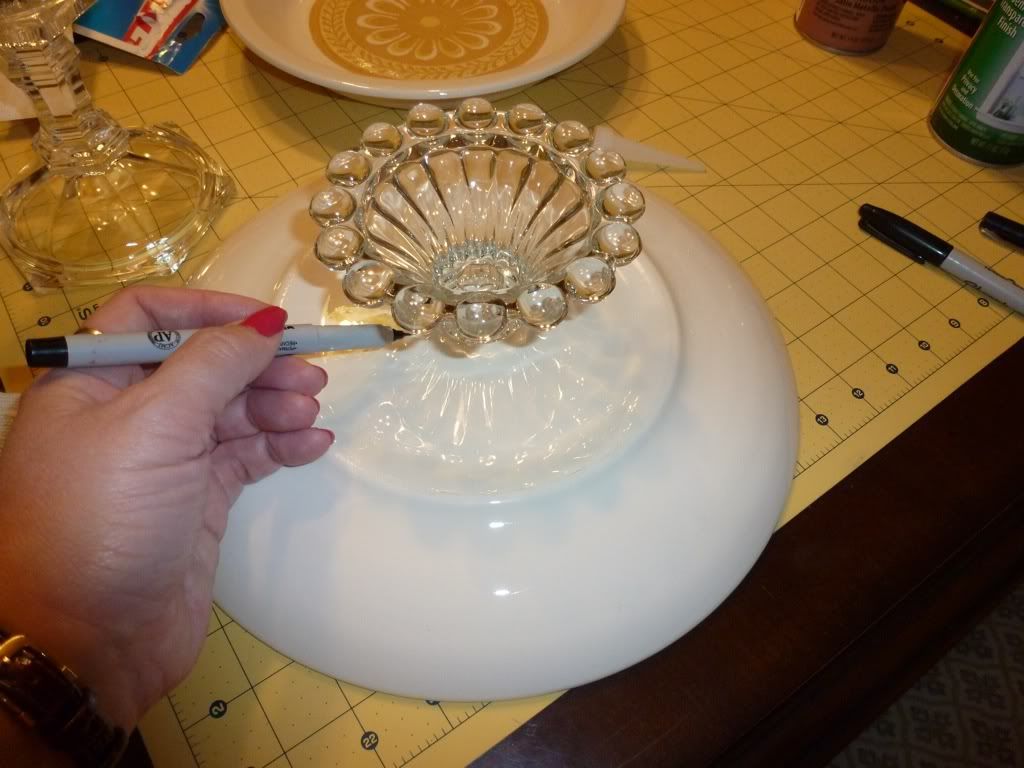
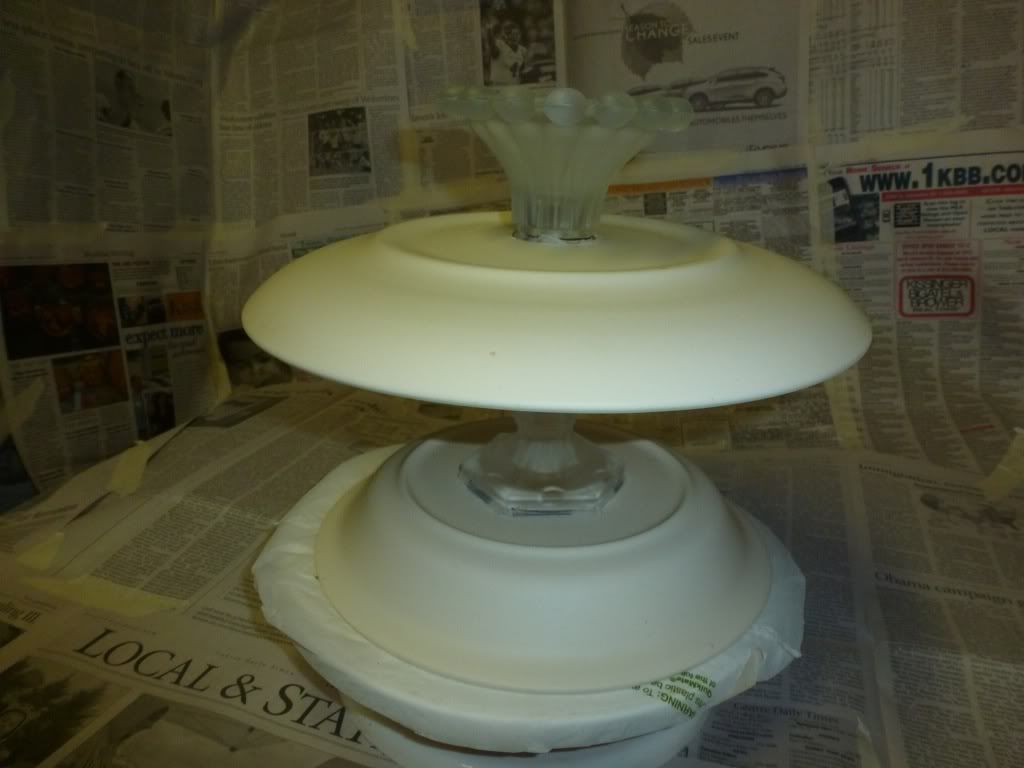
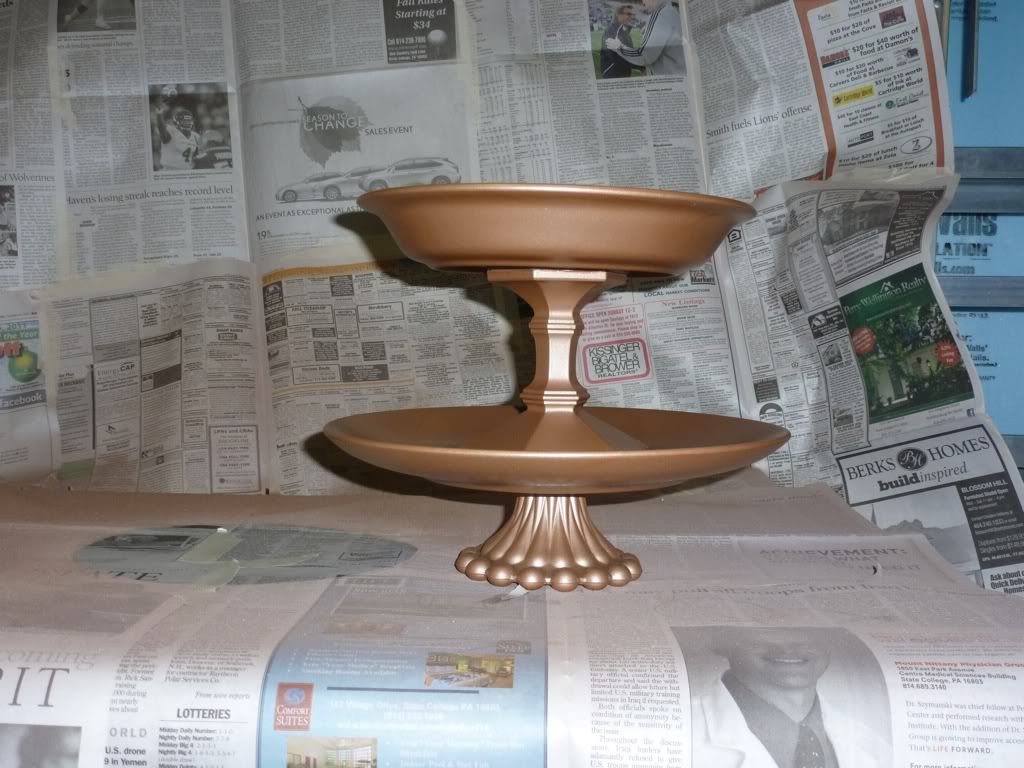
I had seen on Pintrest a cute tutorial on how to take some yard sale or goodwill finds and turn them into a cute stand. I thought I really need one of those for my dresser so my nail polish will be safe and not topple off the back of my dresser. So, off to the Goodwill store I went. I bought 2 different sized candle sticks and 2 different sized plates. I think one is actually a pasta bowl...no matter. Its all good. I spent a whopping $2.38 for that stuff.
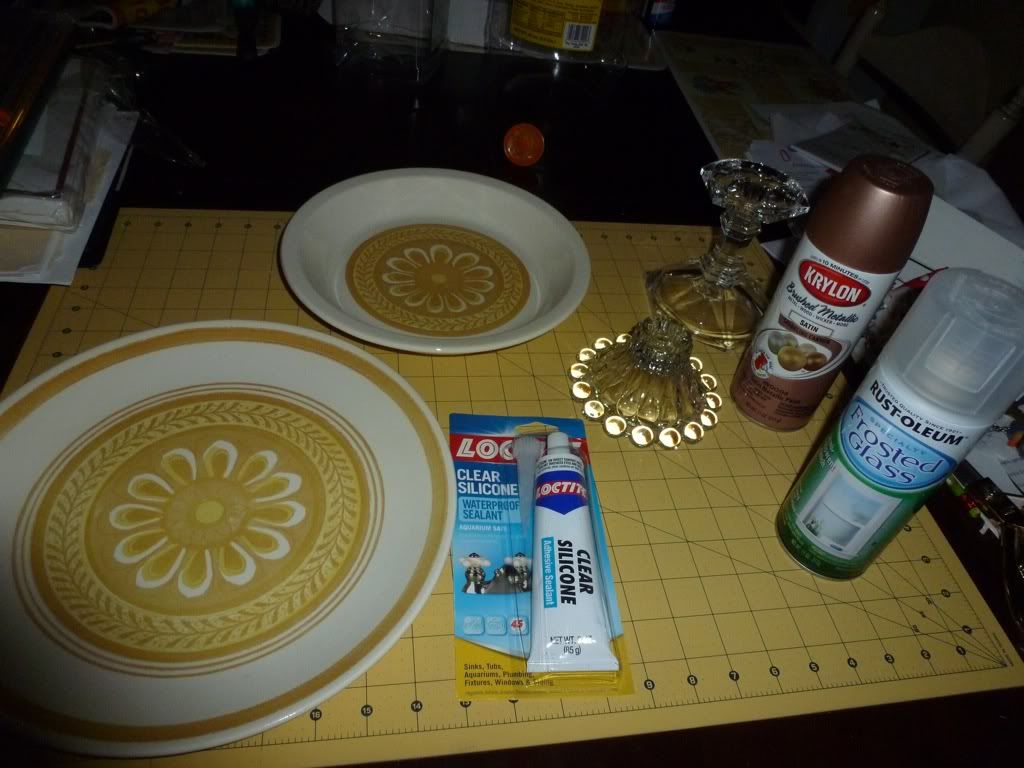
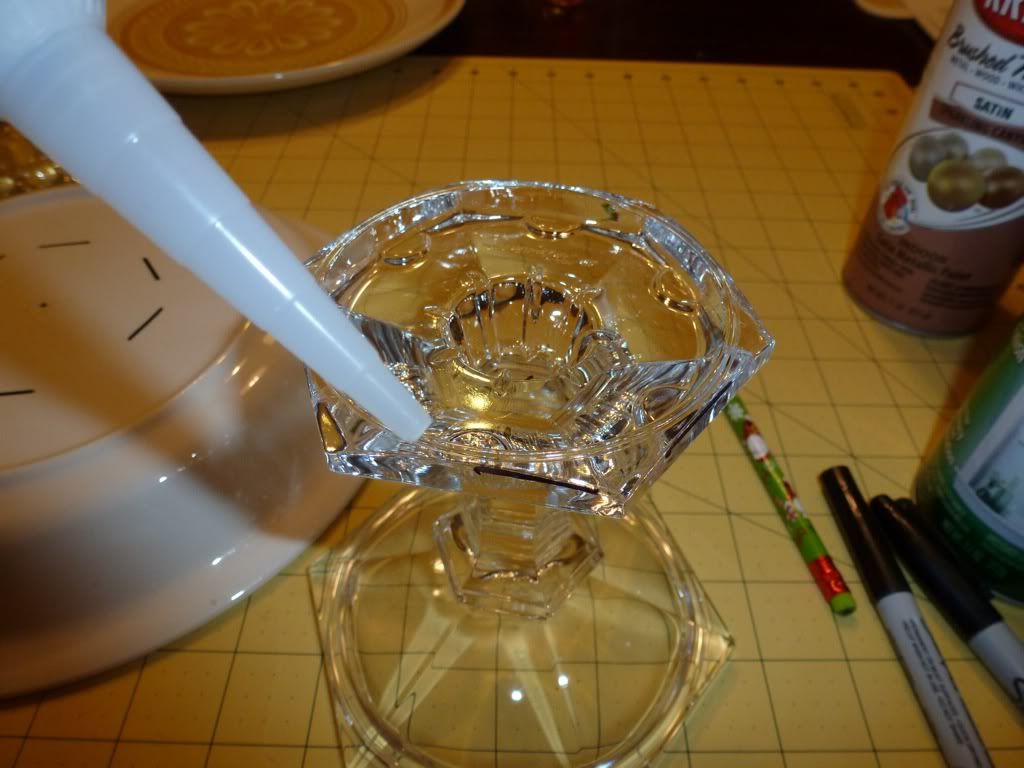
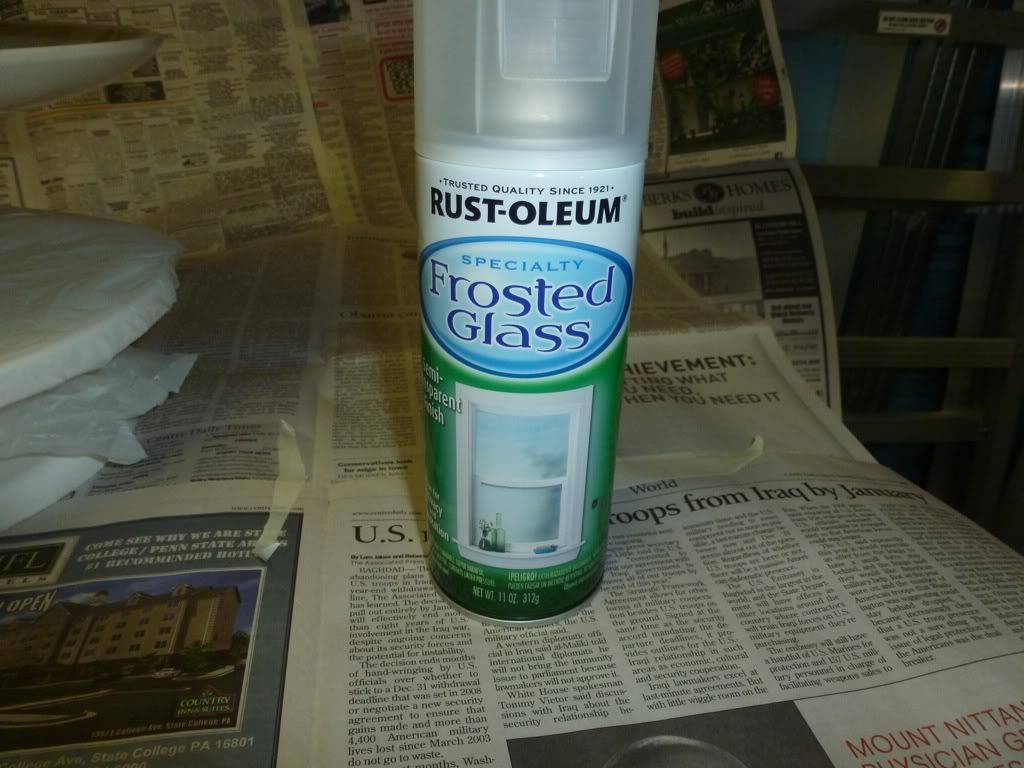
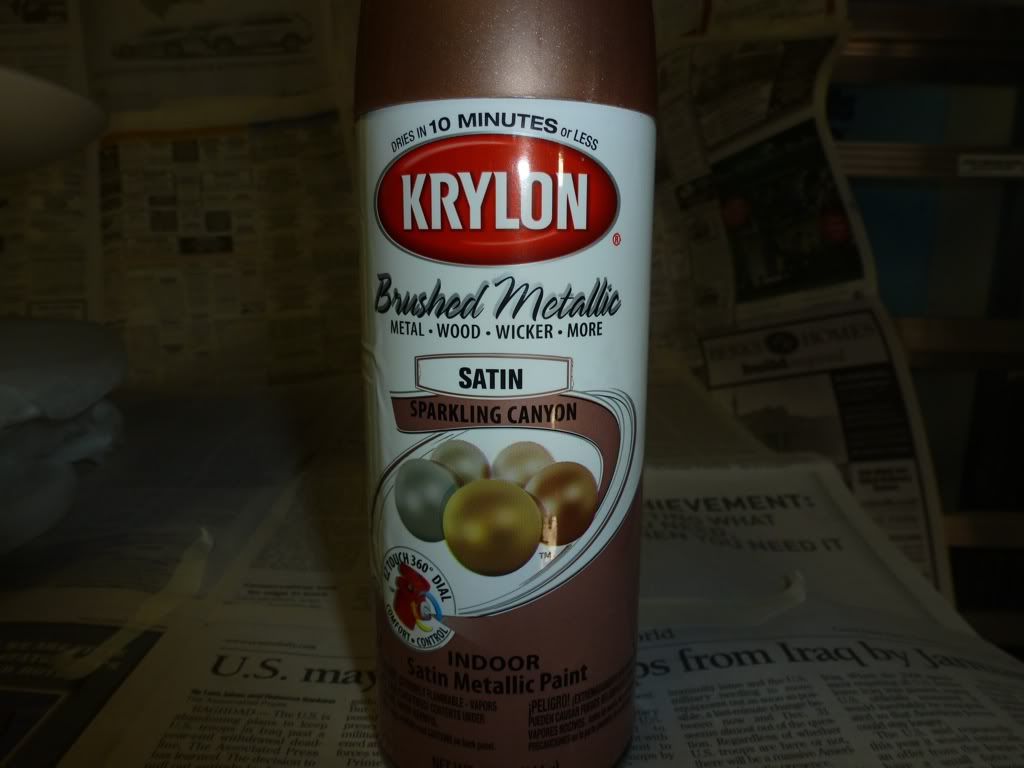
I then hit the craft store and bought some Silicon adhesive for a few bucks (plus a 40% off coupon!). Off to the big box store to get some paint. This is where it gets specific. You need to prime the glass and glazed surfaces of the candle sticks and plates so that the colored paint sticks to it. From the pintrest tutorial, I got a paint called Frosted Glass to prime my pieces and a Krylon paint of my liking for the finished color.
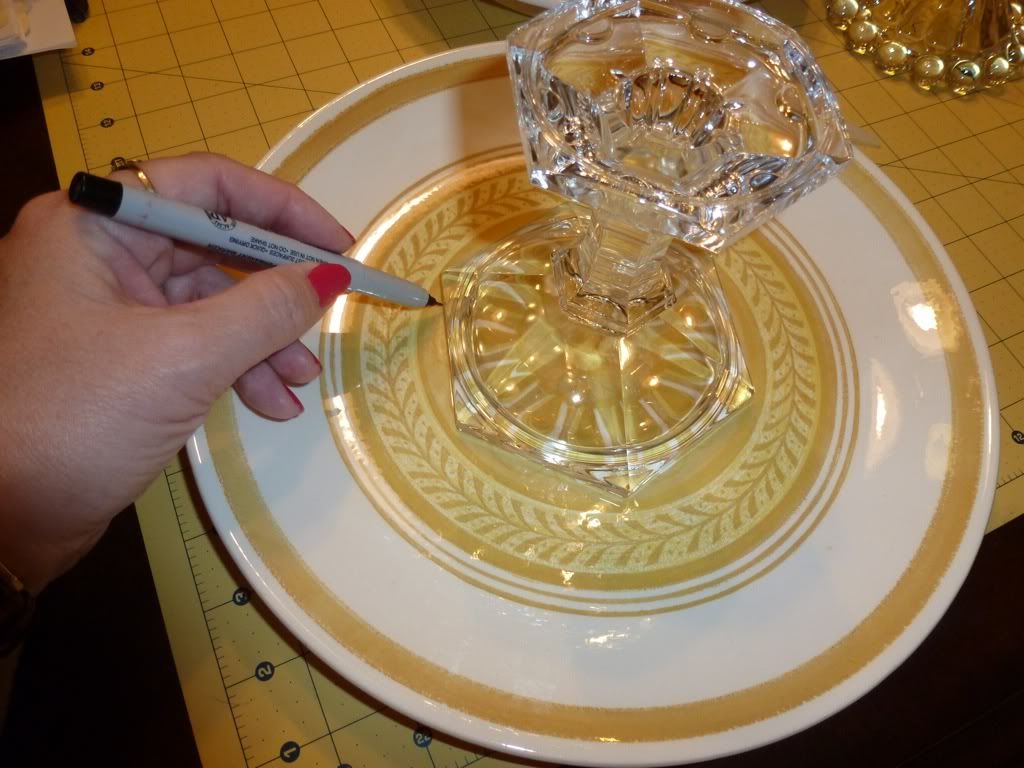
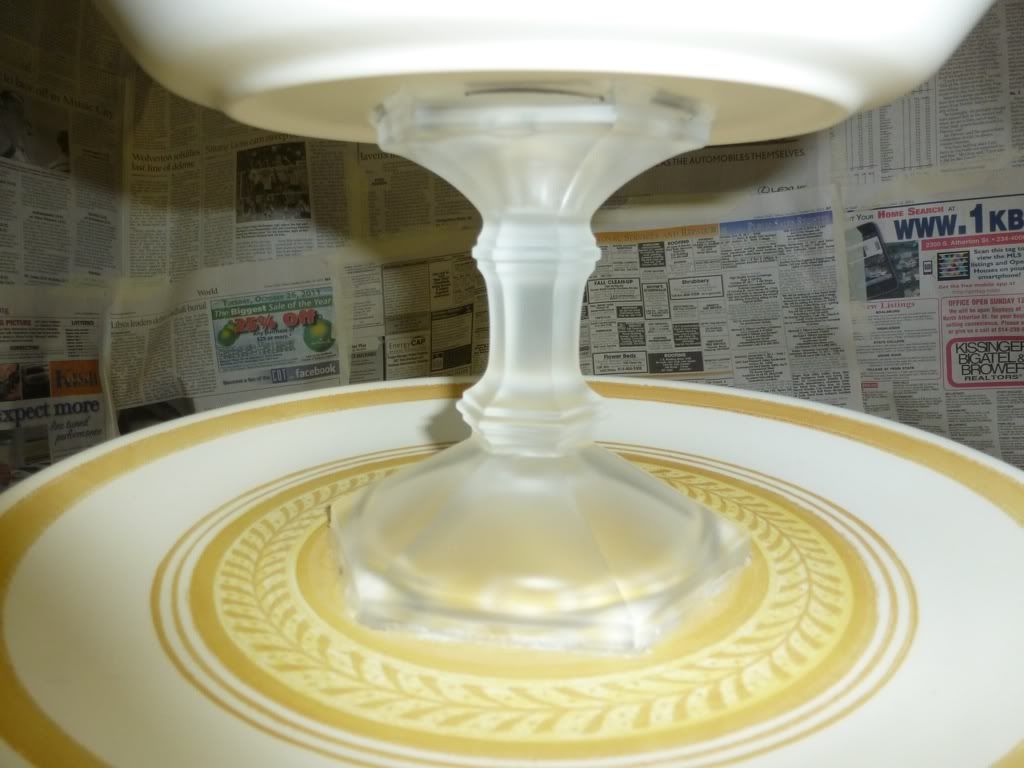
I started out by marking the centers of plates where I will glue the candle sticks to them.
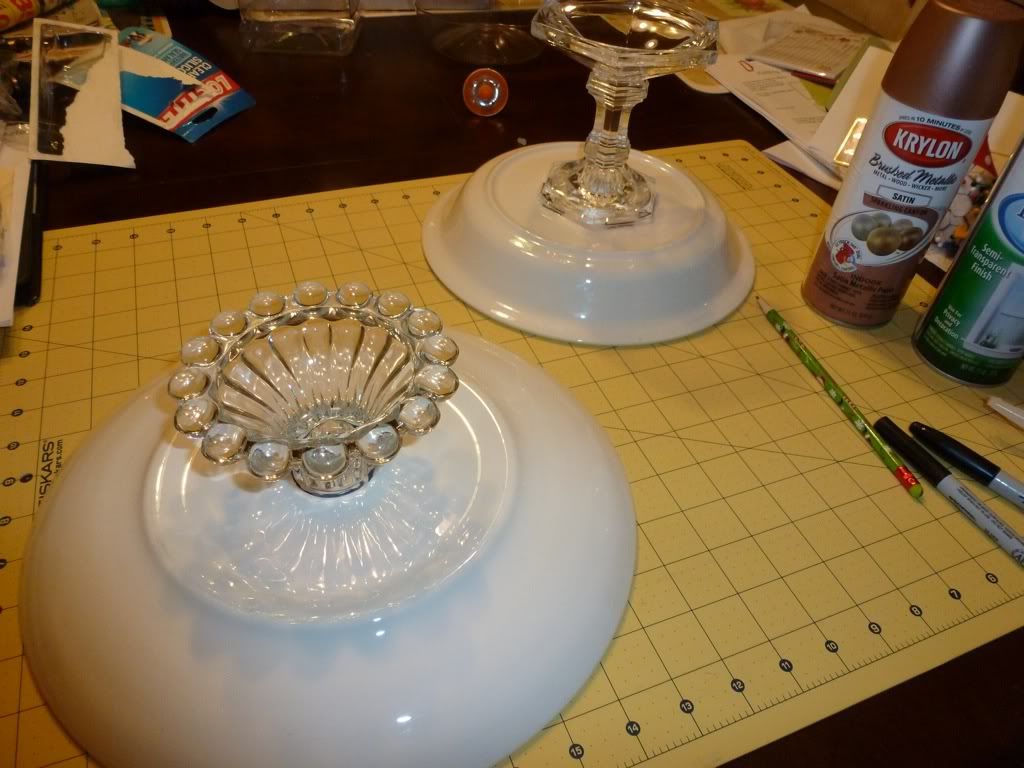
Then using the Silicone adhesive according to the direction I glued the candle sticks to the plates.
I let it sit overnight to dry.
I made a makeshift paint booth in my basement on top of one of the freezers. I just taped newspaper all around. It ain't rocket science..... I also covered my cake decorating turntable with a plastic bag to use as well.
Starting with the frosted glass I sprayed the tops, let it dry then sprayed the bottoms of the stand. I let it dry for several hours before I turned it over. Be forewarned this stuff is seriously stinky! I did this all in the basement and the whole house smelled like paint for the day.
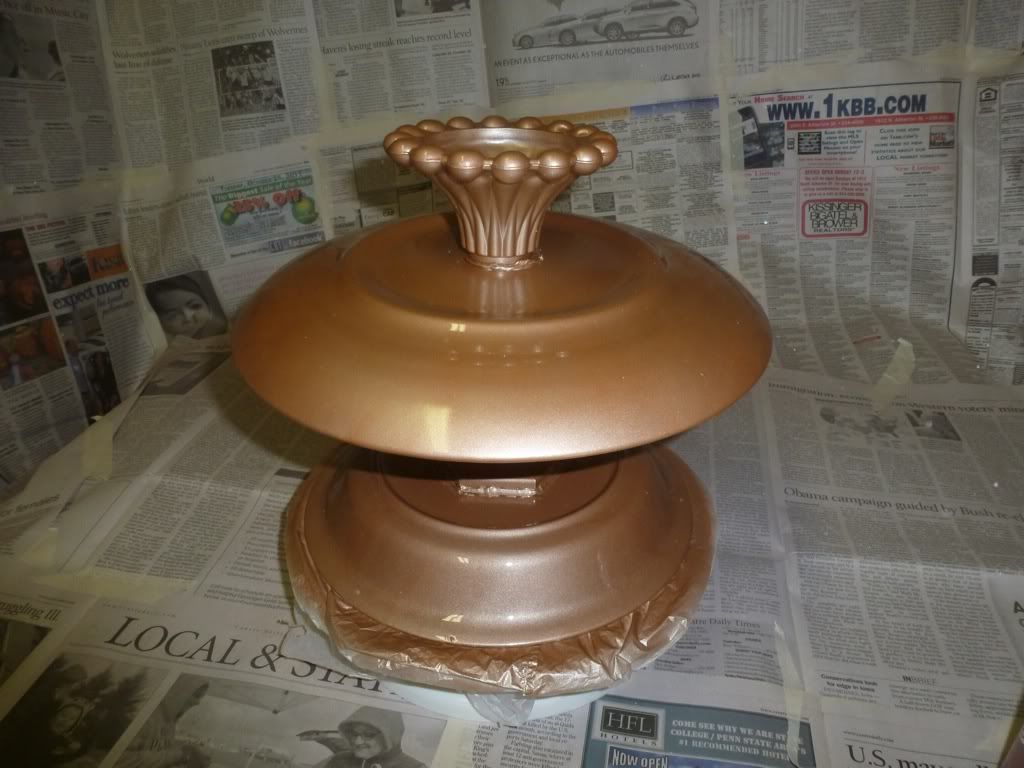
I then sprayed it with 2 coats of the color of my choice. I am using Sparkling Canyon. It is a pretty copper-y metallic color.
I let it dry overnight and then brought it up and put it in my room. I like how it turned out. It holds my nail polish and other doo dads that easily get lost or pushed off my dresser.
What do you think?
---------------------------------------------------------Party Favor
Here are directions to make a very cute, easy and inexpensive party favor.
The Materials that you will need are:
- Card Stock Paper in your choice of color (I am using standard 8.5 x 11 card stock)
- Rubber Cement
- Paper Cutter
- Binder Clips
- Scrap Piece of Paper
- Candy of Your Choice
Directions:
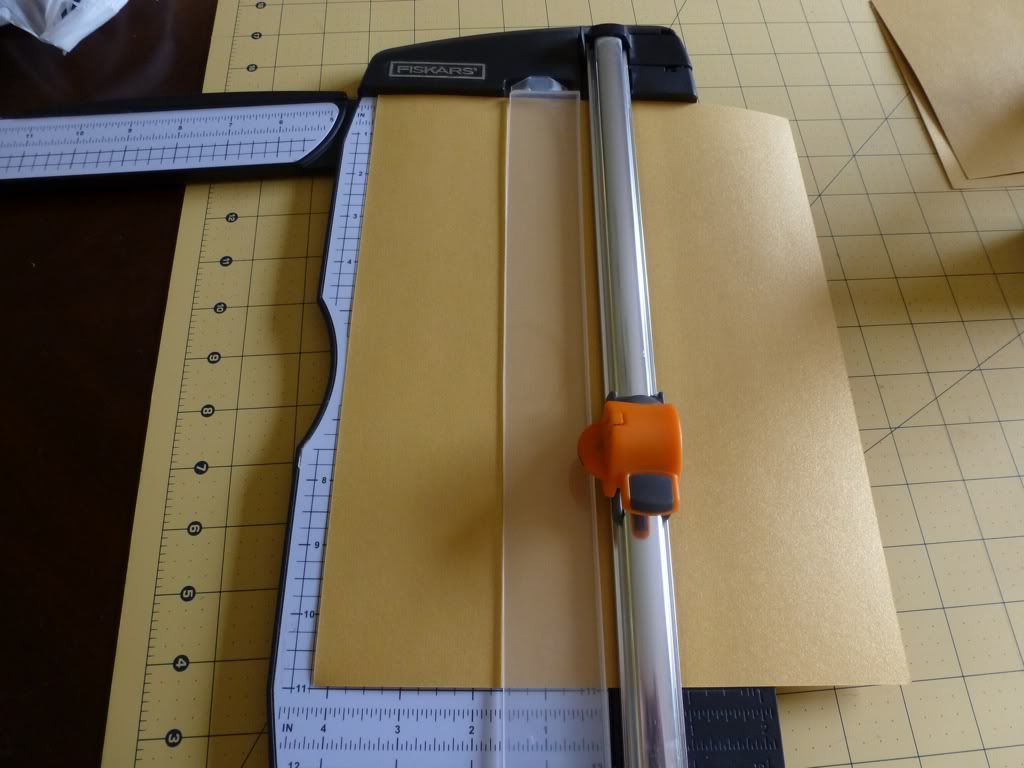
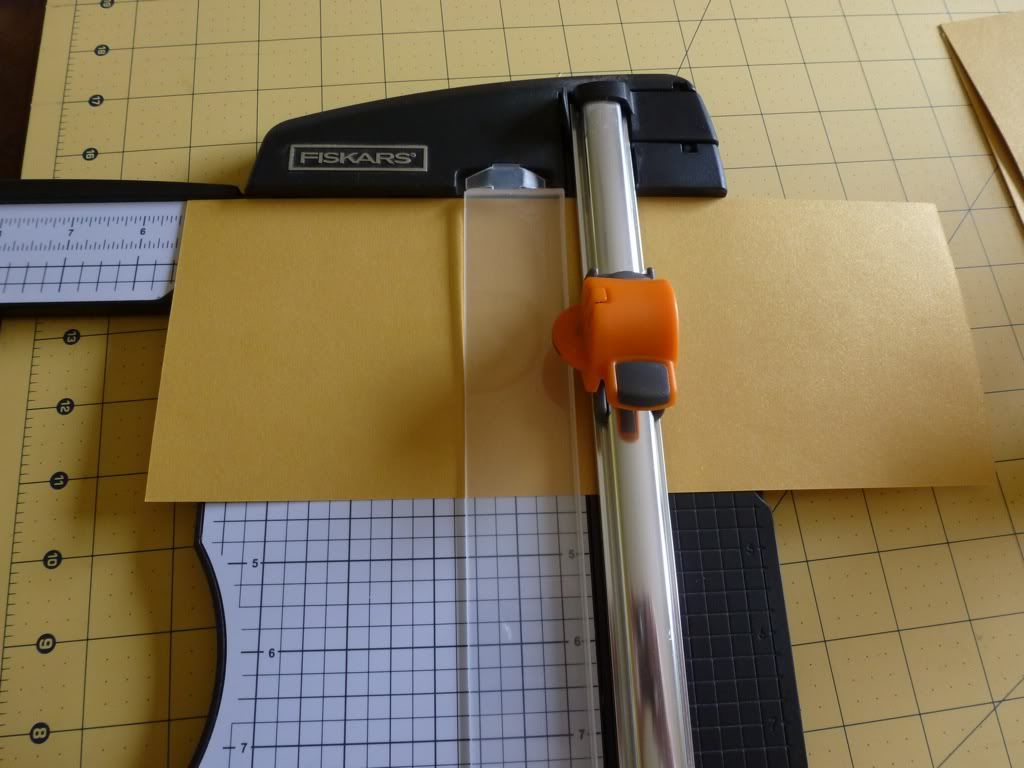
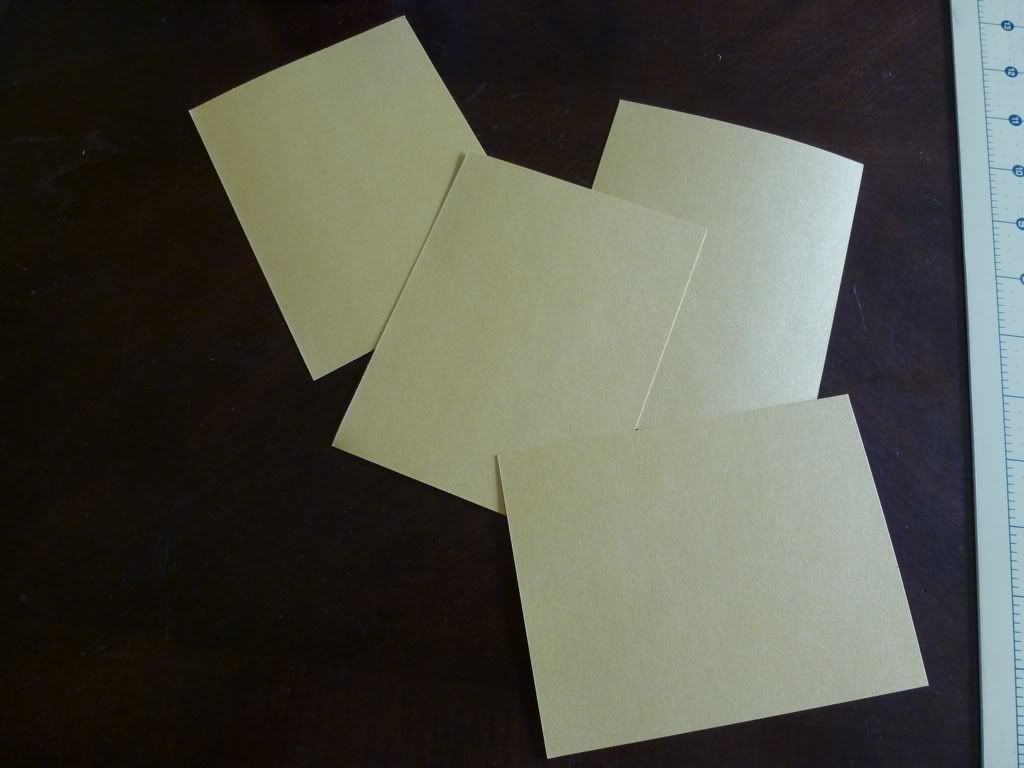
Using your paper cutter measure and cut your paper in half both length ways.
Using your paper cutter again measure and cut those 2 pieces in half again width ways.
Now you have 4 pieces of paper that measure about 4.25 x 5.5 depending on your paper.
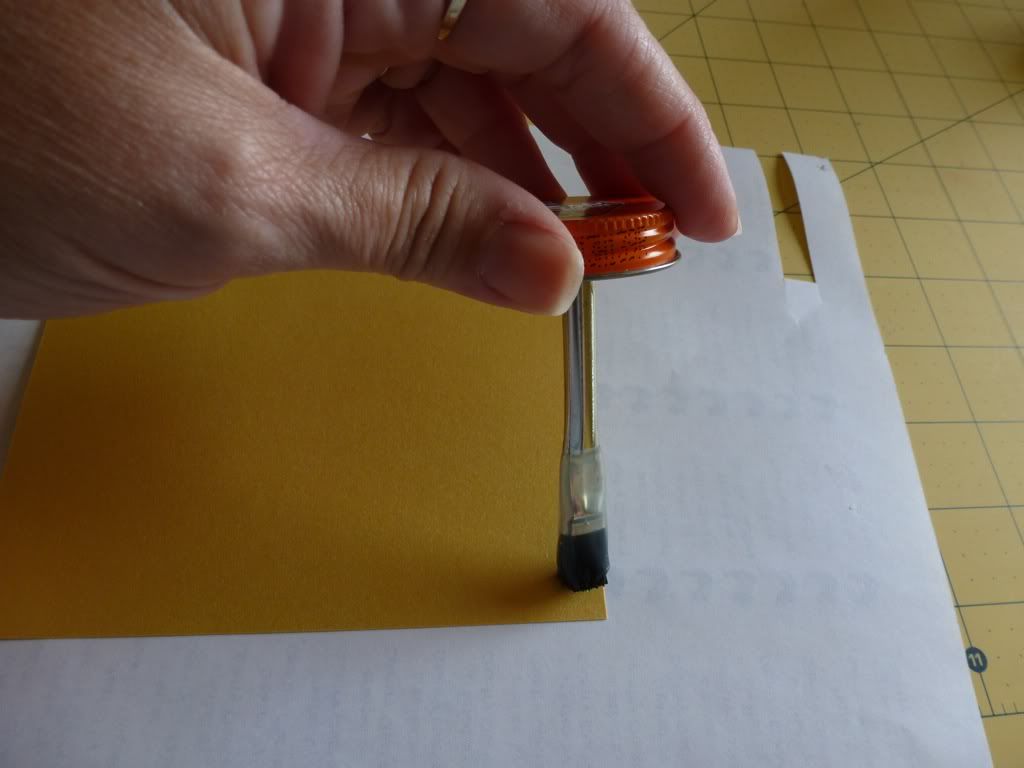
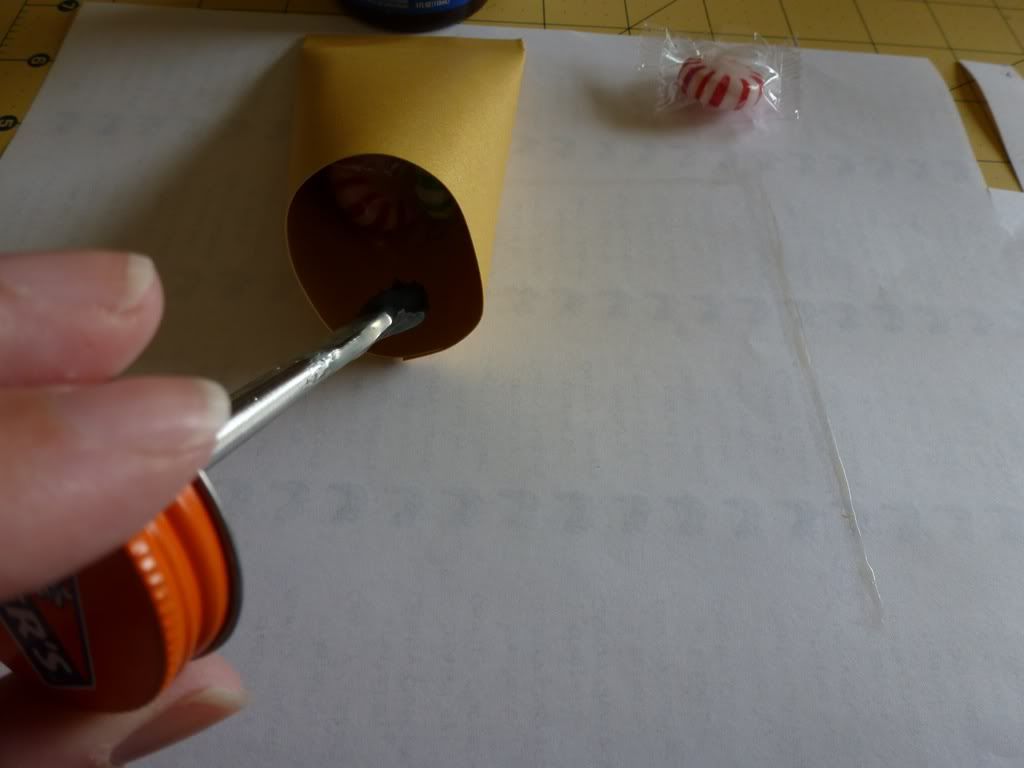
Working on a scrap piece of paper, brush on a line of rubber cement along one short side, and the under side of the opposite short side.
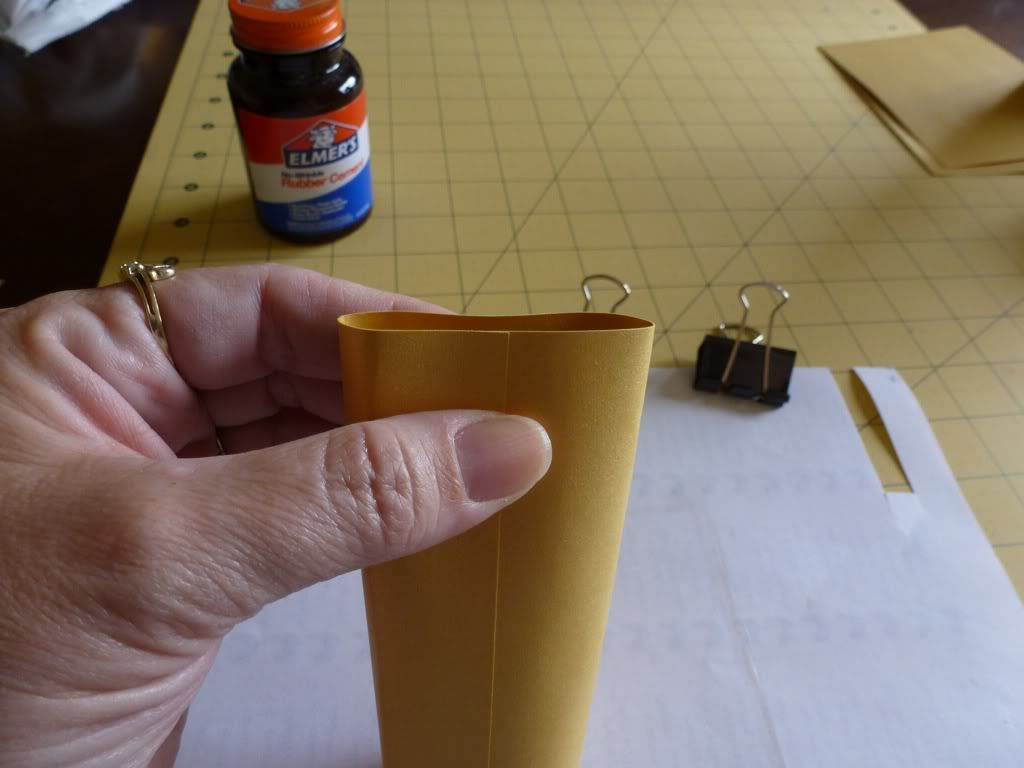
When the glue is dry wrap the paper into a tube and stick the two ends together that were glued. Try not to crease the tube. Rubber cement works differently than most glues. In order to get the best hold one needs to apply the cement to both surfaces being glued together and then let it dry. One the dry ends are pressed together the cement bonds into a really strong hold. Hold the tube together to help the glue bond without being stressed by the paper trying to unroll.
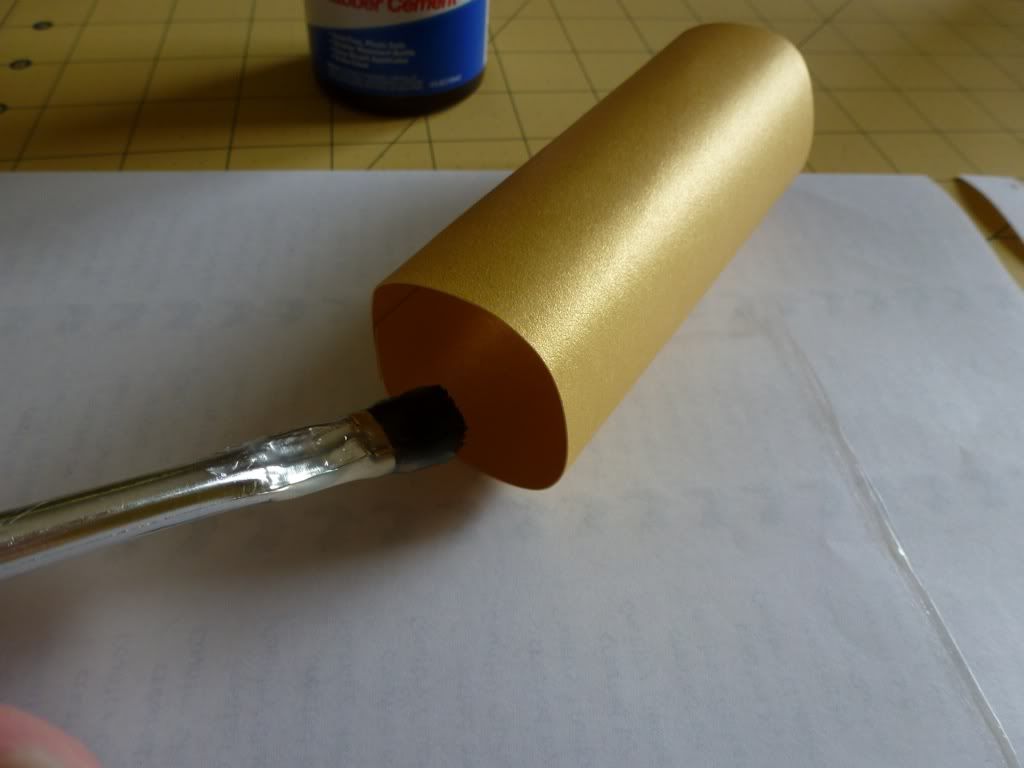
Once secure run glue along the inside of one end about 1/4 of an inch deep. Let the cement dry once again.
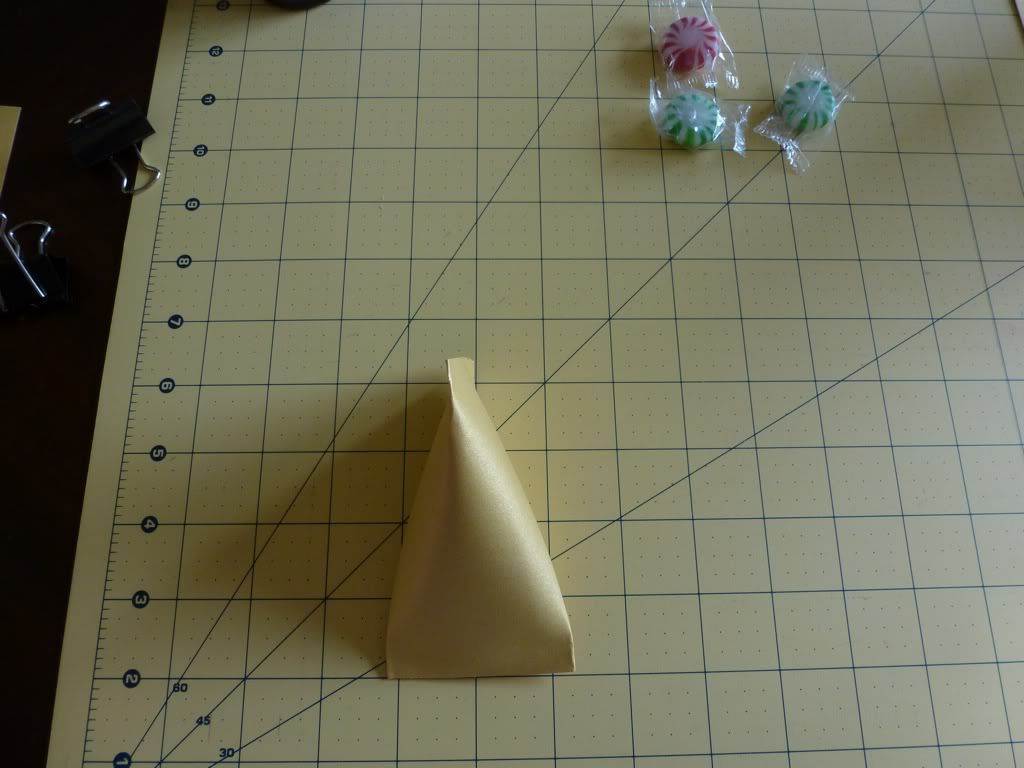
When the rubber cement is dry press the tube shut.
Attach some binder clips to hold the tube together and relieve some stress. Let the tube site for a minute or three to bond well.
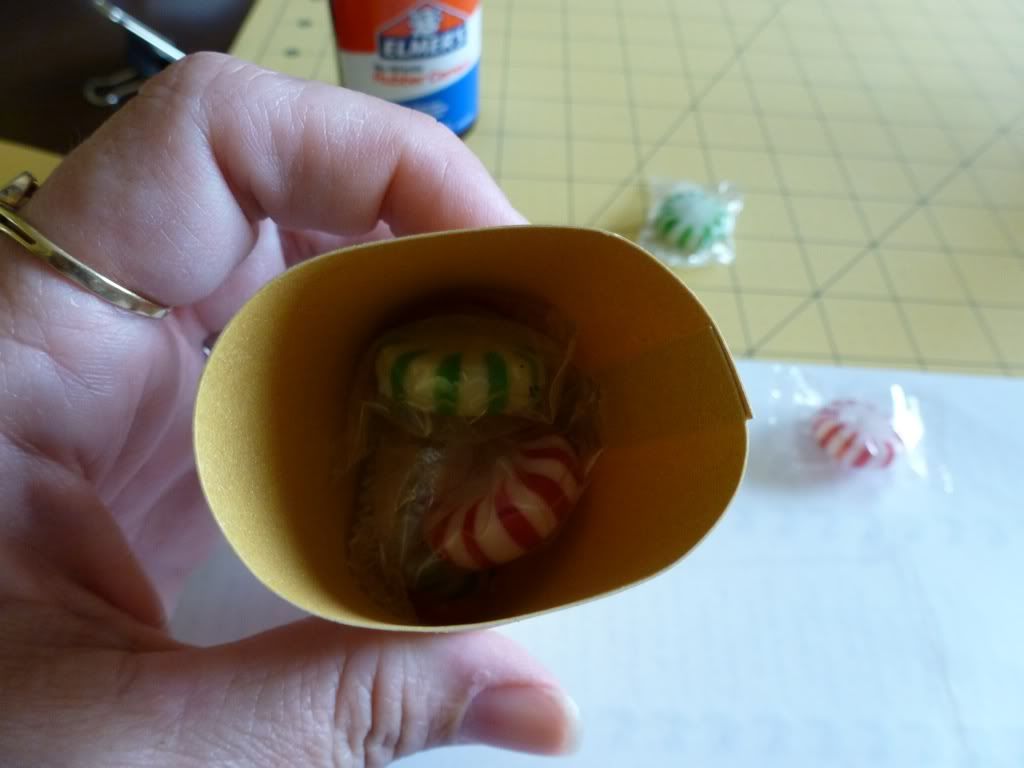
Once it is all bonded, remove the binder clips and turn the tube over so the open side is up. Fill with candy. Sorry all I had on hand was some star mints but this is big enough for candy kisses, rolos or a few miniatures.
Apply rubber cement to the inside rim of the open end. Be careful not to glue any of the candy inside. Let the cement dry.
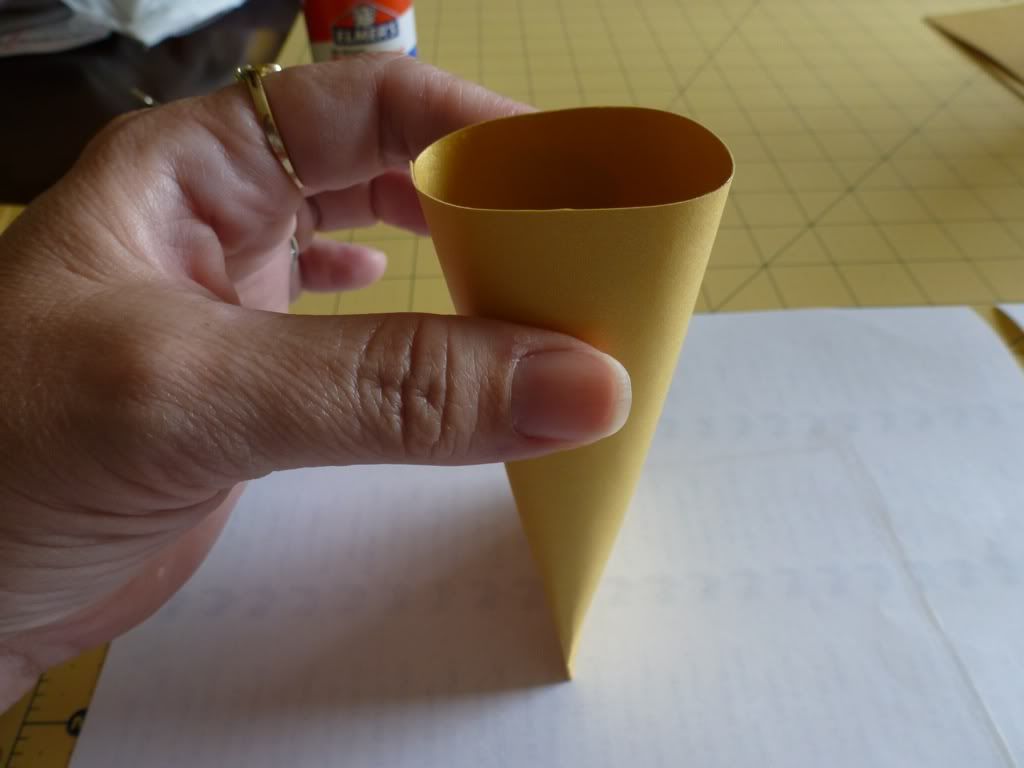
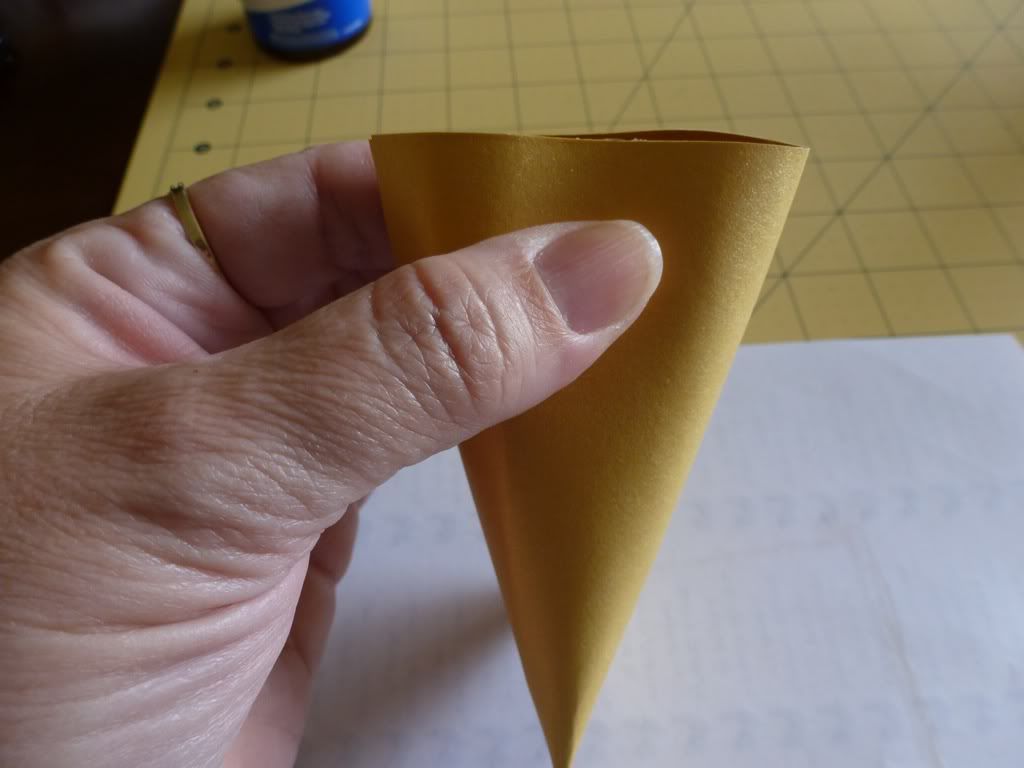
Holding the favor with the bottom flat side perpendicular to you, press the top edge together.
Go slow so that you can get the new seal at a 90* to the bottom seal.
Apply binder clips as before to help it seal.
After a few minutes, or let sit with the clips in place over night, remove the binder clips and it is all done!
I hope you enjoyed this tutorial. You can customize this by printing something on it by stamping or putting it through your computer printer.
-----------------------------------------------Craft Swap
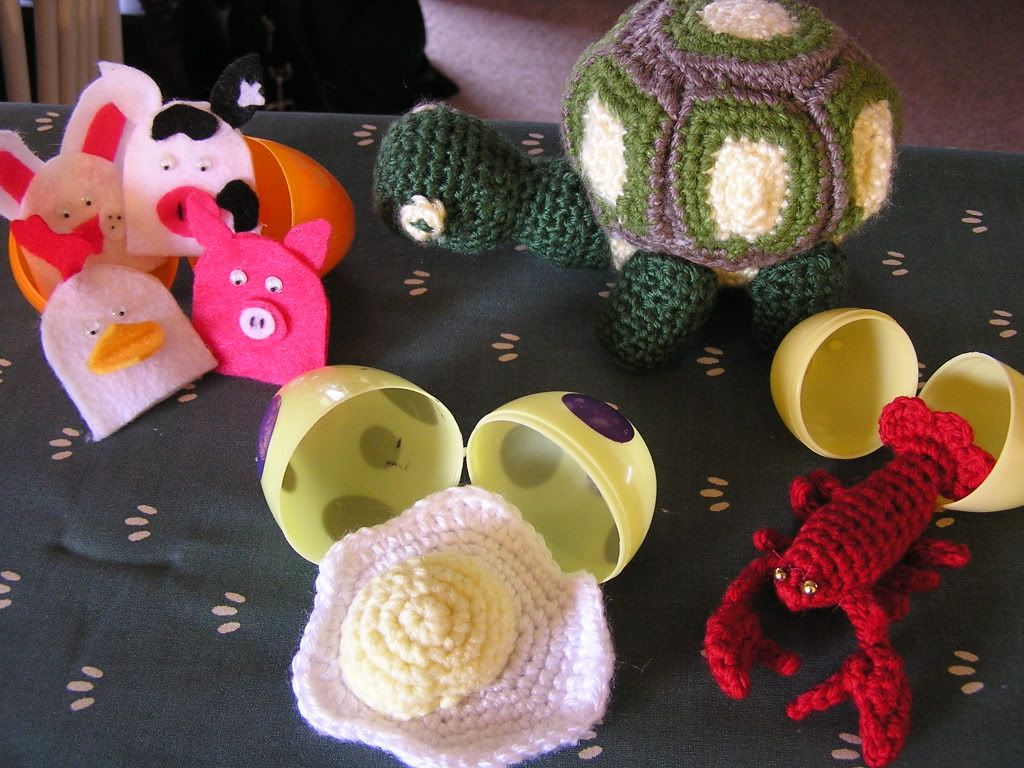
I was in a craft swap recently and it was an Easter Egg Swap. I had to craft for amy partner's 6 year old son. After looking around the internet for a while and trying to think back to when my son was 6...wow that was a long time ago!! I came up with a few fun things to make him.
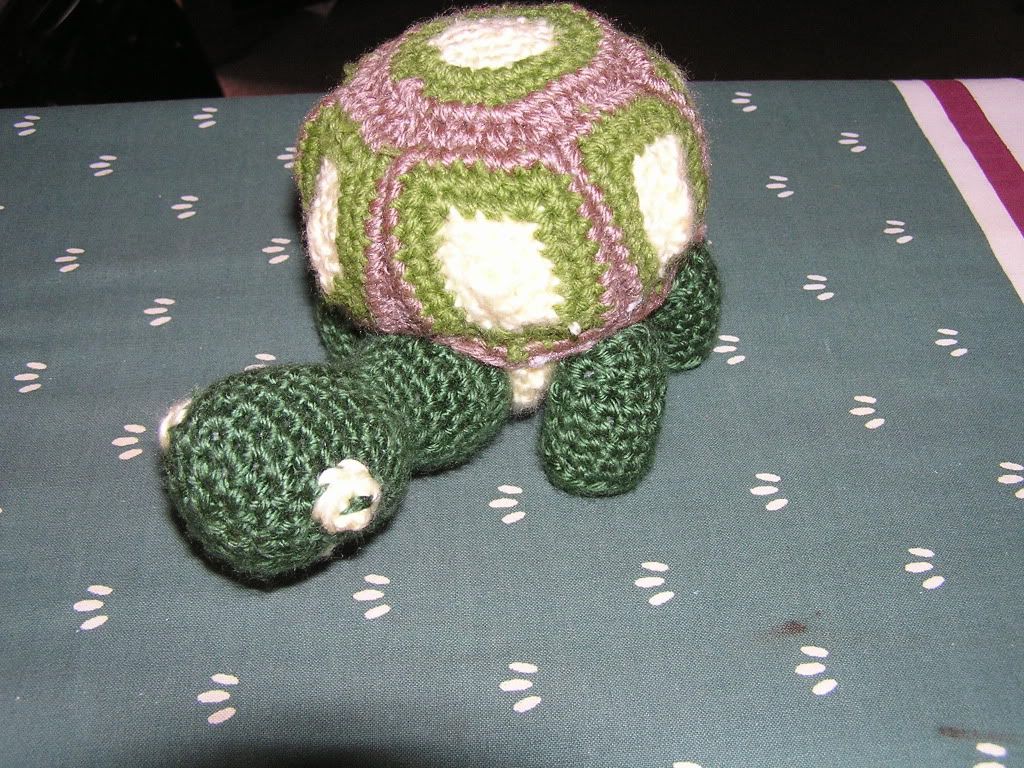
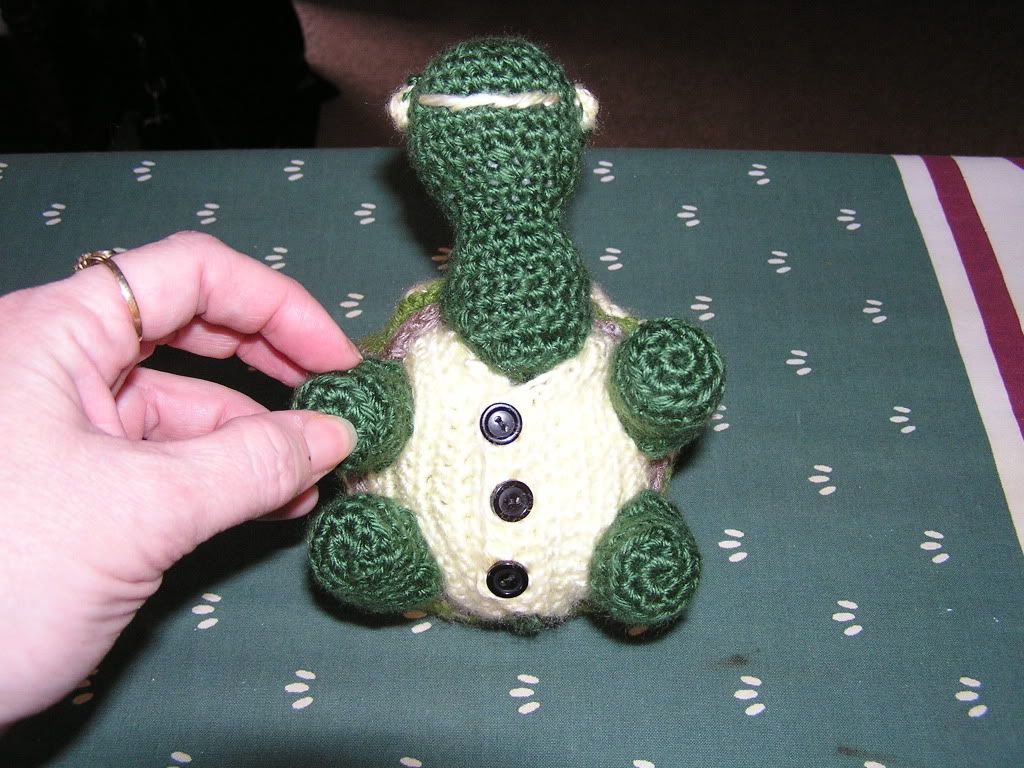
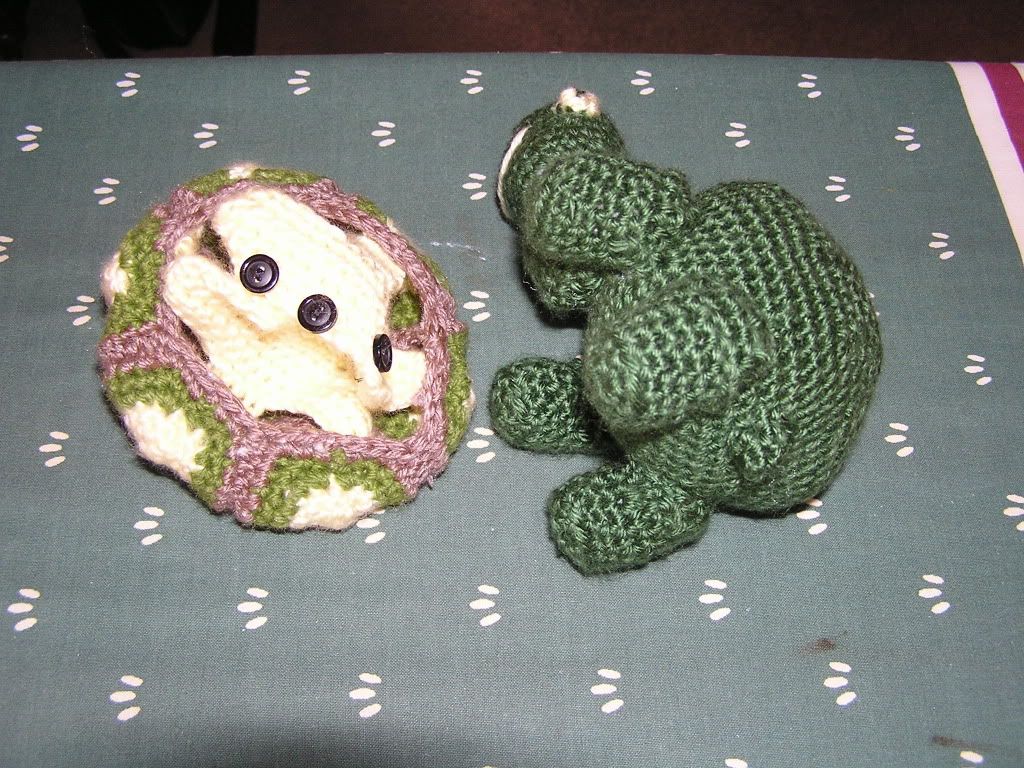
I found this really cute turtle pattern on the internet at THIS WEB SITE. The shell is made separate from the turtle and is removable from the working buttons on the vest.
I think it turned out really cute. I also think I got a little overboard stuffing the body. I made him out of Caron's super soft yarn.

I also made a cute fried egg, I don't have a source for the pattern but I do know it was a Japanese web site and the directions were in Japanese. Thankfully Armig is not hard to figure out and I was able to make the egg.
The lobster pattern came from THIS SITE. This cutie worked up super quick and was fun to make.
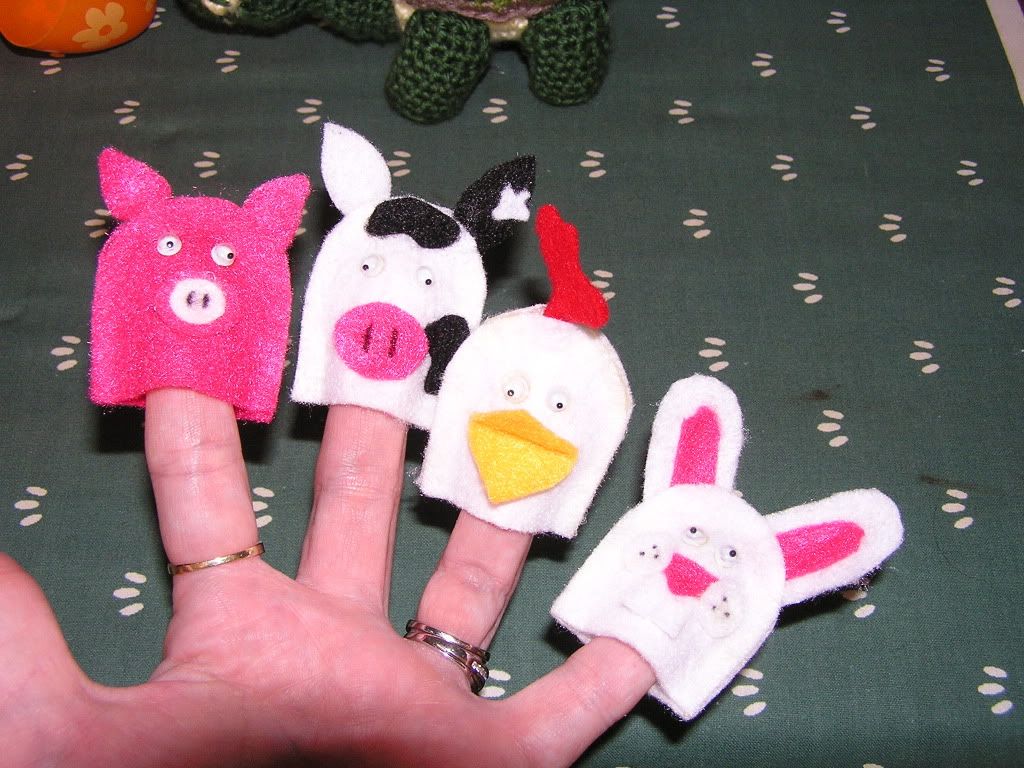
The finger puppets were made from felt and I just winged it to make them. I did a quick search for finger puppets and found a lot of great resources to pull ideas from. I think they all turned out cute.
Crocheted Hats
Here is a hat that I crocheted for myself. The yarn is a wonderful hand spun wool that is really soft and wonderfully warm. The pattern is a free one I got off the internet. I will have to dig up my pattern to see where I got it to link it here. I got the yarn as part of a 'Magic an Ball' Swap from Craftster's Web Site. I had a great partner in that swap and she gave me some super cute yarns. I love the colors in this.
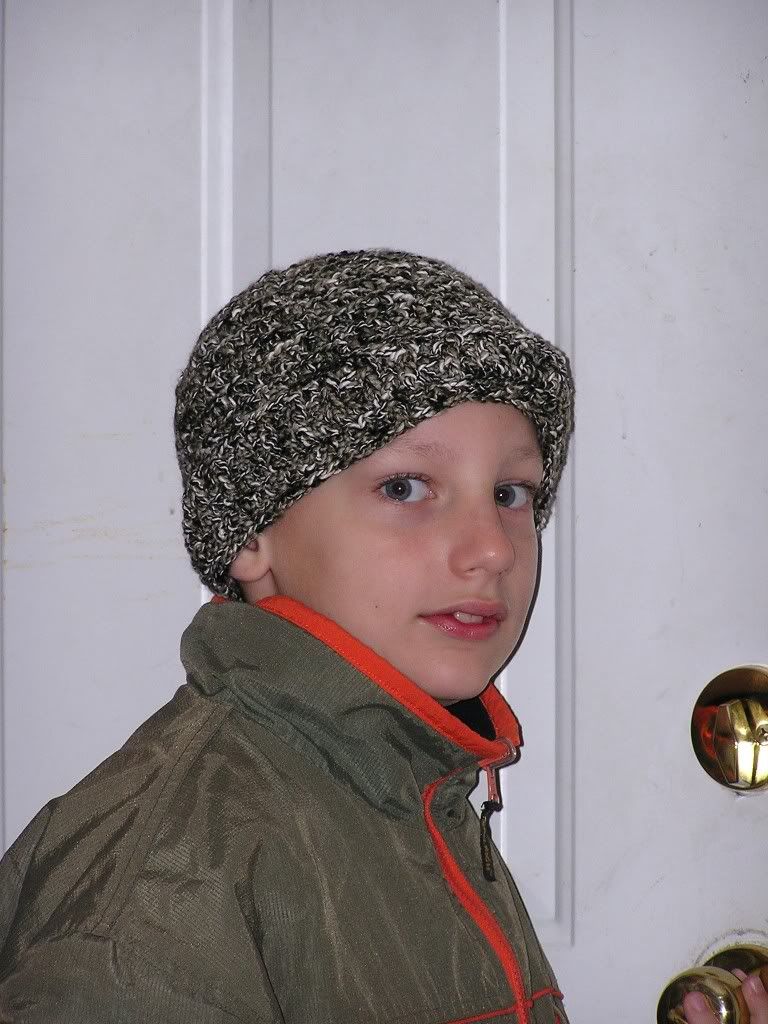
My son has always wanted me to make him hats. Here is another free pattern I got off the internet. He wore this hat a long time.
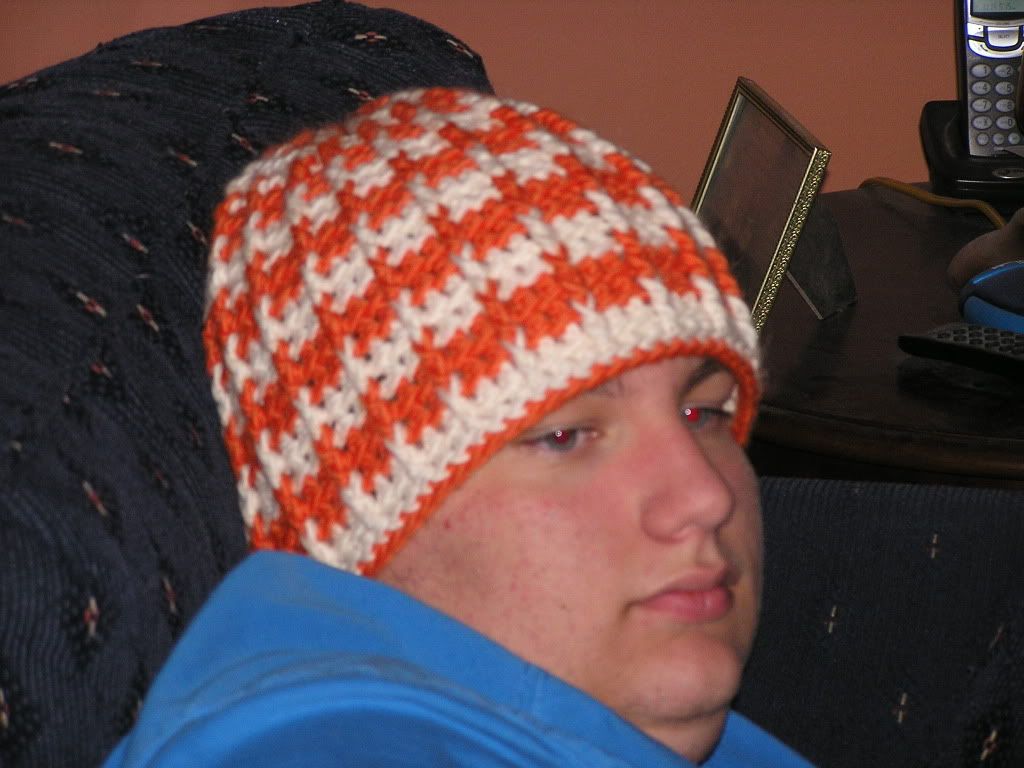
Now that my boy is much older his tastes have changed over the years, but he still wants me to make him hats. He is really into UT (University of Tennessee) right now and asked for an orange and white hat. I made this pattern myself and used a nice soft wool yarn to make it. He says it is very warm and he likes it a lot. Hard to believe that the boy in both of these pictures is the same kid!
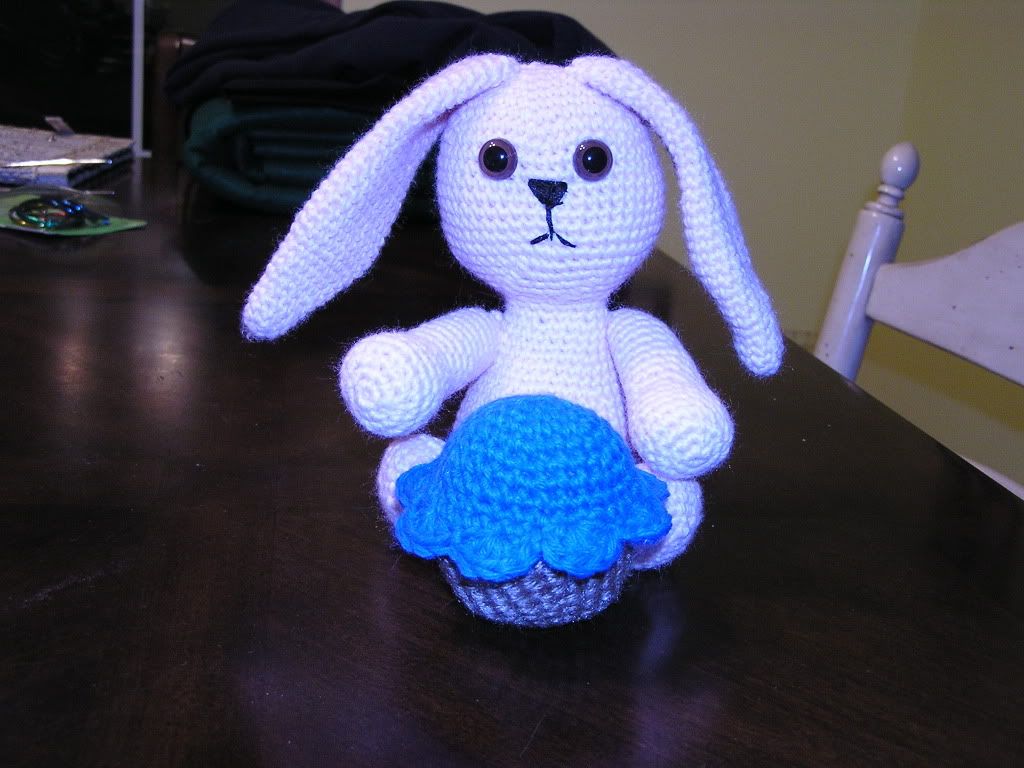
Crocheted Bunny and Cupcakes
It was fun to do a test pattern for a lady who was looking to sell her newly created pattern. The cupcake pattern is free and you can find it on the we by doing a search for cupcake amigurumi patterns. The bunny and the cupcake are both Amigurumi. This is a type of crochet that is done basically all in single crochets and in the round, meaning that you don't finish one round and then chain to start the next round, you just keep going in a spiral pattern. Stitch markers are a must to keep track of where you are at all time.
I made all these cute little things along with a few other items for my niece for Christmas one year. This type of crochet is fun but it takes concentration so you don't get messed up. I think the results are just cute as can be.
I learned how to crochet a long long time ago. I remember standing behind my grandmother watching her crochet slowly so I could pick up on the technique. I was about 6 or 8 at the time. I have been crocheting ever since. I love to do it as it reminds me of both of my grandmothers. My mom's mom was the one that so patiently taught me so many years ago, and my dad's mom did tons of crochet all her life. I was taught the straight up yarn and basic granny squares. From there I self taught myself more styles and made thread doilies and snow flakes, cotton dish clothes and scrubbies, and other patterned afghans.
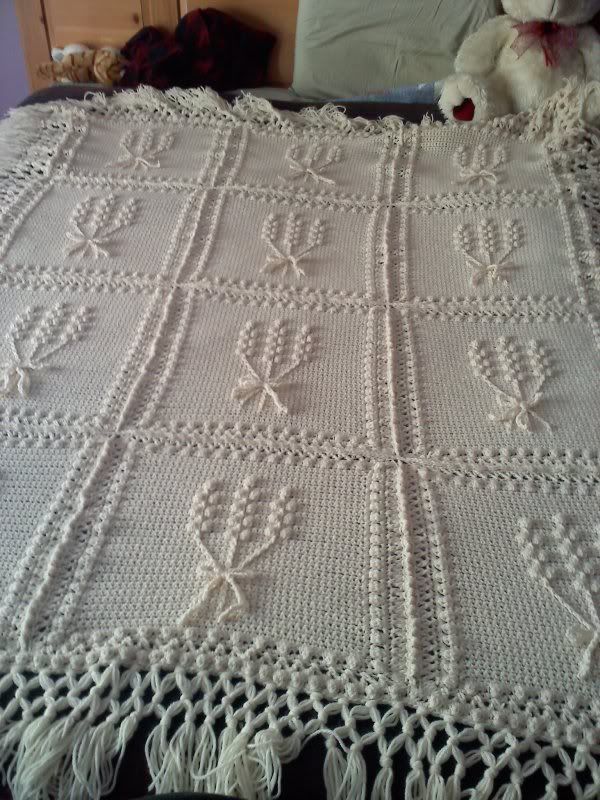
I made this for my cousin's wedding present:
The free pattern is called Aran Nosegay Throw. This afghan was fun to make. The fringe was crazy to do but it turned out very nice. I made it from Lion Brand Wool-ease wool blend yarn so it is super warm and very soft. I kept the color neutral as I do not know what colors they are decorating their house with. This should go with anything they have.
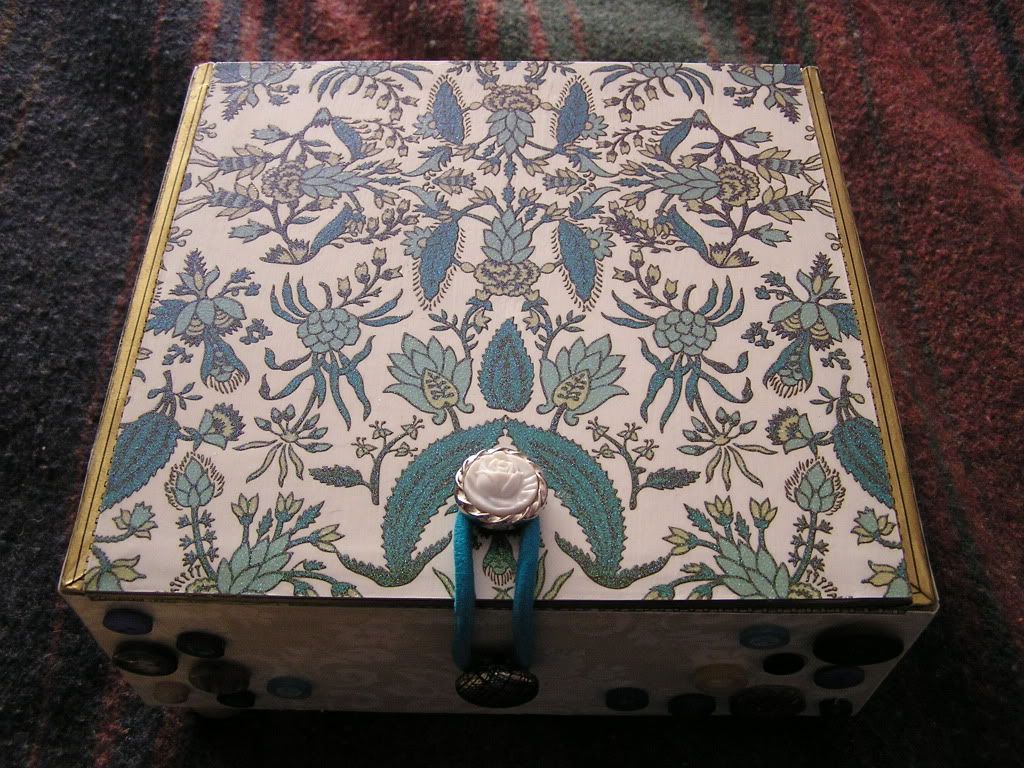
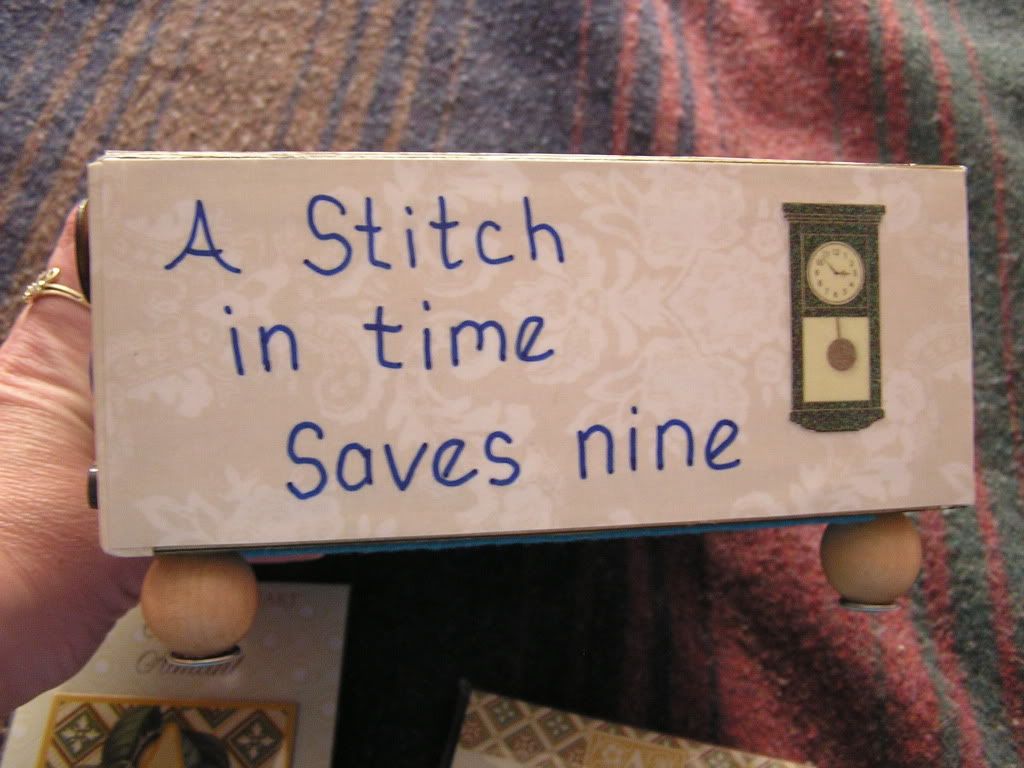
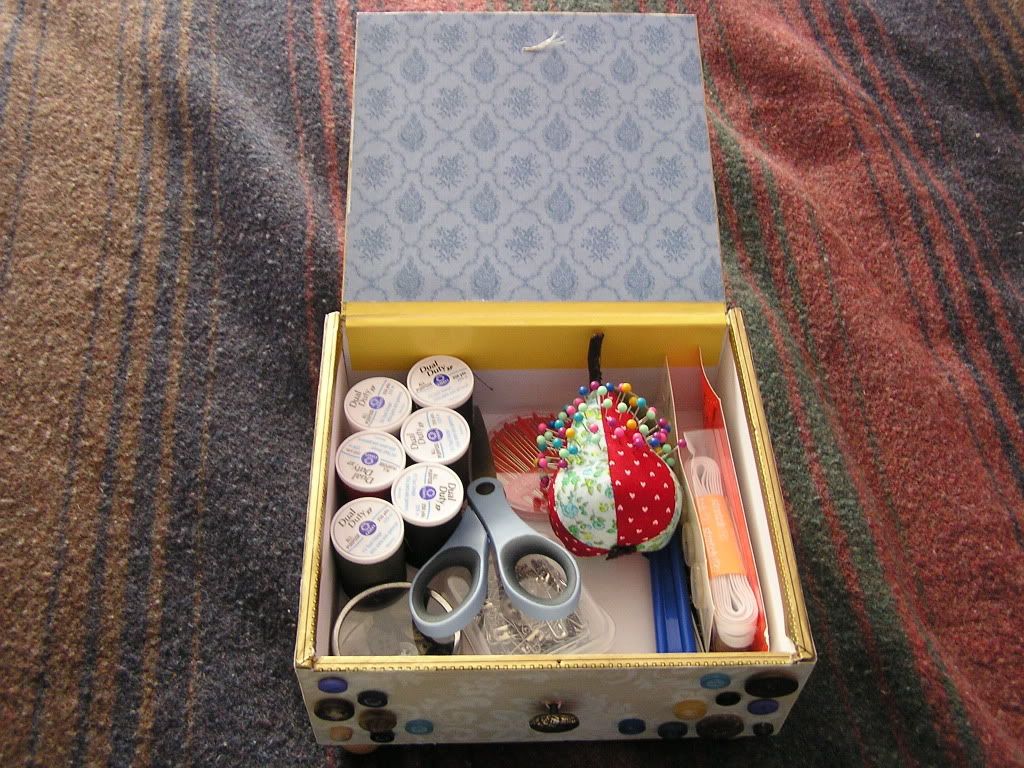
Sewing Box Made from a Cigar Box
I made this sewing kit as part of the total gifts for my cousin's bridal shower. I started with a cigar box, scrapbook paper, felt, large beads, old buttons, a pony tail hair tie, fancy push pins, marker, modge podge, hot glue, and 6000 glue. I also used a drill to drill holes in the lid and front to sew the buttons in place with heavy duty thread. I filled the box will all the essentials one would need to do some by hand mending - threads, needles, safety pins, straight pins, pin cushion, scissors, elastic, buttons, hem ruler, buttons, seam ripper, etc.. I even made the pear pin cushion.
Diaper Cake
I made this diaper cake for a dear friend of mine when she had her last baby shower. It was pretty easy to make. I used a cake board for the base, covered in foil. I used empty paper towel roll core as the center of the cake. I kept the diapers folded as they come out of the package and just wrapped them around the core. adding more and more diapers as I went. When I was happy with the size of the base tier, I secured the round with a very large rubber band and then again with ribbon. I moved up the tiers doing the same thing. Once all the tiers were made I inserted a baby bottle at the top and tucked in all the goodies. I folded a blanket and wrapped it around the bottom tier and as you can see all the tiers are secured with ribbons. This was pretty easy to make. It is a little tricky to get the diapers in place and hold them as you add more diapers. Another person to help would be nice but I managed with rubber bands.
-----------------------------------------------------------------Valentine's Box
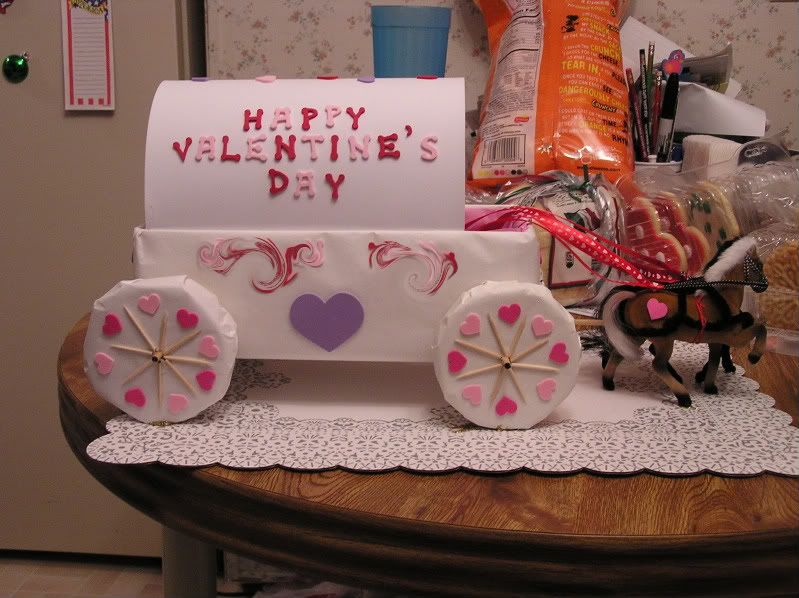
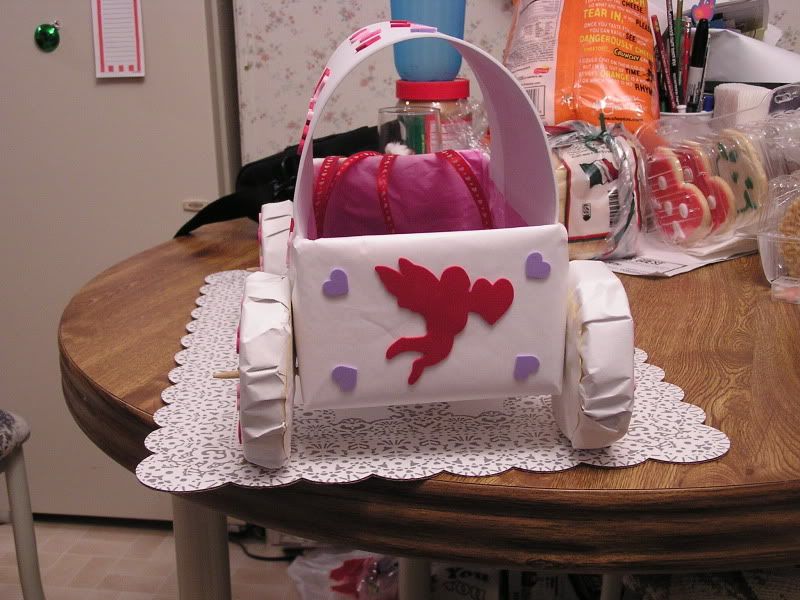
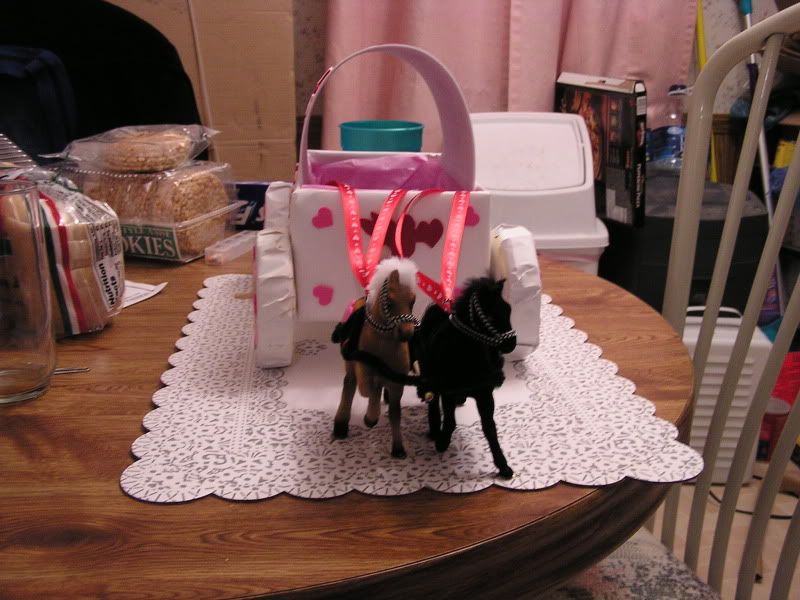
Here is a super cute and really easy Valentine's Box you can make with your child. All it took was a shoe box bottom, foam circles, a cake board, craft foam, craft foam Valentine's stickies, freezer paper, tooth picks, chop sticks, tissue paper, ribbon, and some small toy horses. You will also need tape and glue.
Wrap the shoe box on the outside with the freezer paper taping it to the inside of the box. Line the inside of the box with colored tissue paper. Wrap the 4 foam circles in freezer paper. Use the chopsticks and poke holes through the box all the way through and out the other side. These will be the wheel axles. Press a foam circle wheel to the outside of the box onto the chopstick that is sticking out. Glue tooth picks to the outside of the wheels to make the spokes.
Glue an 8x11 sheet of craft foam to the edges of the box to make the cover for the covered wagon. Decorate the whole thing with the Valentine's foam stickies.
Secure the wagon to a cake board with glue. Position the horses in front of the wagon and glue them in place. Add ribbon for their reigns.
There you go one chuck wagon of love! My son and I made this a long time ago when he was in first grade. He took 1st place with it at school.