More Retro Reversable Aprons
-------------------------------------------------------------------------------------
Tutorial: How to make your own clothing labels/tags


-------------------------------------------------------------
Retro Christmas Apron

--------------------------------------------------
Pear Pincushion
--------------------------------------------------------------------------------
Amanda's Apron
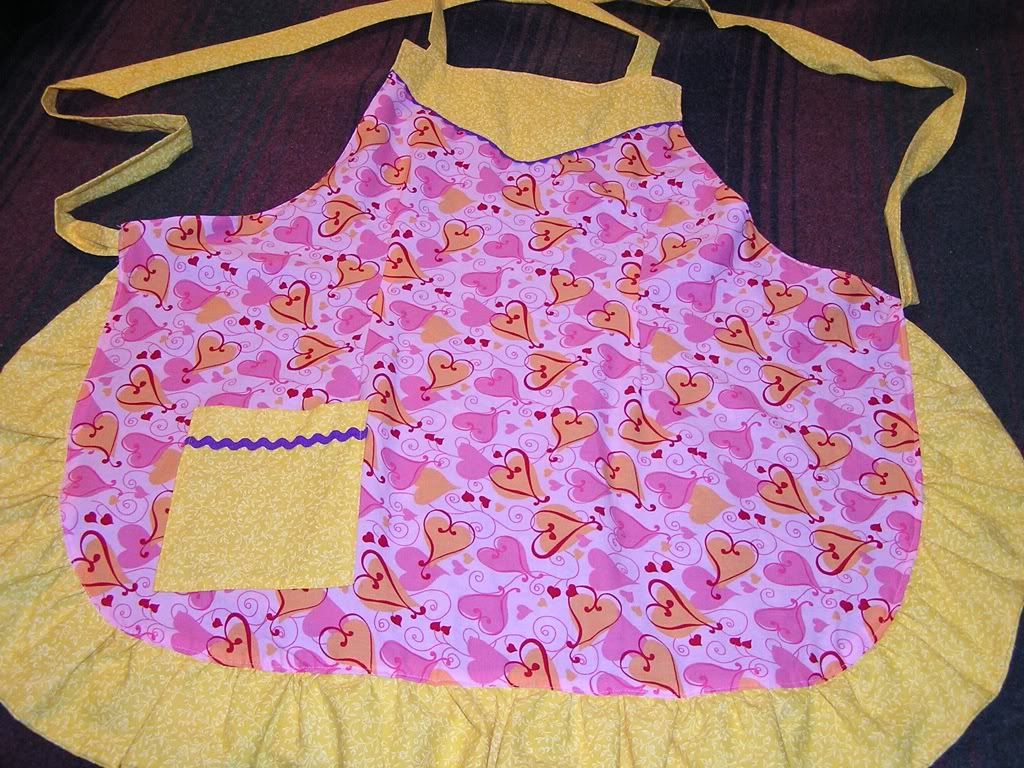
I am so loving this retro apron pattern. I like it so much that I am in the process of making several that are holiday themed and regular just fun themes.
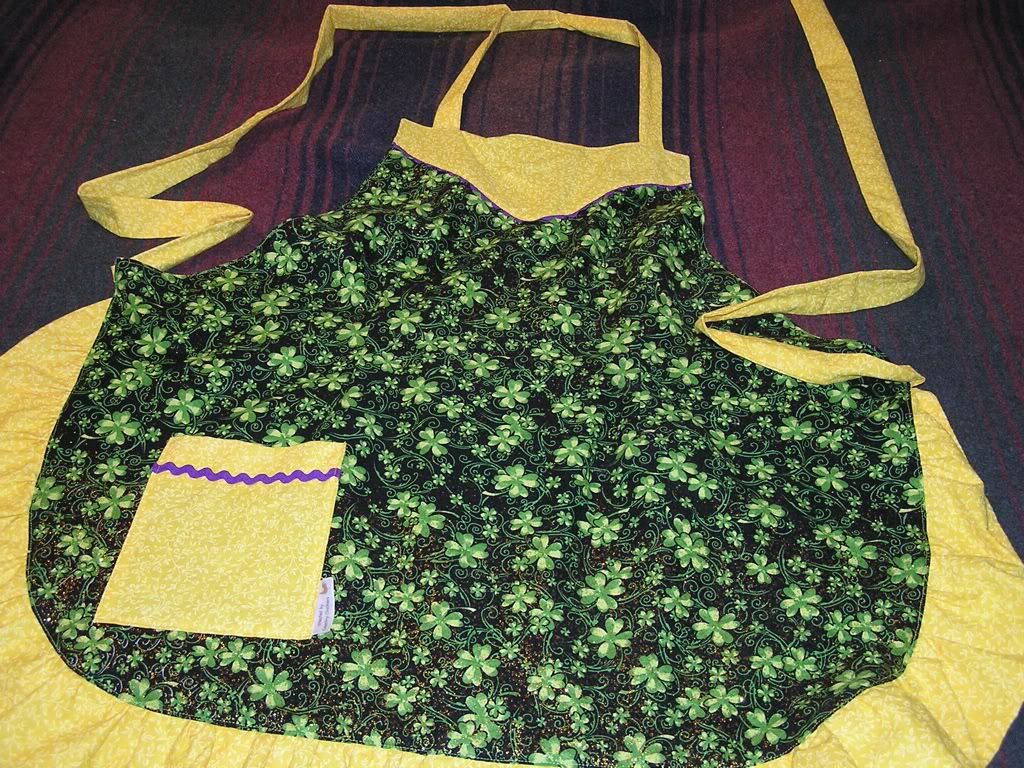
Here is one that is Valentine's Day on one side and St. Patrick's Day on the other. Both sides are completely finished with the same yellow accent fabric ruffel and straps. Both sides also have a pop of purple rick rack to accent both sides.
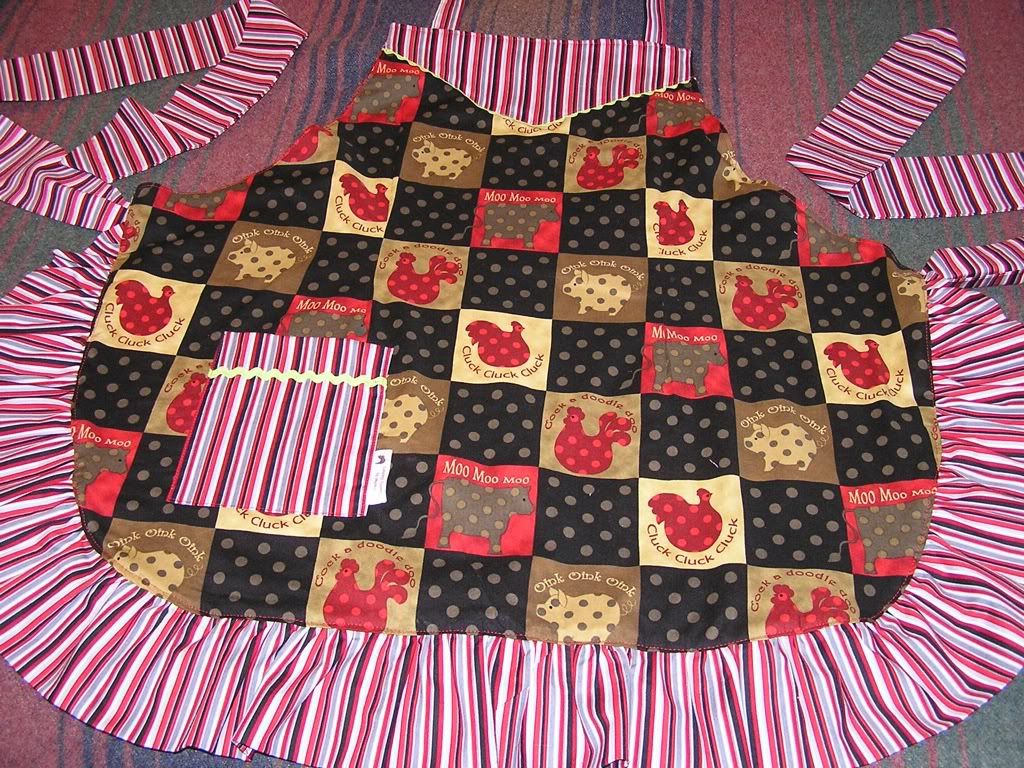
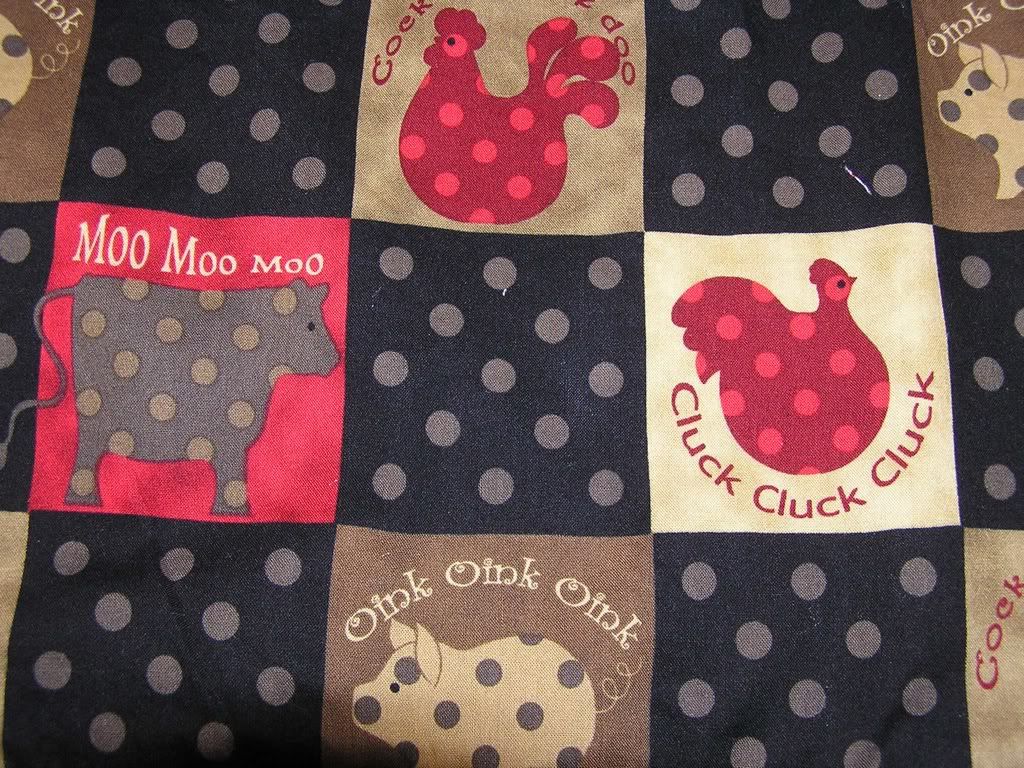
This one is jsut plain fun! I love the barnyard fabric and the sassy strips jsut set the whole fun mood. This is the first time I have ever worked with a striped fabric. I would say it went well.
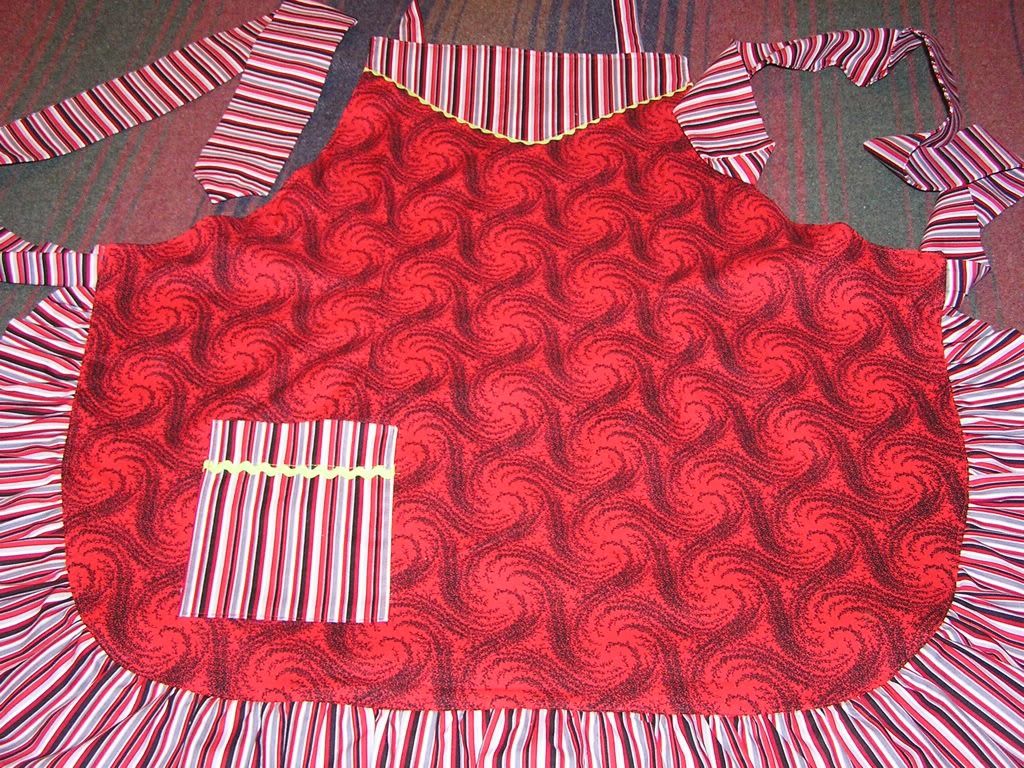
The reverse side is a fun red swirl print with the same stripes. A pop of lime green rick rack is the accent color for both sides.
Here is a close up of the barnyard print:
If anyone is interested in having me make one for them jsut contact me and we can work out the details.
Tutorial: How to make your own clothing labels/tags
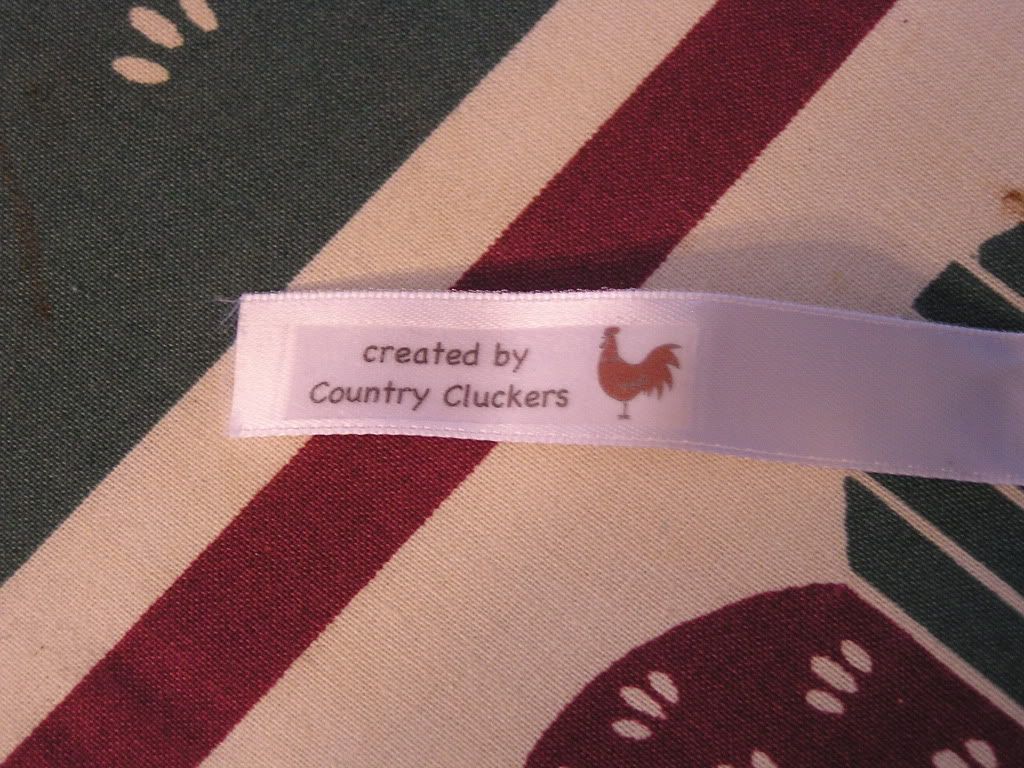
This is a step by step tutorial on how to create your own labels for clothing, bags, or other hand made wares. This will add a bit of professionalism and marketing to your goods.
To make your labels you will need: a computer with some sort of document creating software (I use a Mac and Numbers program to make mine), a printer, iron on transfer paper, iron, ironing board, ribbon, scissors, lighter, and candle.
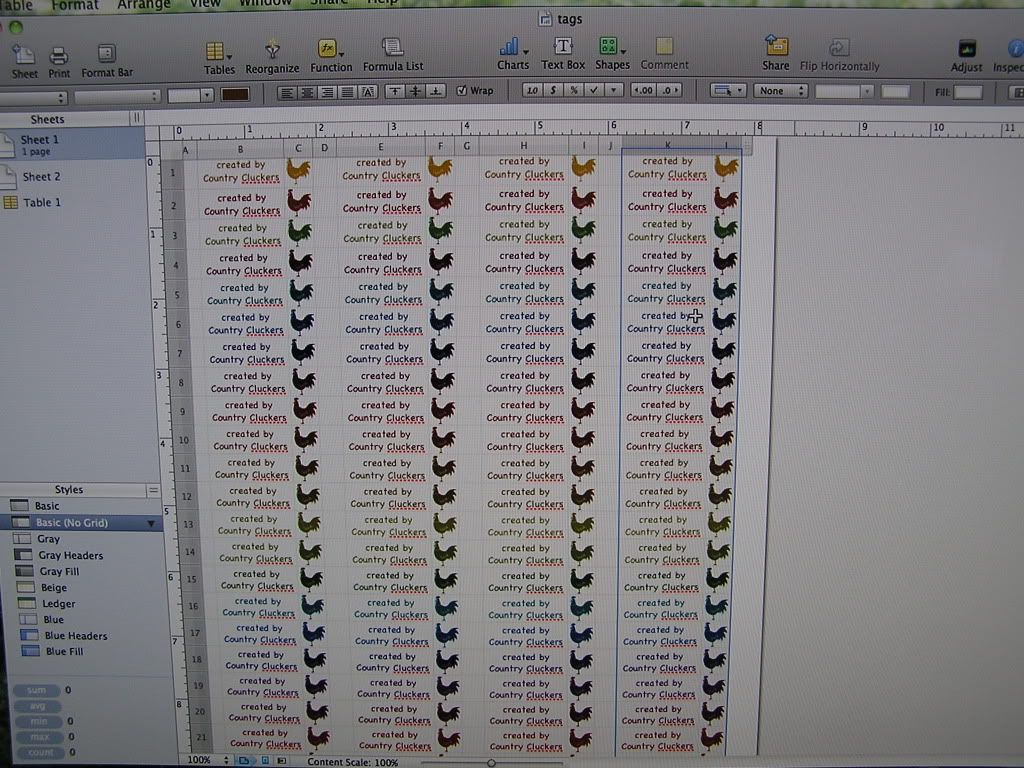
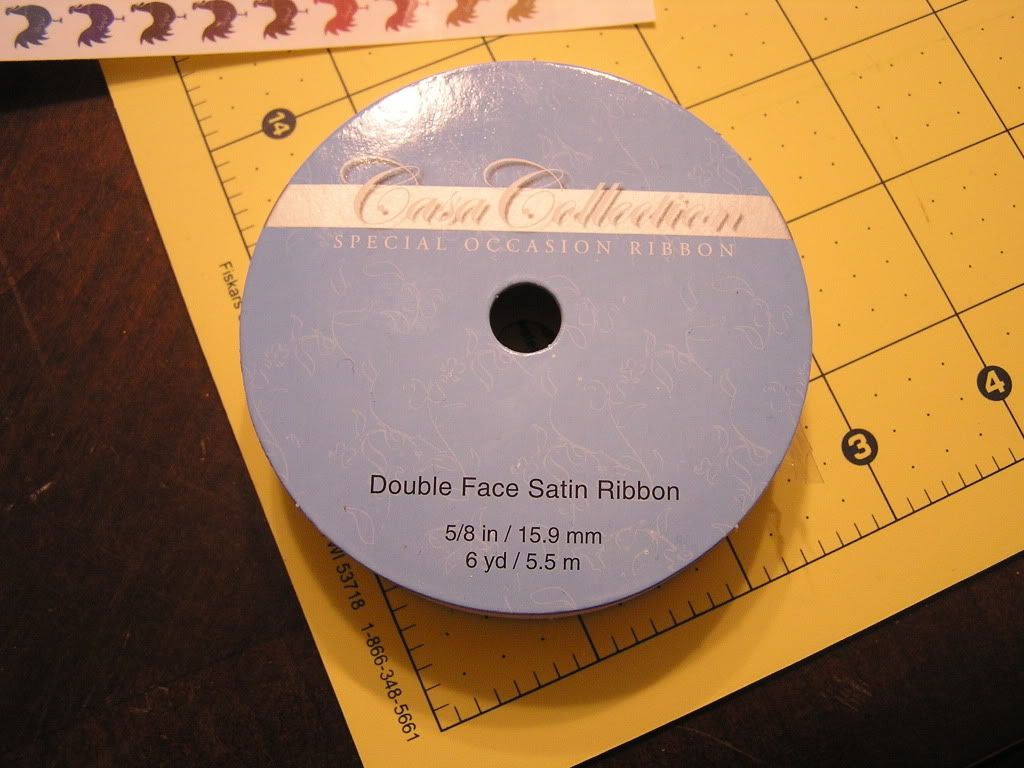
Lets get started. On your computer create your labels, making them a tiny bit smaller than your ribbon width. I used 5/8" ribbon and made my cell height 0.4". Once you get your design created to your liking, fill the page up with the design.
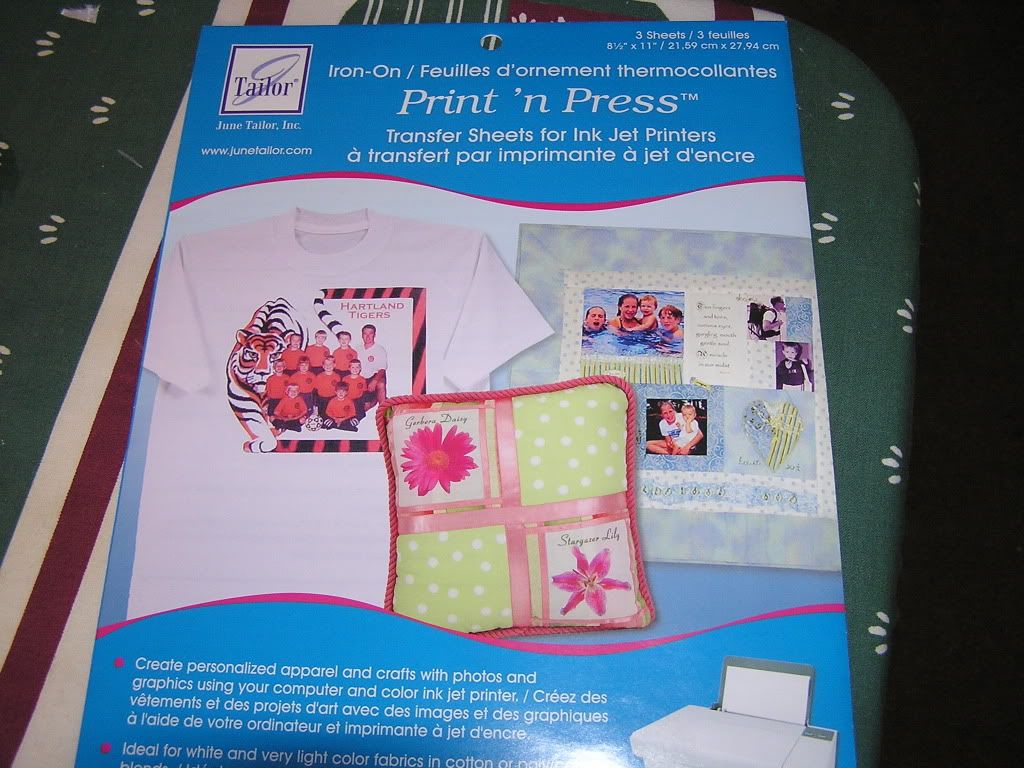
You need to use some sort of iron on transfer paper. I picked this up at the fabric shop with a coupon and got it for next to nothing. Load a sheet of it into your ink jet printer so that it will print on the plain side Do a test print with plain paper to figure out which way to insert the paper.
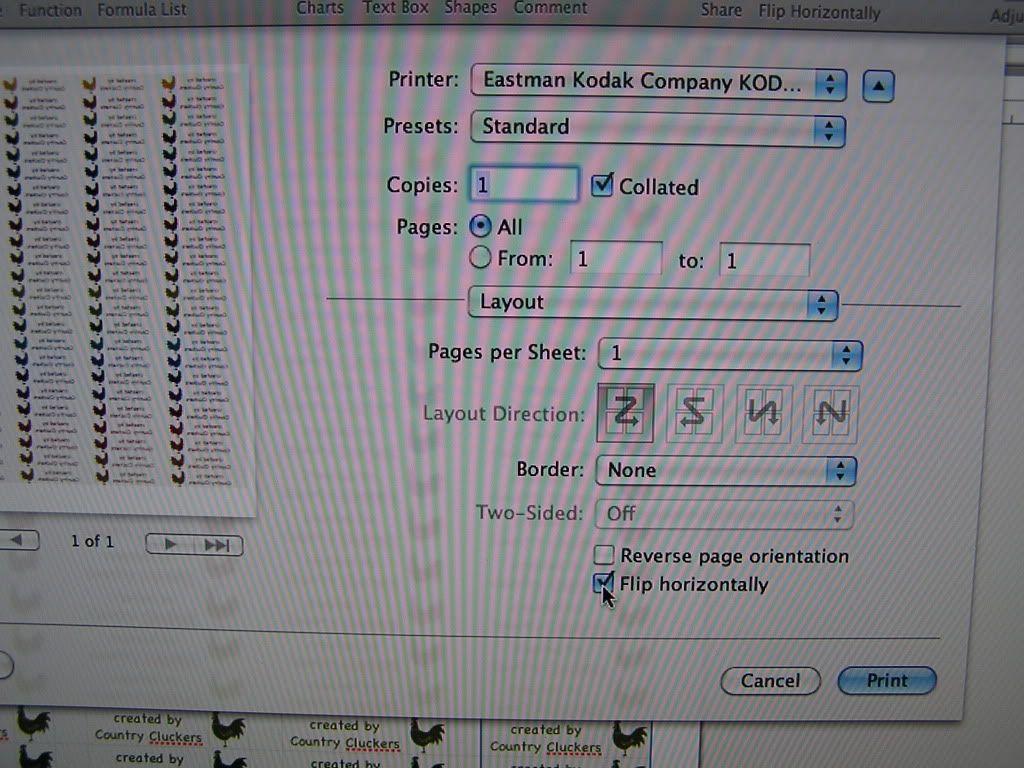
Print the file, making sure to select mirror print, or reverse image, or flip horizontally. One of those selections should be available to you in your print window.
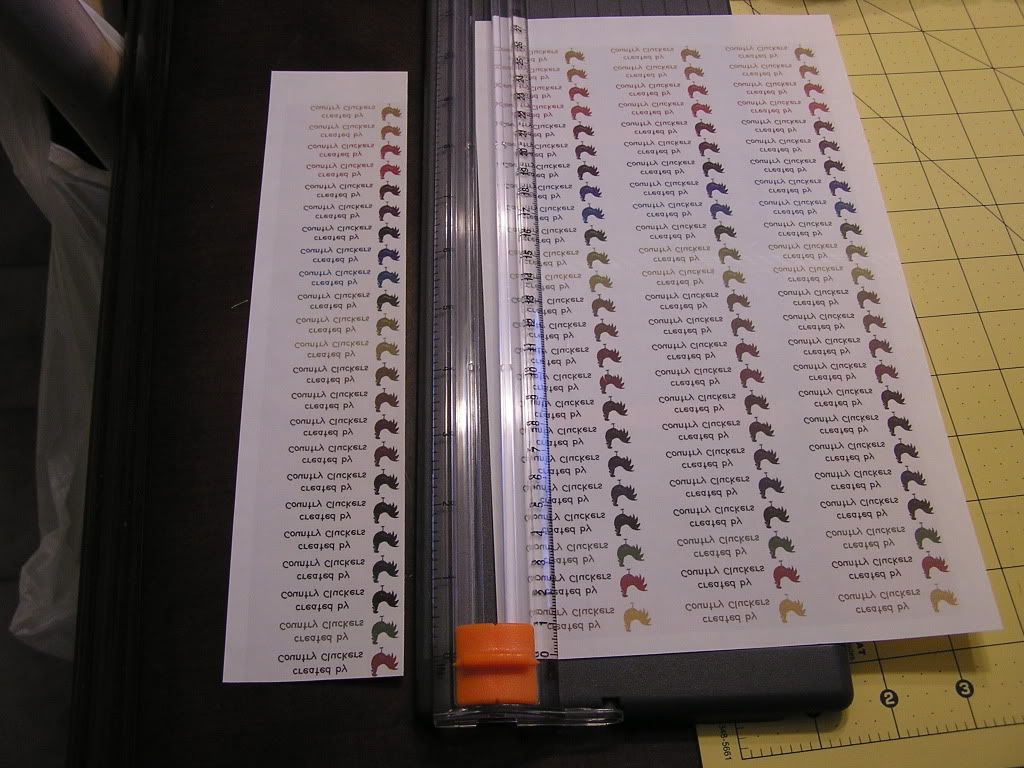
Now that you have it printed onto the iron on transfer paper, cut the lables apart. Turn your iron on to NO STEAM and about a medium high setting. On my iron that is about a 5 or 6.
Roll out your ribbon onto the ironing board. Place your cut out graphic face down onto the ribbon.
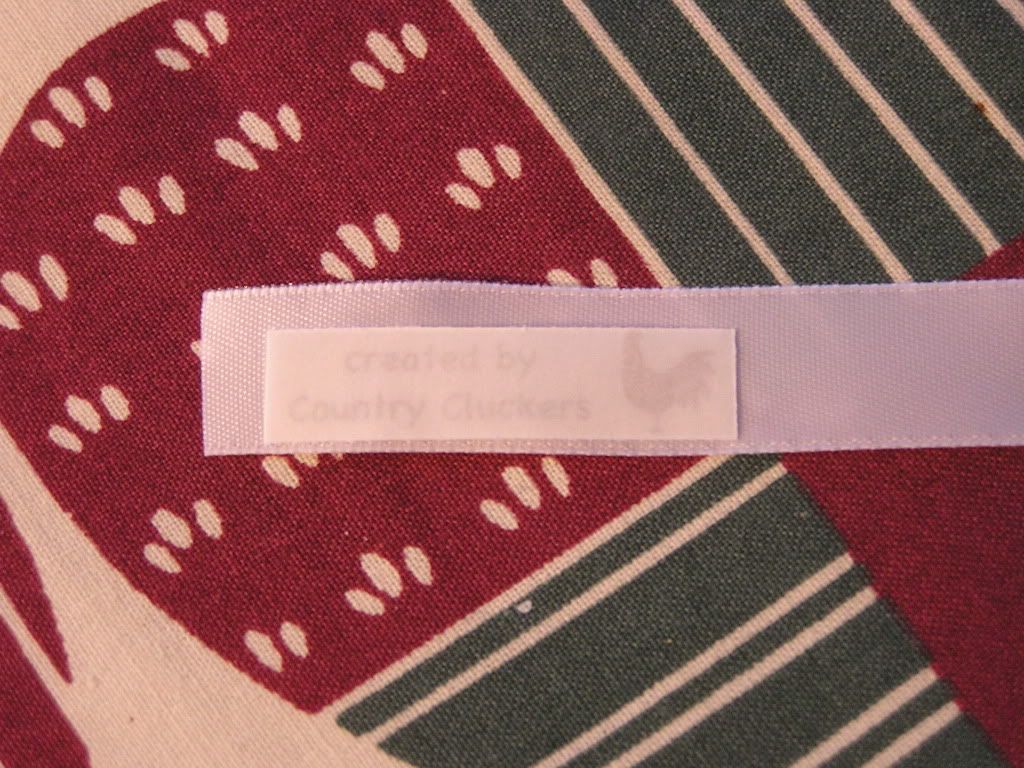
Place the iron on the graphic and apply moderate pressure for a few seconds.
Carefully remove the backing of the transfer paper.
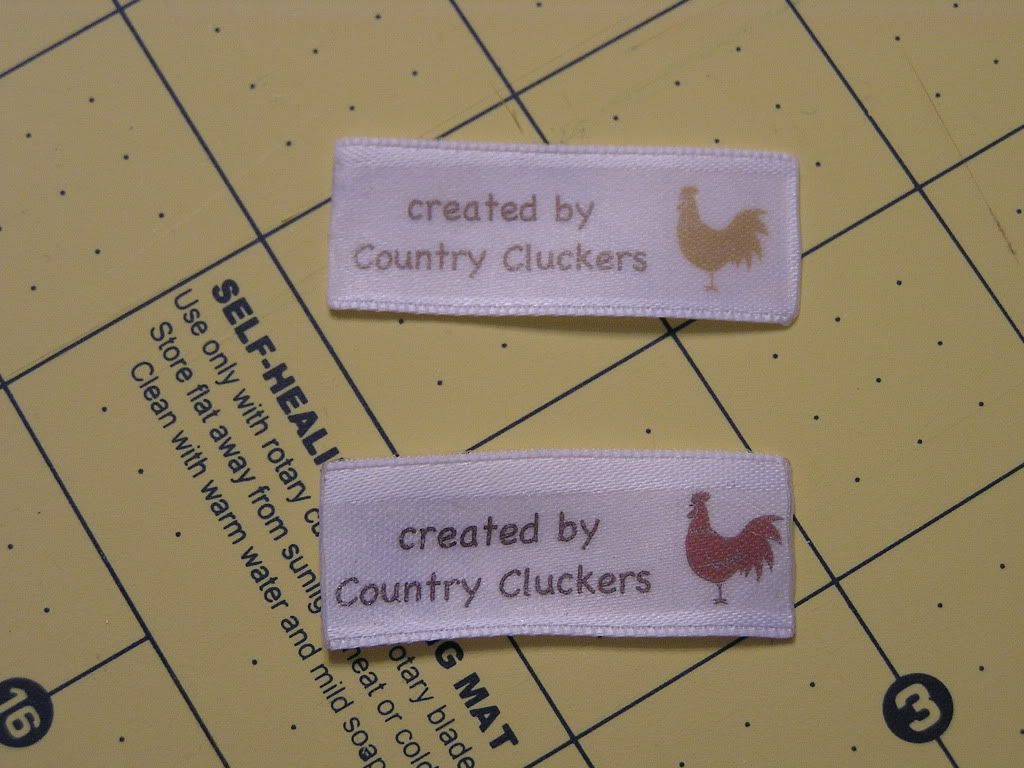
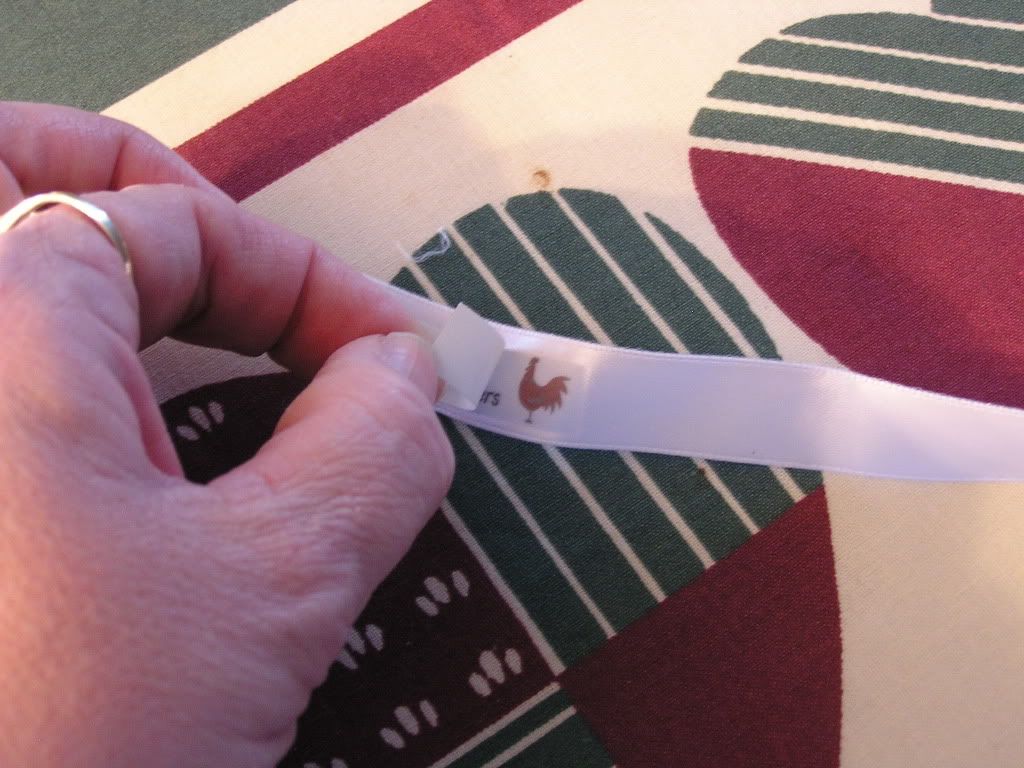
Cut the label from the ribbon to the length desired.
Secure the edges of the label by carefully holding the cut edges close to the flame of a candle. Do not hold directly in the flame. Holding close will slowly melt the edges. This will prevent fraying.
As you can see, I made mine all different colors. That way I can coordinate or accent my label to whatever I create.
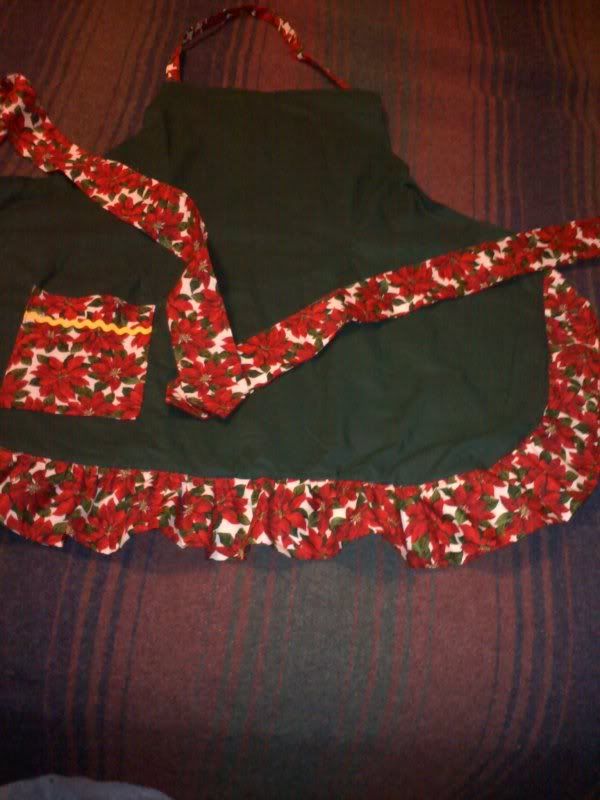
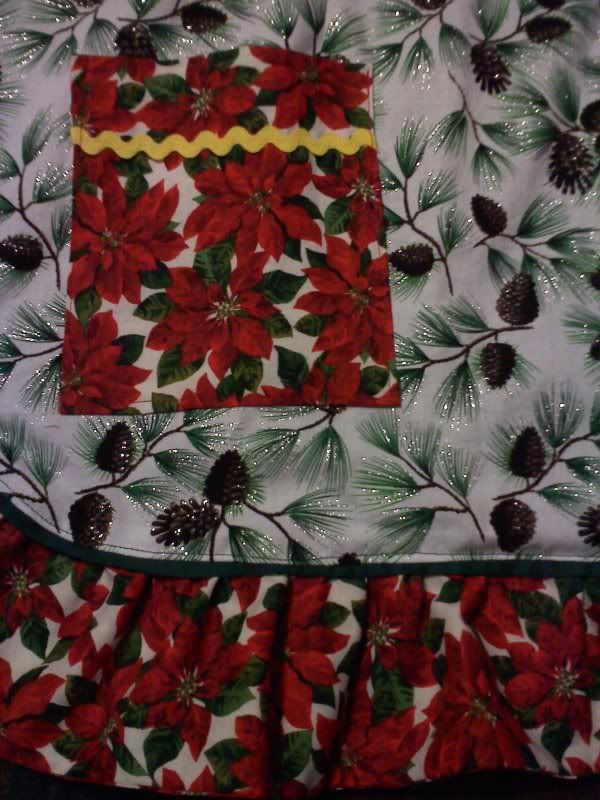
Retro Christmas Apron
Here is another cute retro apron I made. I am currently working on making an apron for each holiday and season. I love aprons. I love the retro style ones and the modern bistro ones. The one pictured above is totally reversible. It has a super cute pine sprig pattern on one side and a plain dark green fabric on the other. Both sides are highlighted with the poinsettia ruffle, ties, and pocket.
I do sell these so if you are interested in one drop me a line.
--------------------------------------------------
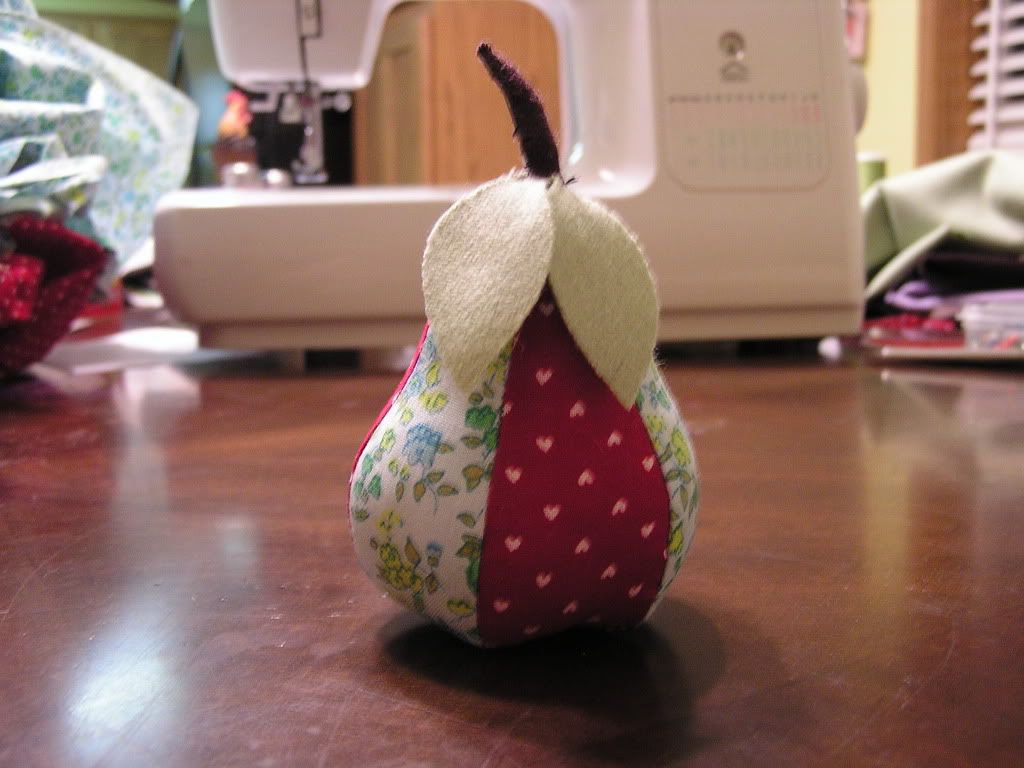
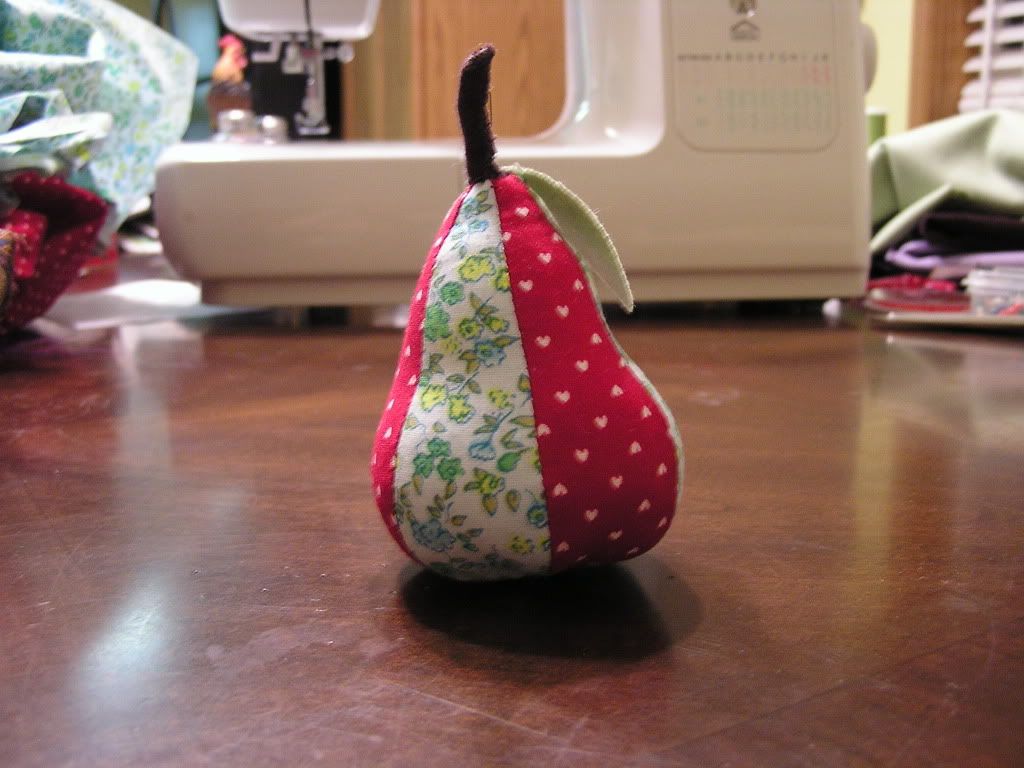
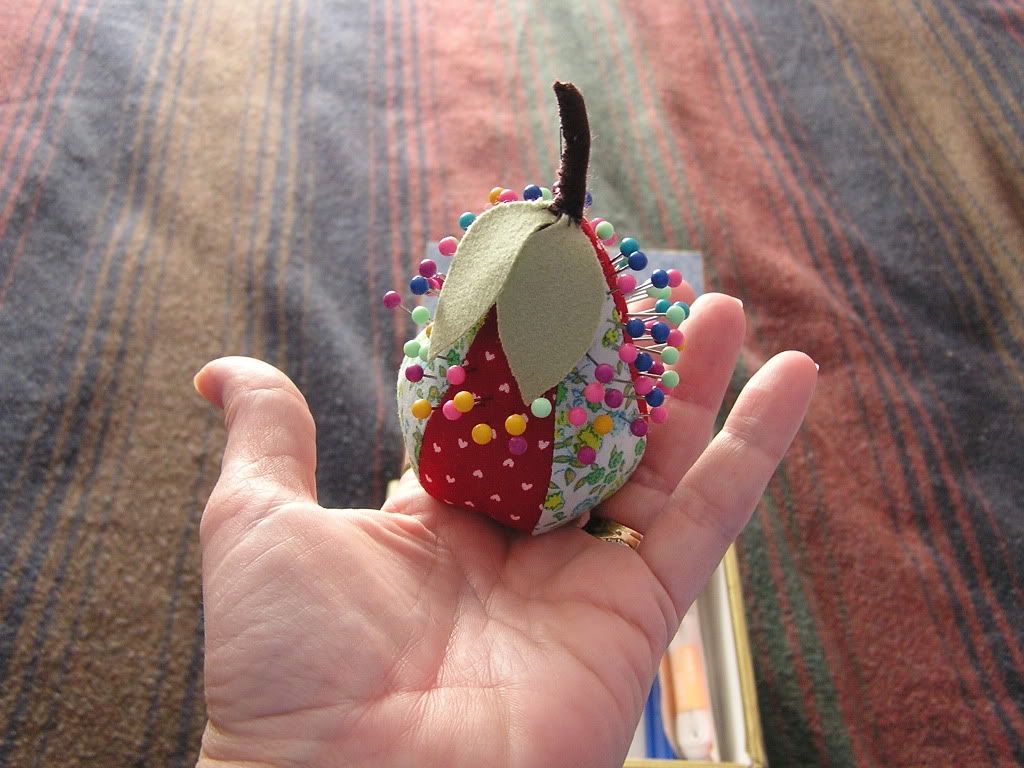
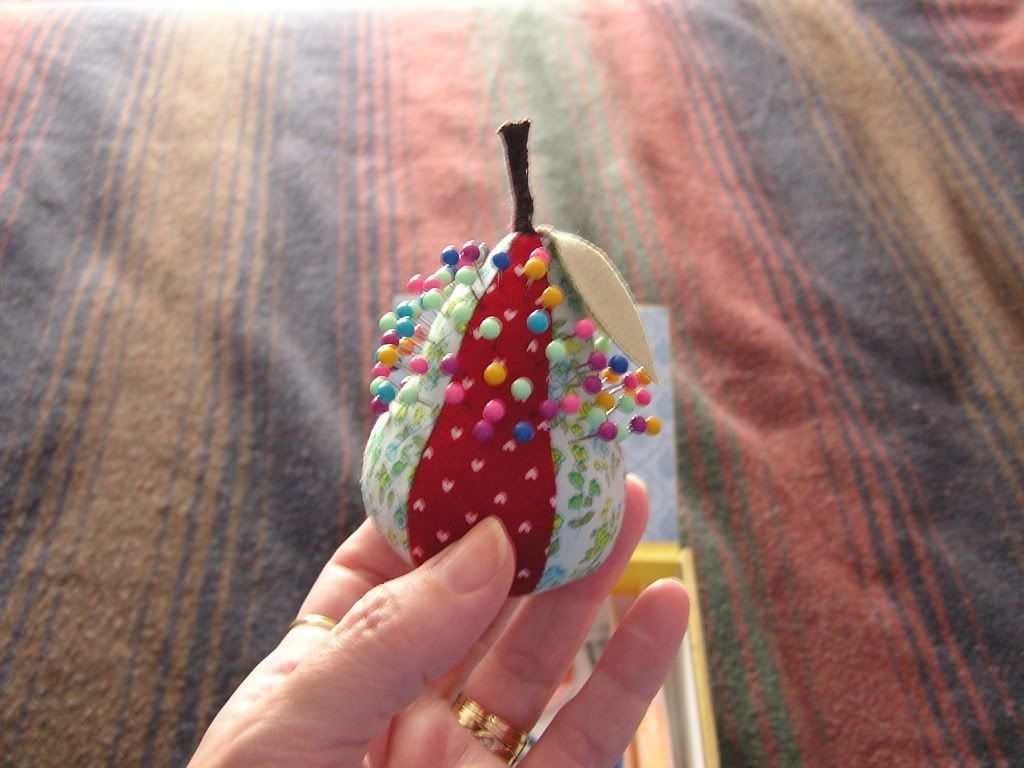
Pear Pincushion
This cute little pincushion made a wonderful addition to the a homemade sewing kit. It is about 4 inches tall and easily holds a container of pins. I made this one out of scrap fabrics. A really cute way to use up the left overs. I wanted to make it out of wool, as wool is good for the pins, and I have a ton of wool fabric, but I thought these colors were cute together.
I found the pattern at This Web Site and printed it out. One thing I found out is that you want the pattern piece to only be about 3 or 4 inches high. Any bigger and you end up with a HUGE pincushion....ask me how I know. I used plain old poly-fill to stuff it. I used a lot to make sure it was pretty firm.
--------------------------------------------------------------------------------
Amanda's Apron
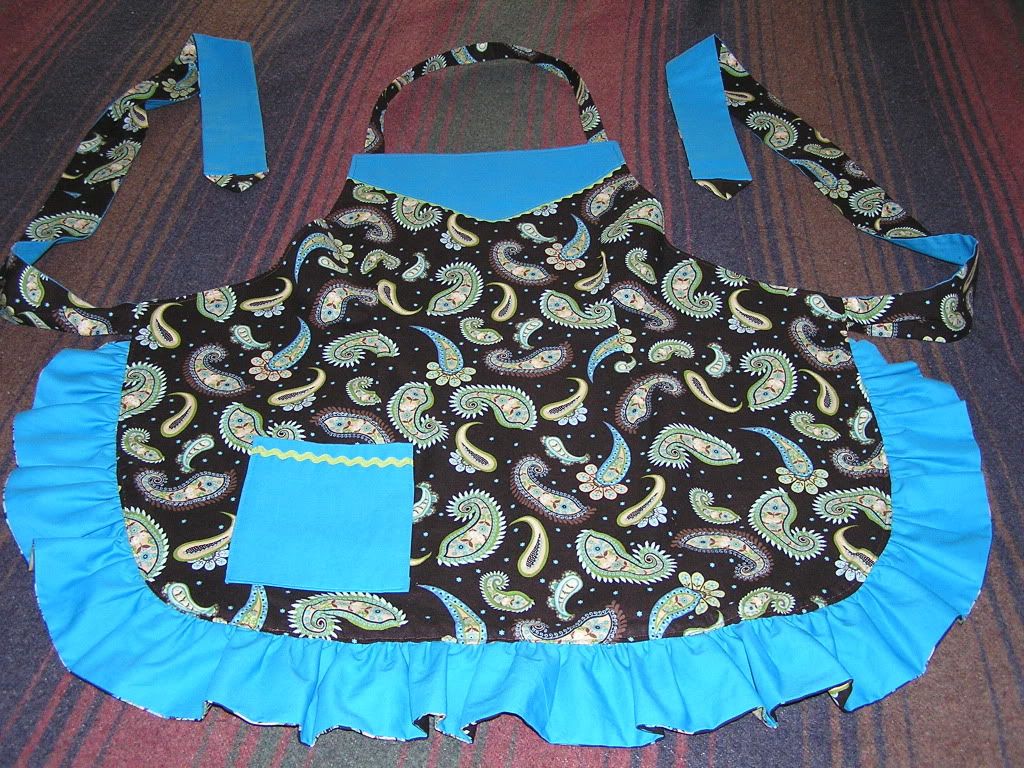
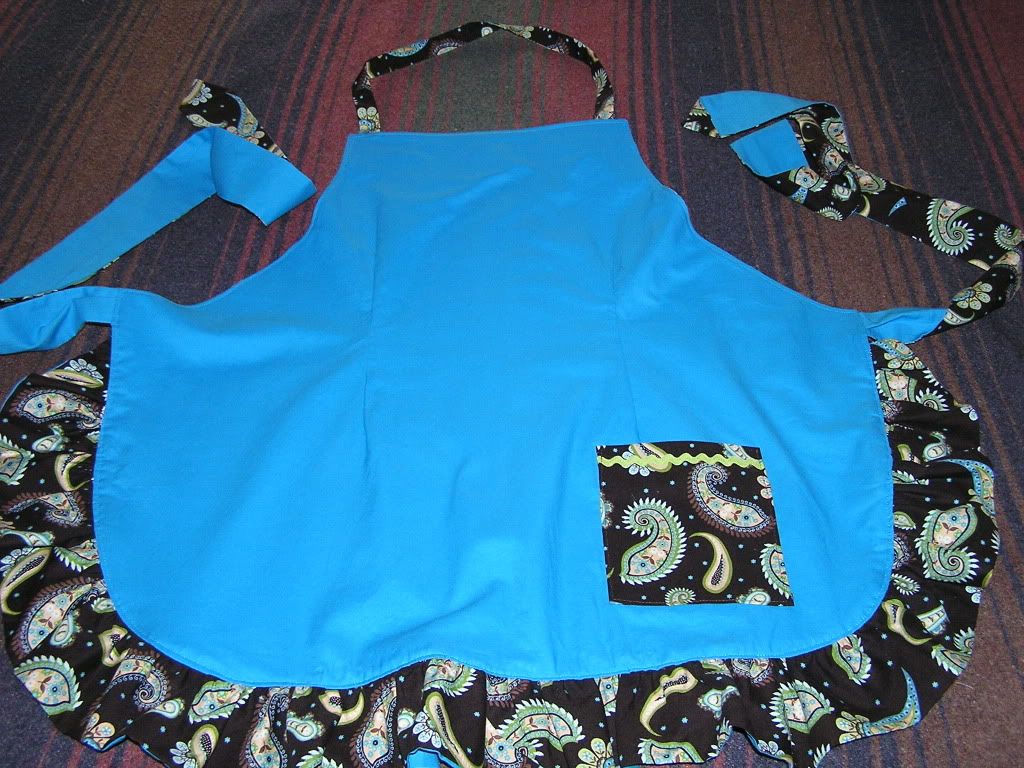
I made this apron for my cousin's bridal shower. It is reversible retro design. I was told her favorite color was blue so I went with the colors you see here. When I first heard she was getting married and having a shower, I was immediately drawn to reds and blacks as colors of choice. I did not do the apron in those colors, and later came to find out that her kitchen colors are to be red and black. Oh well, these colors will look beautiful on her and who says everything has to match!