Showing posts with label Amy Butler Weekender Travel Bag. Show all posts

Tuesday, April 26, 2011

Travel Bag Day 6 - Finished Product!

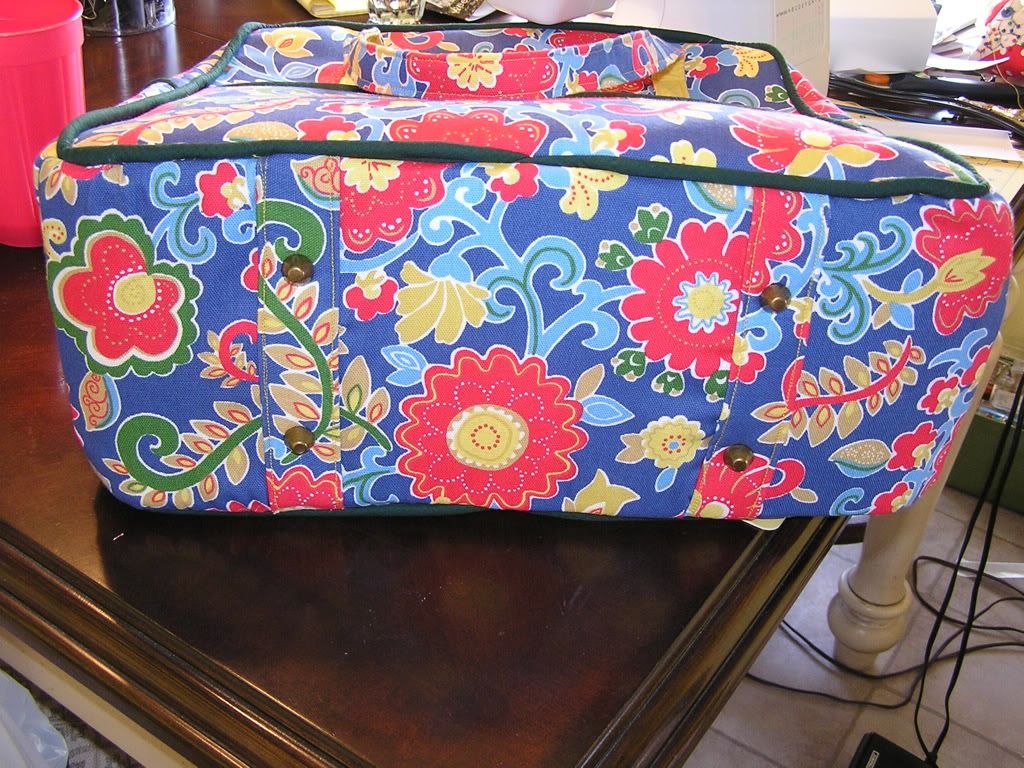
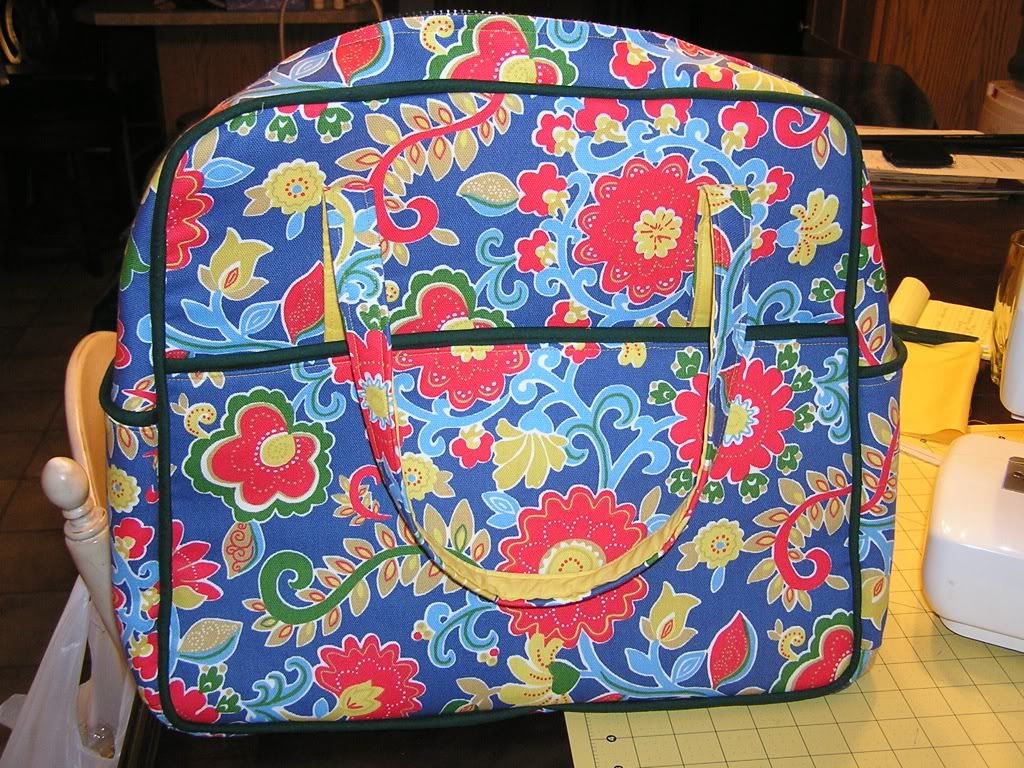
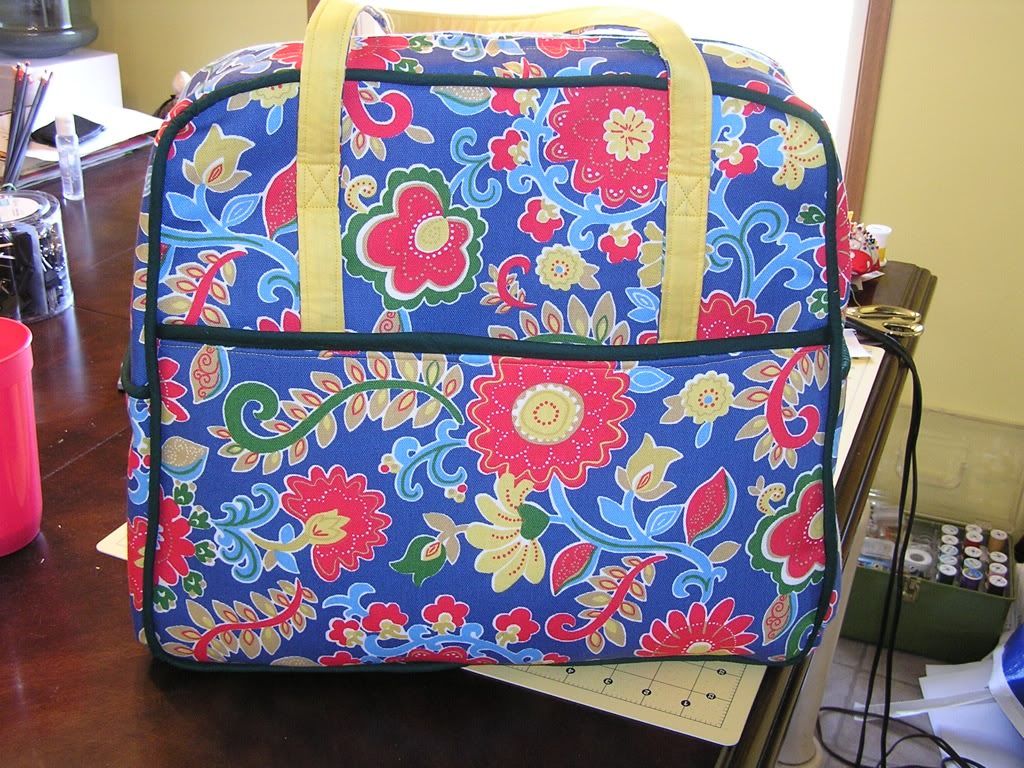
Ok - it only took me six days to make this bag.  Is it perfect - no....is it straight and does not have any seam holes - yes!  I call it a success.

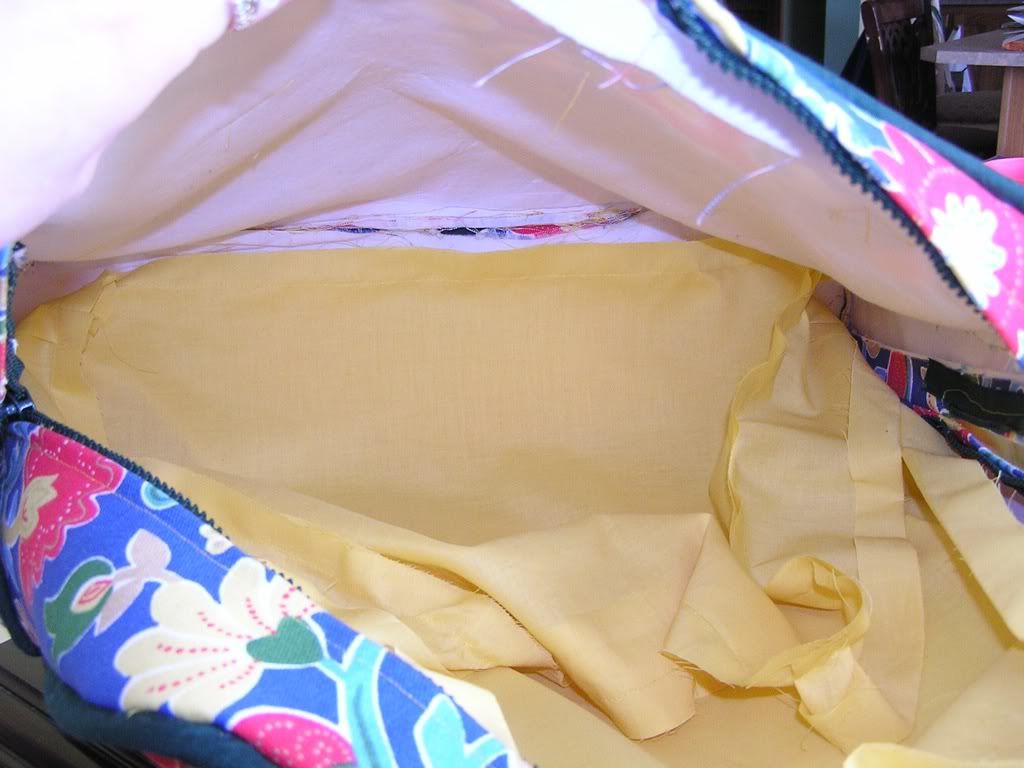
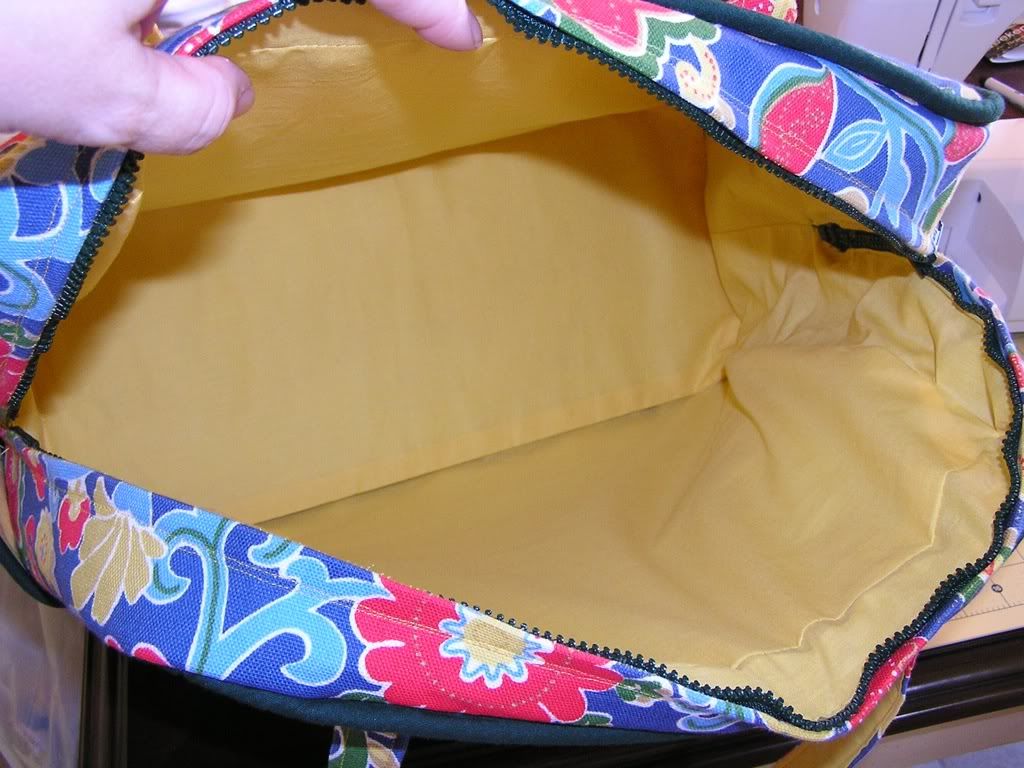
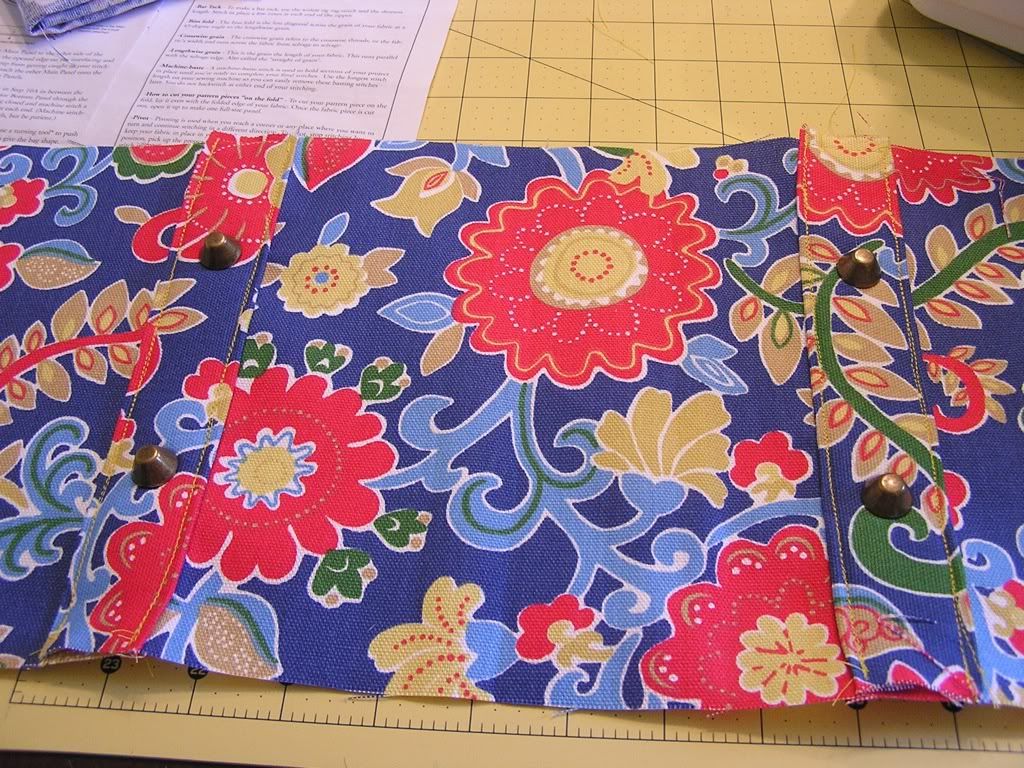
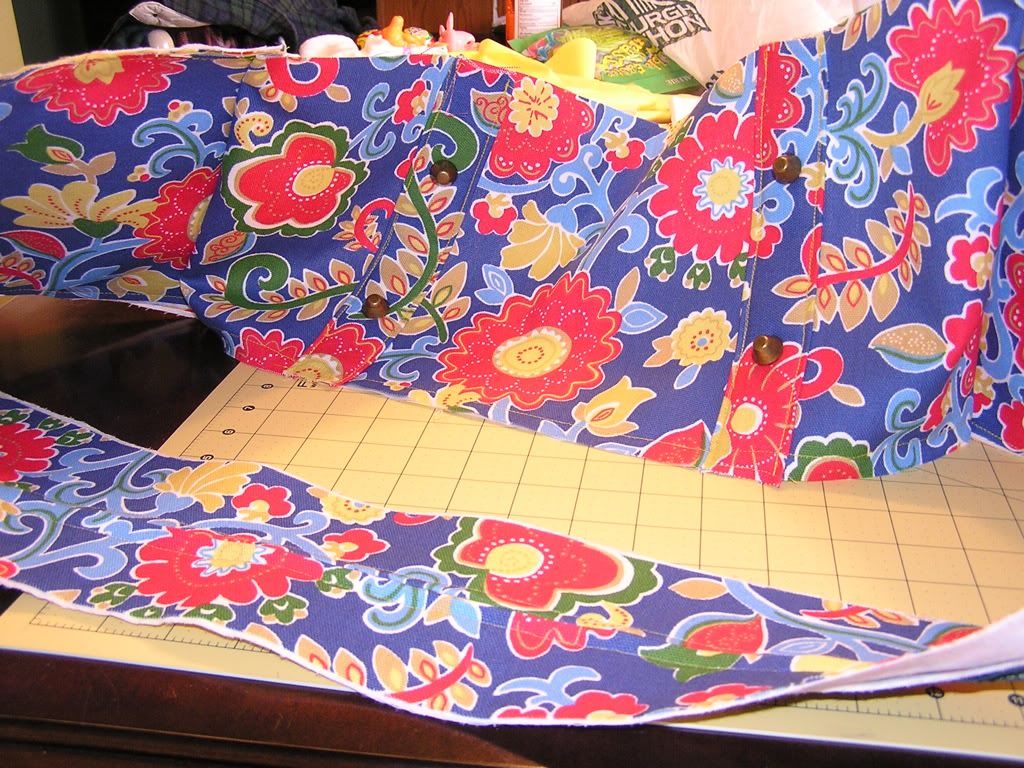
This day I made the lining the same way the exterior was made.  First attached the top long pieces, then add the bottom piece to make a loop.

Then add each main panel.

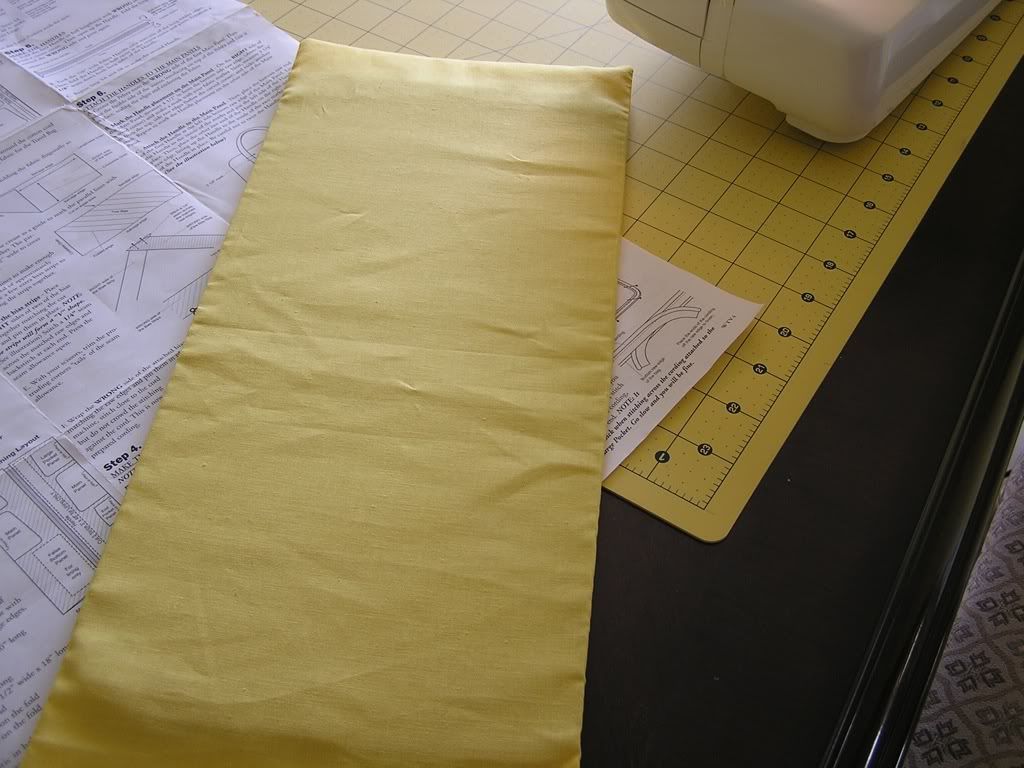
I went ahead and made the false bottom next while I pondered the lining installation instructions.

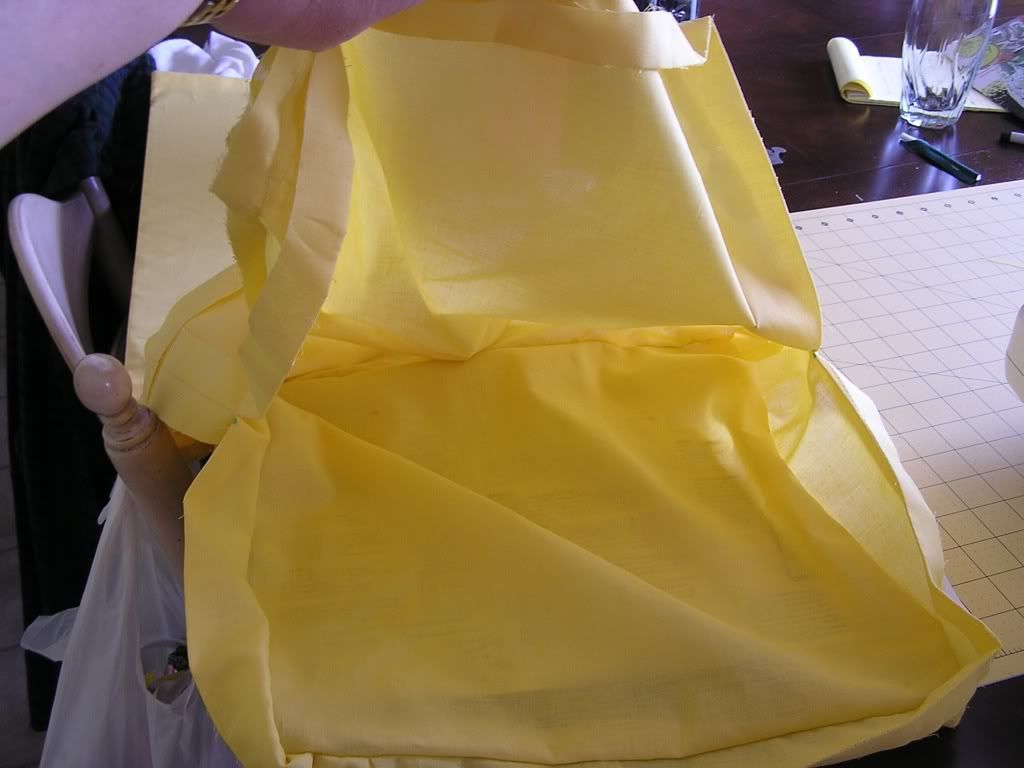
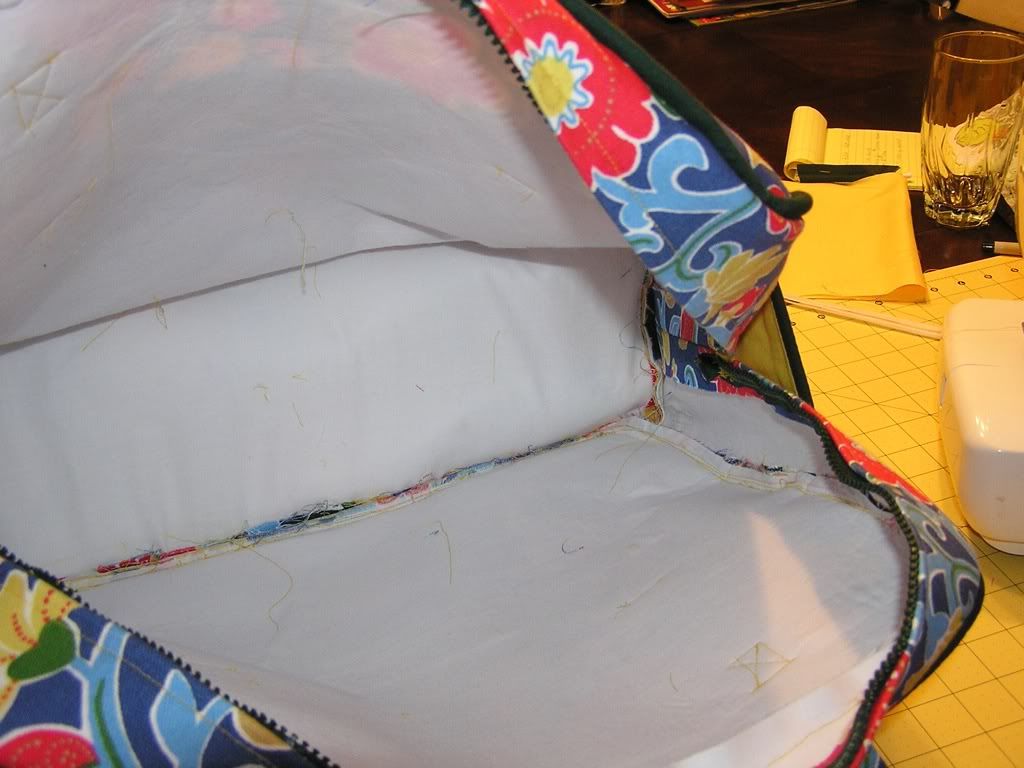
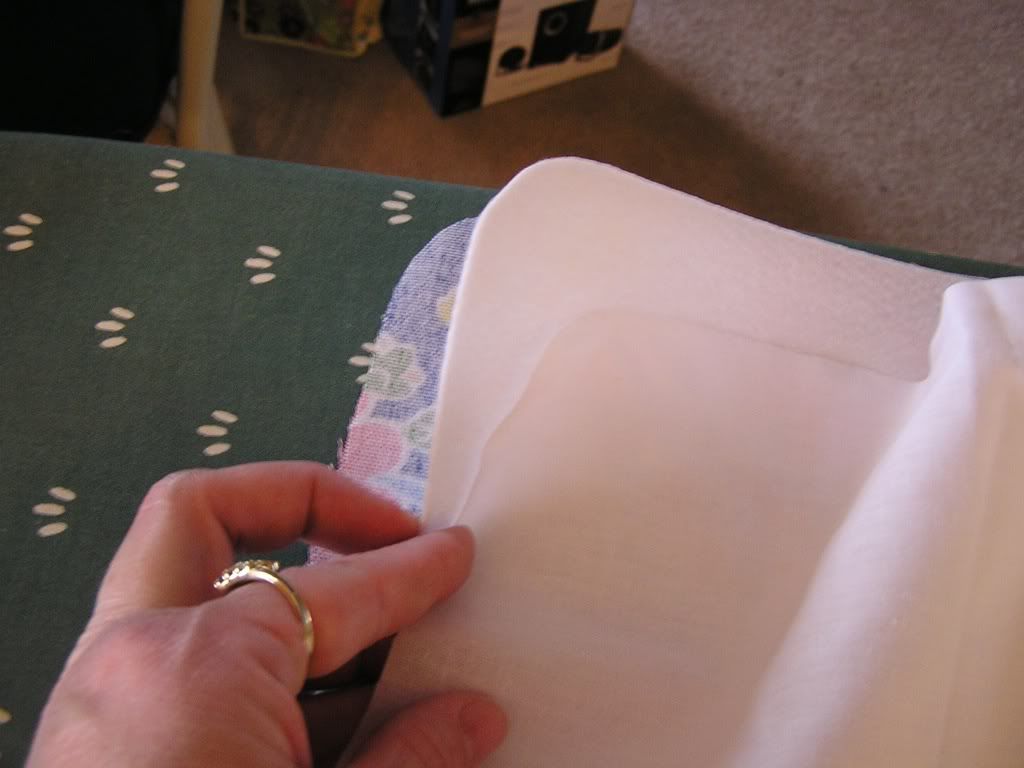
The directions say to put the lining in the bag and reach in and tack it to the exterior.  That was too hard in my book so I turned the bag inside out and the lining inside out.  I placed the exterior inside the lining and rolled down the lining to tack it in place along the bottom and edges.

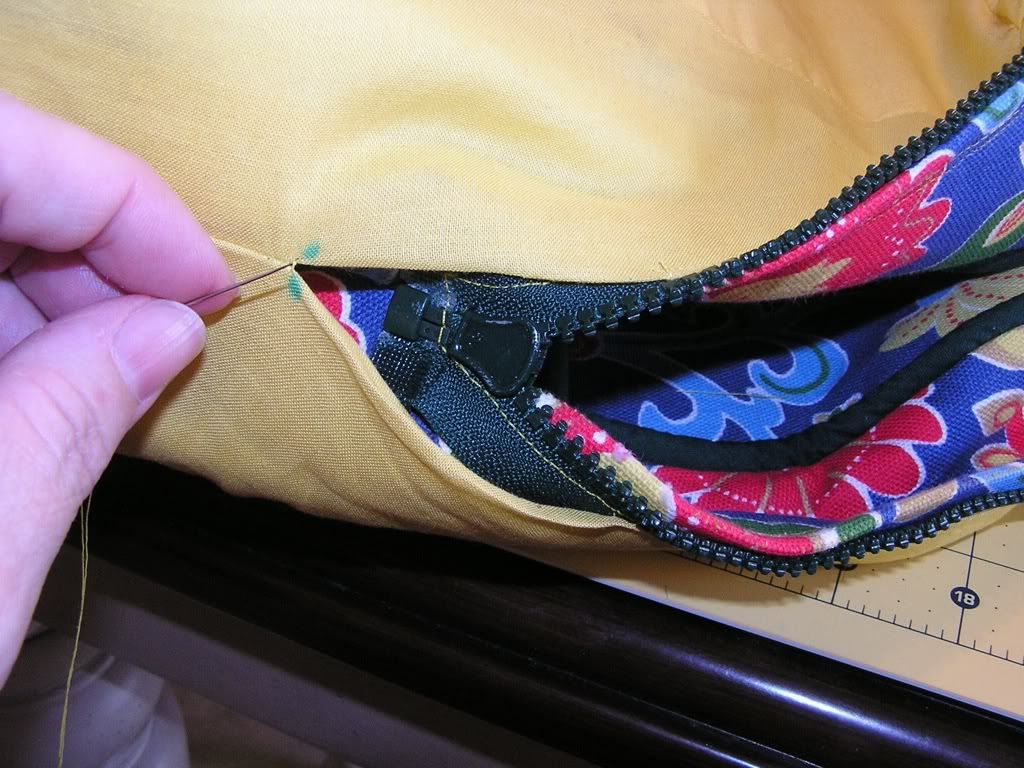
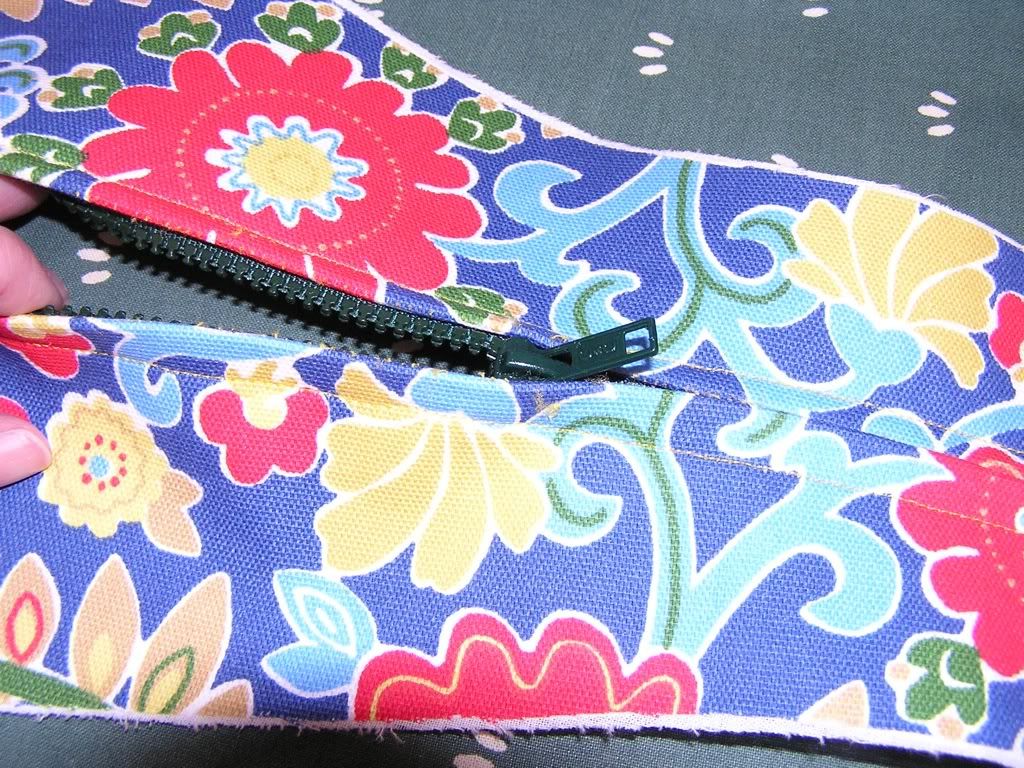
I also did not hand stitch the whole zipper length on both sides.  I pinned it in place and ran it through the sewing machine as far as it would reach.  I only had to hand sew a few inches on both ends.

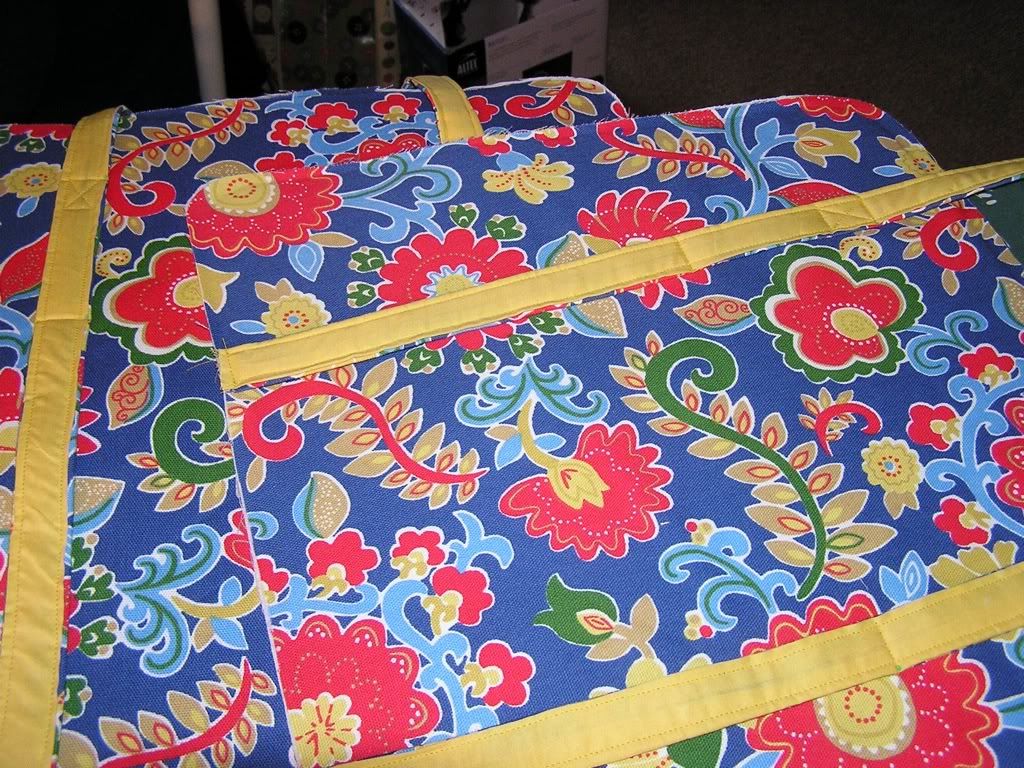
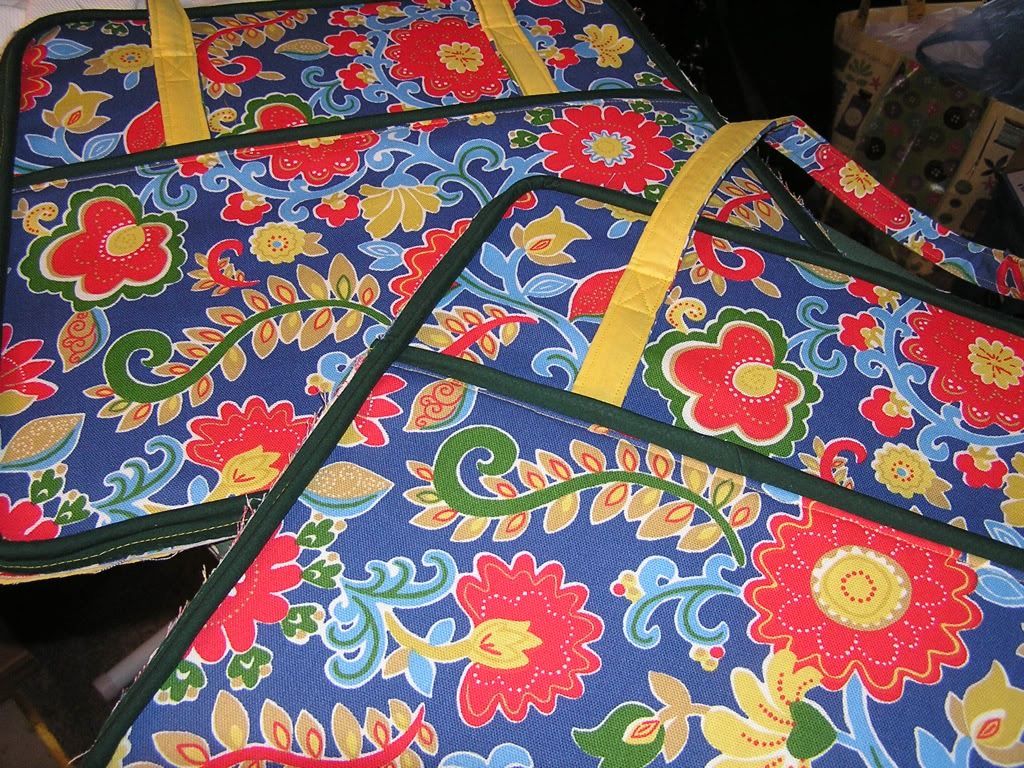
Over all it turned out well.  I had enough left over fabric and gumption to make a luggage tag to go along with it.  That turned out a bit wonky so there is no pictures of that!!  Here are the final pictures:


Monday, April 25, 2011

Travel Bag Day 5

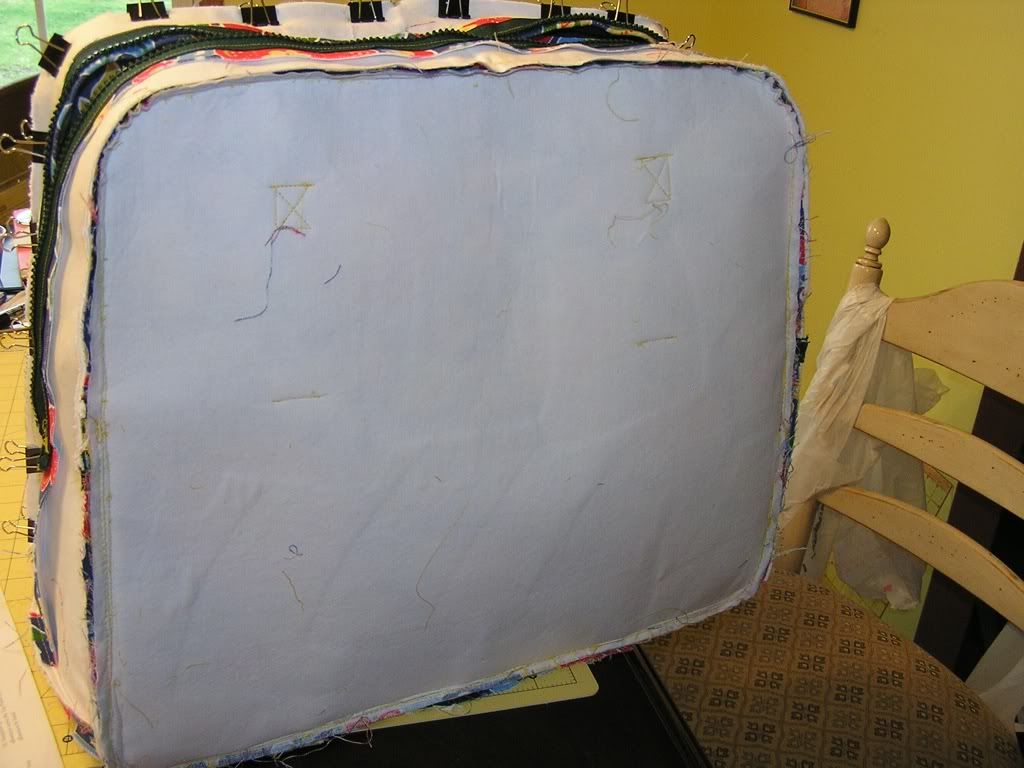
This day was most challenging.  I attached the main panels to the top and bottom loop.  I will admit that it took me two tries to attach the first side.  For some reason the whole thing shifted and skewed....not good.  I ripped it all out and tried again.  The second attempt went much better.

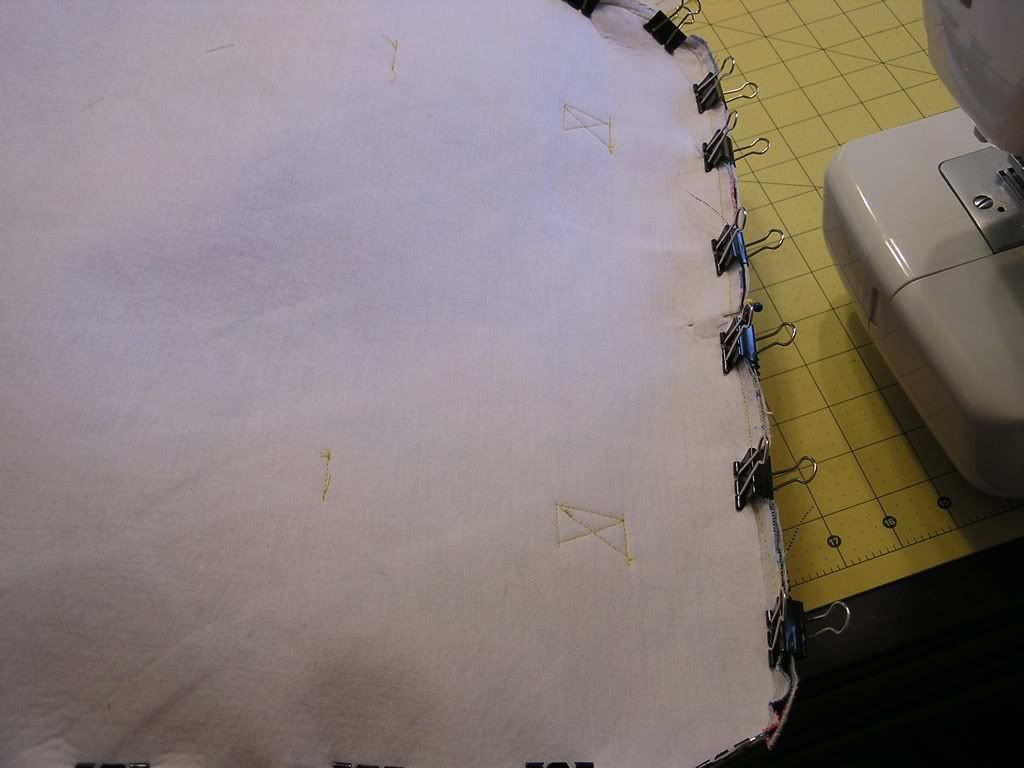
Pins will not work for the thickness of all the layers so the directions say to use binder clips.  The binder clips work pretty well actually.

Sewing the second panel on was pretty interesting, frustrating, and I do believe I cursed a few times too many while trying to get the bottom corners and flat sewed together.  I was just about to give up and just hand sew it when I took a little break to tend the chickens and came back to try it one more time.  I finally got it attached correctly.


Now that the exterior of the bag is complete I can finish up this bag by making the lining and attaching it.  There is a fair amount of hand sewing in attaching the lining so we shall see how that goes.  I am also running out if thread!  Since the lining sewing is not going to be seen I may just finish it off with a lighter yellow thread and no one will be the wiser....except you and me.  You won't tell will you?

Sunday, April 24, 2011

Travel Bag Day 4

I had really hoped to get this finished this day, but that did not happen.  Today involved a lot of pressing...pressing interface over and over.  It also involved installing a zipper in a way I had never done before.  I have done zippers very successfully but this way was a bit different for me and took some thinking.

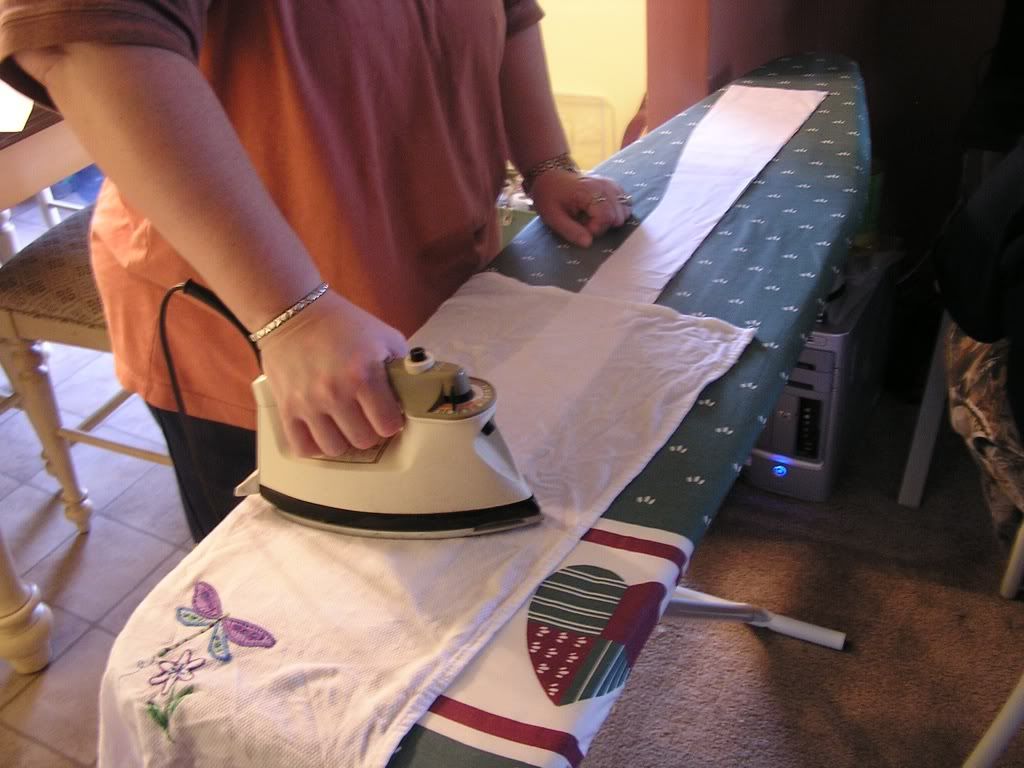
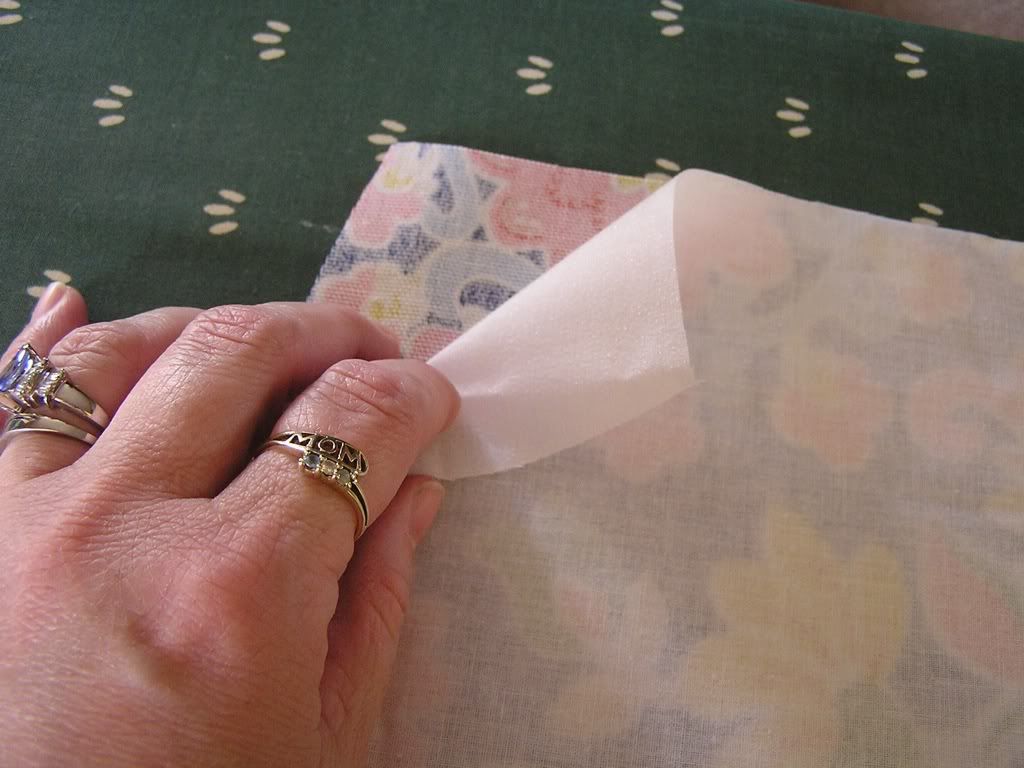
This day I started by pressing 3 layers of interface to each of the long top pieces.

Installing the zipper.  Seemed the hard way to me but I have seen this way demonstrated before to create a hidden zipper.  It worked just fine.  You just have to go slow and pin in place flip it over and re-pin from the top.  Remove the bottom side pins and sew it in place.  I have read where lots of folks get confused on this step.  Read and re-read it until you understand what you are to do.  Pin the long straight sides right sides facing.  Mark each side in 6".  The space in the middle between the marks is where the zipper will go.  I bought a 30" zipper but the space seemed a bit too big so I adjusted the marks in some.  Now sew a regular stitch 1" seam to the first 6" mark.  Then sew another 1" seam regular stitch to the other side's 6" mark on the other end.  Now baste stitch with a 1" seam in between the two other sew lines.  It will kinda look like this:   ----- - - - - - - - - - - ------  Press the seams open  Lay the zipper face down on the seam.  Pin in place flip over to the right side - repin and remove the under side pins.  Sew the zipper in place and using your seam ripper rip out the baste stitches you did in the middle to expose the zipper.

Then I went on to press more interface to the outside pockets.

Here I deviated some from the instructions and added some left over piping to the side pockets.   I had just enough to do both pockets.  I found that if I used my zipper foot on my machine and also adjusted the needle to the left a notch or two (stitch width dial) I could successfully crowd the piping to get a nice snug seam.

Next I basted the outside pockets to the top long piece.

I deviated once again to add feet to the bottom of the bag.  I cut two 2 1/2"x 8 1/2" strips from the leftover exterior fabric.  I pressed in 1/2" on each long side and cut a piece of Peltex to fit inside for each strip.  I measured and poked a hole using my seam ripper and installed the feet adding one more small scrap piece of Peltex for each foot as protection.

 I then sewed these strips to the bottom piece.

Following the directions I added the interface to the bottom piece and sewed the bottom piece to each end of the long top.

This is where I stopped for the day.  Hopefully I can pick back up and maybe get this finished tomorrow.

Saturday, April 23, 2011

Travel Bag Day 3

Day 3 was pretty productive.  I am just over half way done with this bag.  My back was aching and my fingers were sore but this bag is progressing nicely.  Day 3's activities consisted of Ironing the fusible interface to each of the large pockets to seal in the Peltex interface.  The Peltex is what gives the bag it's body and stiffness.  What the directions did not directly state when cutting out the pattern pieces, but implies in the sewing directions is that the Peltex is cut slightly smaller than the actual pattern pieces.  The sewing directions state to 'center the Peltex on the exterior large pocket piece, then seal it in place with the fusible interface. '  So I cut about between an eighth and quarter inch  from all sides of the Peltex pieces.

Next I had to sew the piping in place and then attach the lining to the large outside pockets.  I did not sew the piping then the lining.  I did it all in one step.  This is the first time I have ever done piping and it could have been tighter but it is ok.

Top stitch the top edge of the large pockets, baste all the way around to hold the lining in place, and set aside for now.

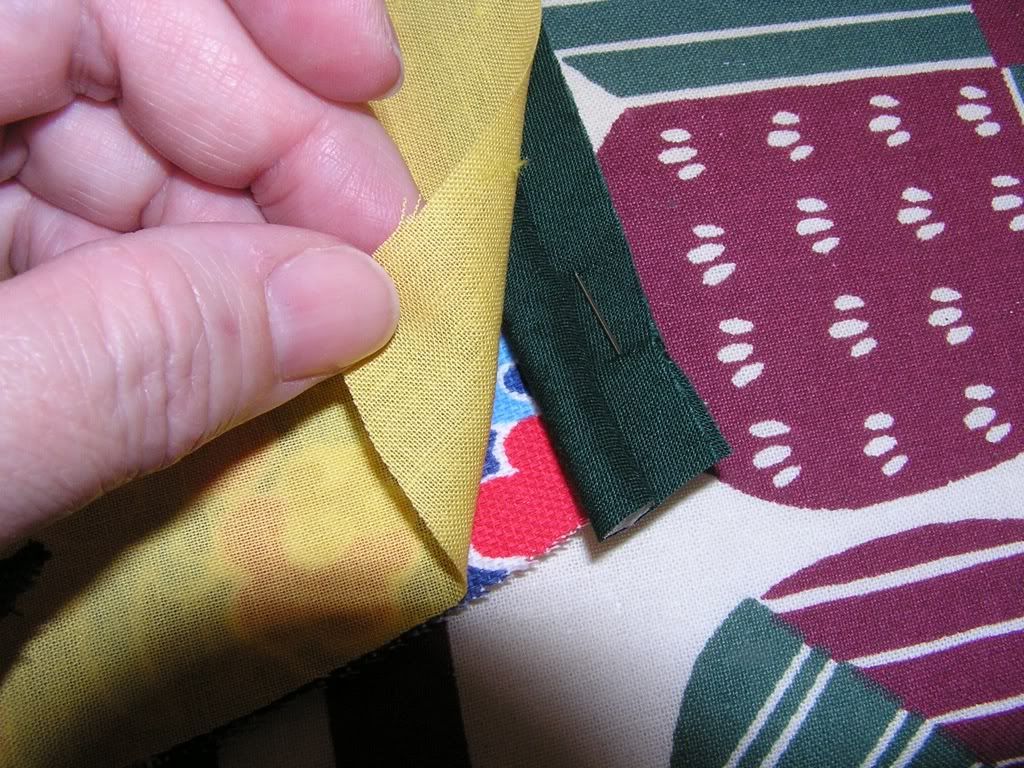
On to the carry handles.  Here I did a slight modification.  The directions state to cut the handles out of the lining fabric.  I am using just quilting cotton fabric for my lining and was afraid that the fabric would not be sturdy enough.  I decided to make my handles two toned and use both the outer fabric and the lining.  I cut 2 inch strips of each fabric and sewed them together down the long edge (scant 1/2" seam allowance), giving me a strip 3" wide as is called for in the directions.  Pressed the seam open, and picked back up with the regular directions.  Pressed under 1/2" on each long side, slip in the 7/8" Peltex

Fold in half and top stitch down each long edge.  Set aside.

Now for the main sides.  Sandwich the Peltex between the Exterior fabric and the fusible interface.

Attach the handles.  Here I also did a little modification.  I added more stitching to the handles - the box with the X in it for more stability.

Attach the large outer pockets to each main side, and attach the piping all the way around each side.

At this point I was pretty sore and tired.  I did not want to continue and make sloppy mistakes.  This is a good stoping point as well.  Just a few more steps to do and it is finished!  However these steps are long and detailed.  So far everything has worked very nicely.  The directions are wordy and helpful - good for a beginner.  My sewing machine boasted that it is a workhorse of sewing machines and can sew through 11 layers of denim with easy (It does  - I have put it to the test!), so I have complete confidence that as I get to the end here and have to be sewing through lots and lots of layers, I will not have a problem.
Friday, April 22, 2011

Travel Bag Day 2

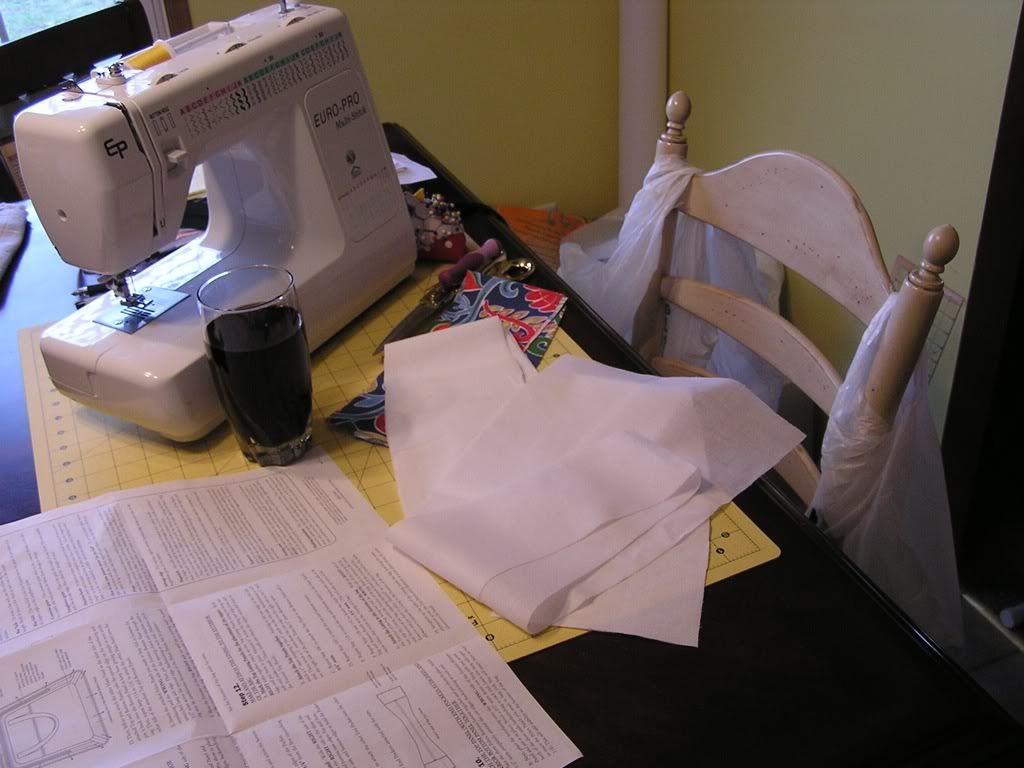
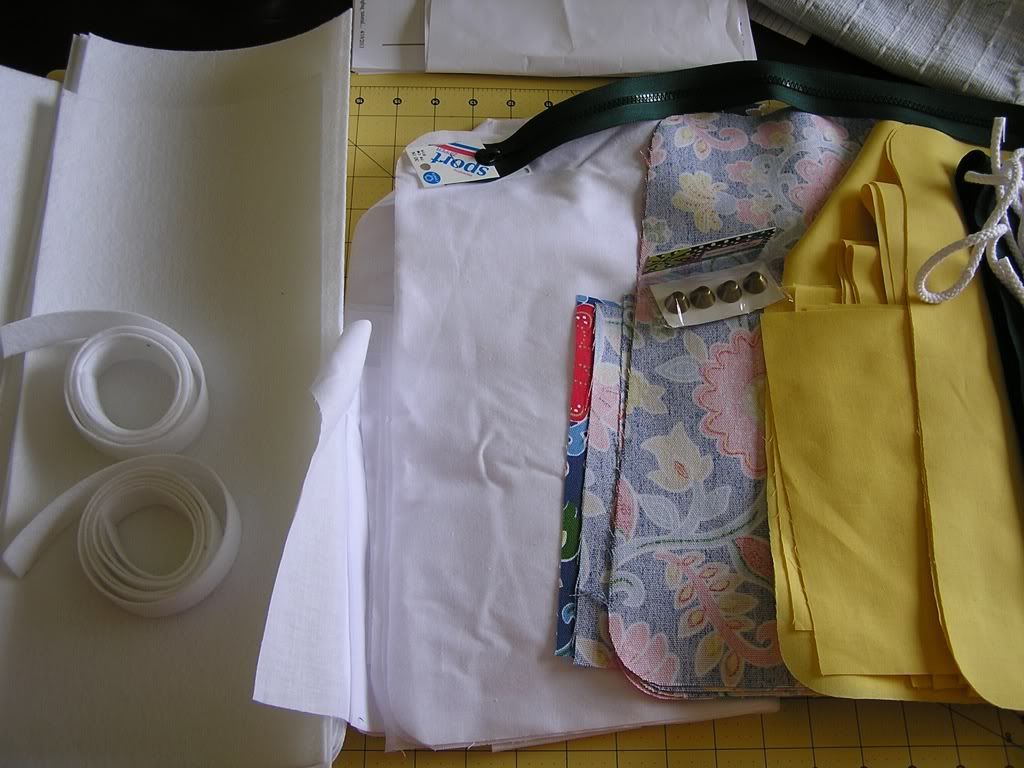
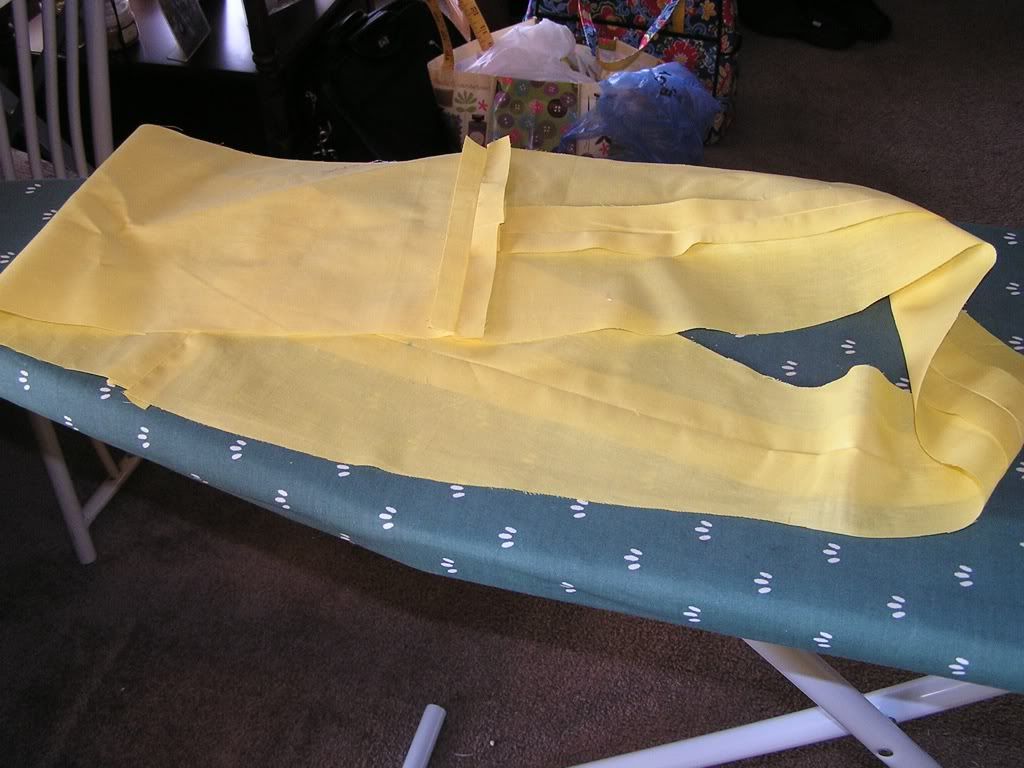
Working along....slow but sure.  I have managed to get all the pieces cut out of everything.  Lots of pieces - main fabric, lining, fusible interface, heavy weight interface, and the piping.  That took a very long time to get it all cut out.  I followed the directions but I did not have enough of the fusible interface so back to the store I went with coupon in hand to get more.

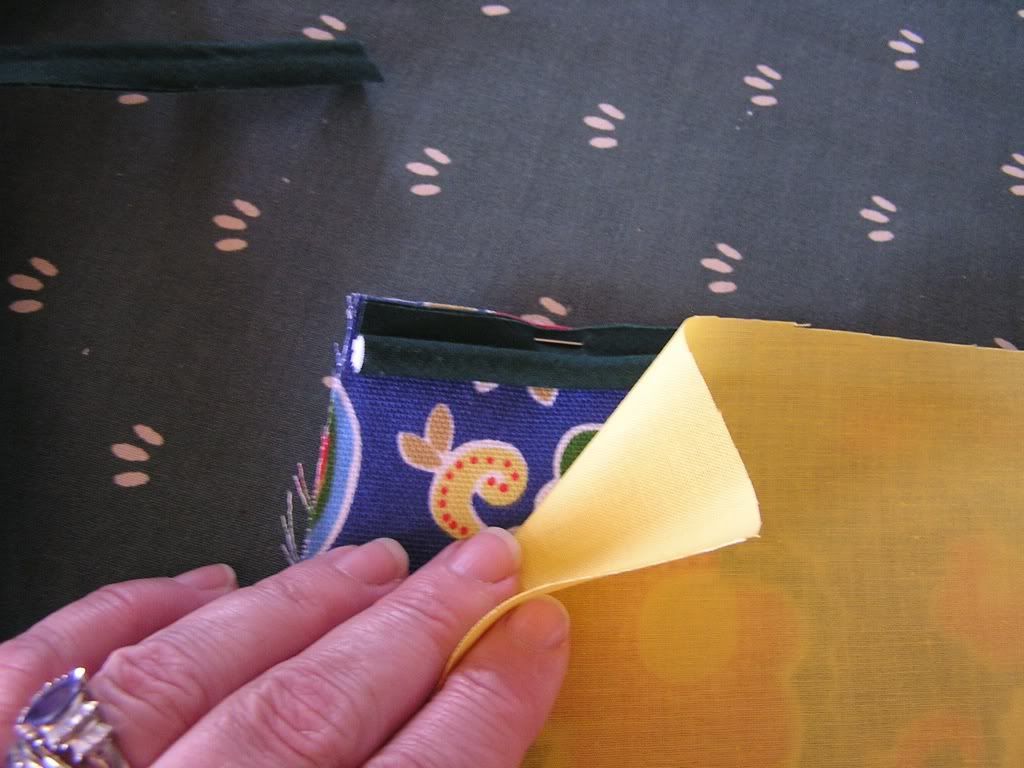
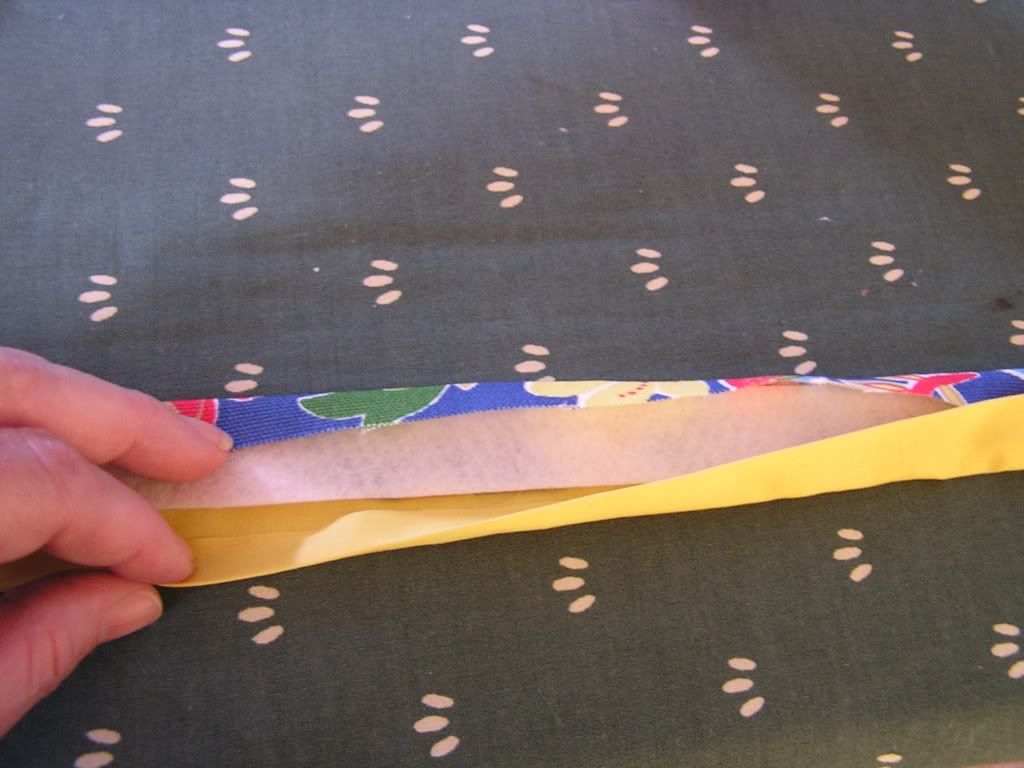
I also got all 5 yards of the piping cord covered in the green fabric.  This will be a cute decorative trim around the bag.  I followed the hints that found on the web and used Stitch Witchery to glue the piping fabric instead of sewing the casing closed.  This will make it easier to sew to the bag later as I will not have to deal with trying to conceal the stitch line.

I just remember that I need to cut out a few extra pieces for the extras.  I want to add feet to the bottom so I will need some reinforcement strips.  I also want to add an inside zipper pocket in the lining.  I have zippers in my stash I will have to dig through to fine one that will match.  I will also have to cut out the fabric for the pouch as well.

So far so good.  I will be be getting into the real construction this weekend.  I just found out I may have to travel next month for my day job so now I have a deadline to get this bag made.

Thursday, April 21, 2011

Latest Sewing Project

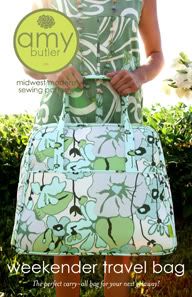
Over the next few days I will be showcasing my progress on a challenging new project:  Amy Butler Weekender Travel Bag.  I love the shape and size of this bag.  I have seen this travel bag on several different web sites and everyone stated how difficult it was to make.  Anyone who know me in real life knows, I am not one to back down from a challenge.  It may take me a while but I will tackle it head on eventually. Since my new position at work might require me to travel, I though it best to get going on this so I have a cute travel bag to use.

I bought this pattern a month or so ago and have been reading and re-reading the directions.  I have also been slowly buying up the materials needed to make this bag.  I refuse to pay full price for fabric and notions so, I get things here and there on sale or, with a handy dandy coupon.  At full cost for everything this bag would be very expensive to make.  I have not sat down and added it all up but I would say I have cut the cost in half with buying things on sale and with the coupons.  It is still going to turn out to be an expensive bag but, I would consider it compareable to other designer bags out there...and this one is custom made by me.  :o)  

So far I have the pattern pieces copied off onto my pattern paper, and cut out.  I have also purchaced everything I need for this bag.  I already know of a few modification I want to make right off the bat.  I am not chaning the pattern or dimentions, just adding a few things that I want for my bag.

Stay tuned as I work my way through this pattern.  Hopefully, I will end up with a nice beautiful travel bag and keep my sanity...well what is left of it.  I also hope to get it done over the weekend....we shall see!